Keeping your vendor list clean in QuickBooks Online is essential for accurate bookkeeping and reporting. If you’ve created duplicate vendors, you can merge them so that all transactions are combined under a single profile.
Follow the step-by-step guide below:
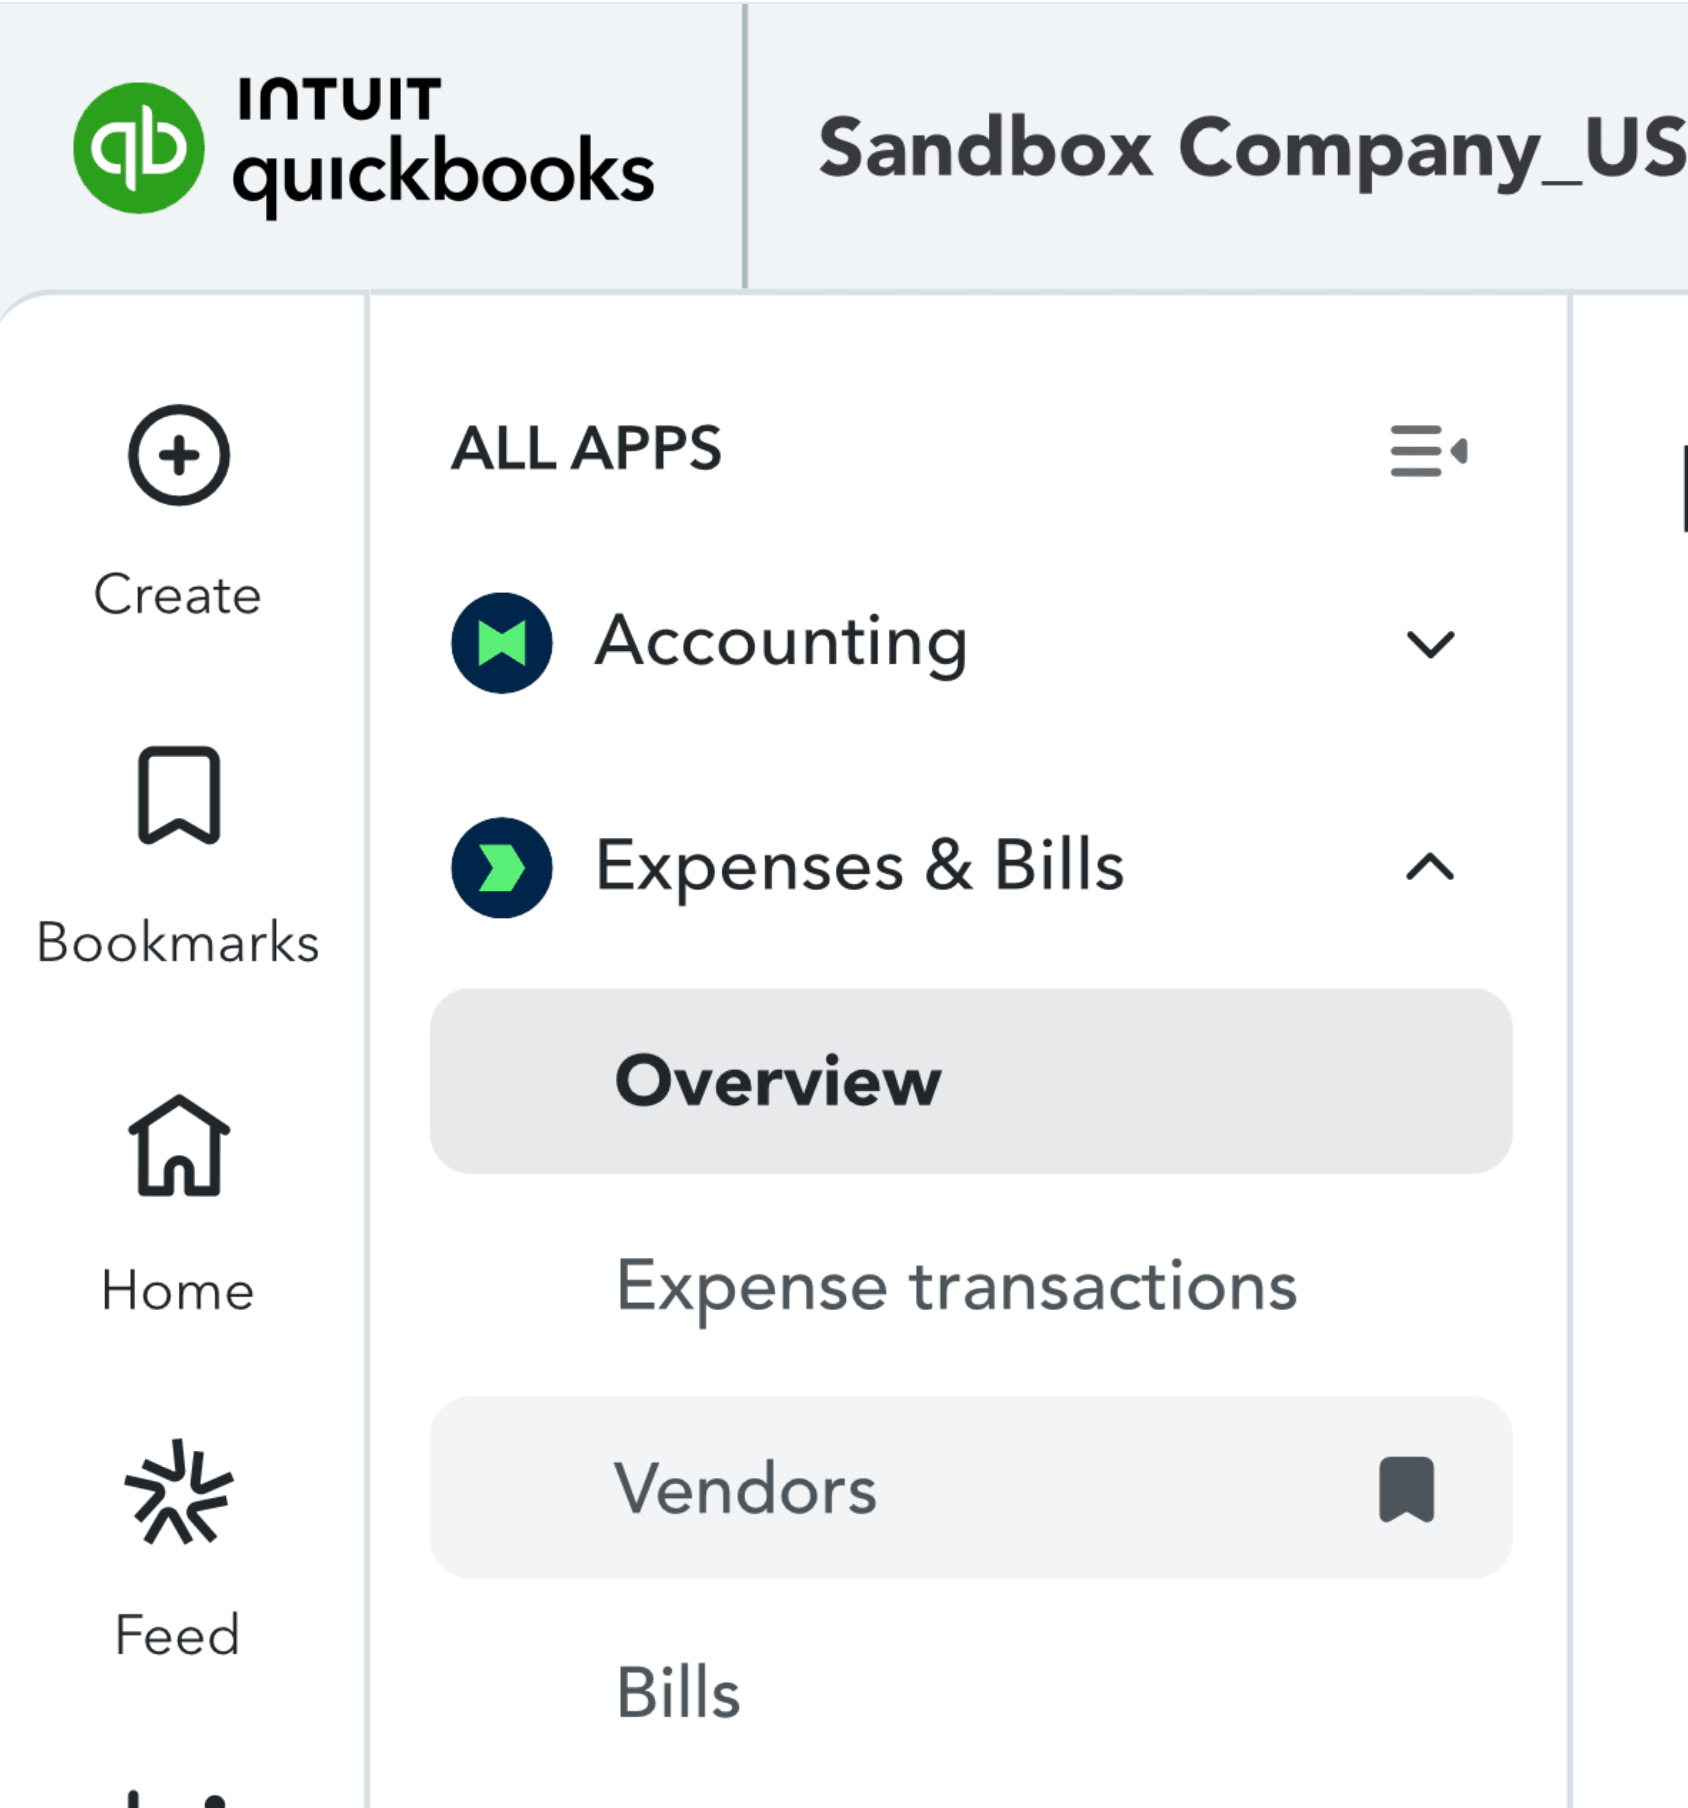
Step 1: Go to Your Vendors List
Log in to your QuickBooks Online account, then go to Expenses > Vendors from the left navigation menu.
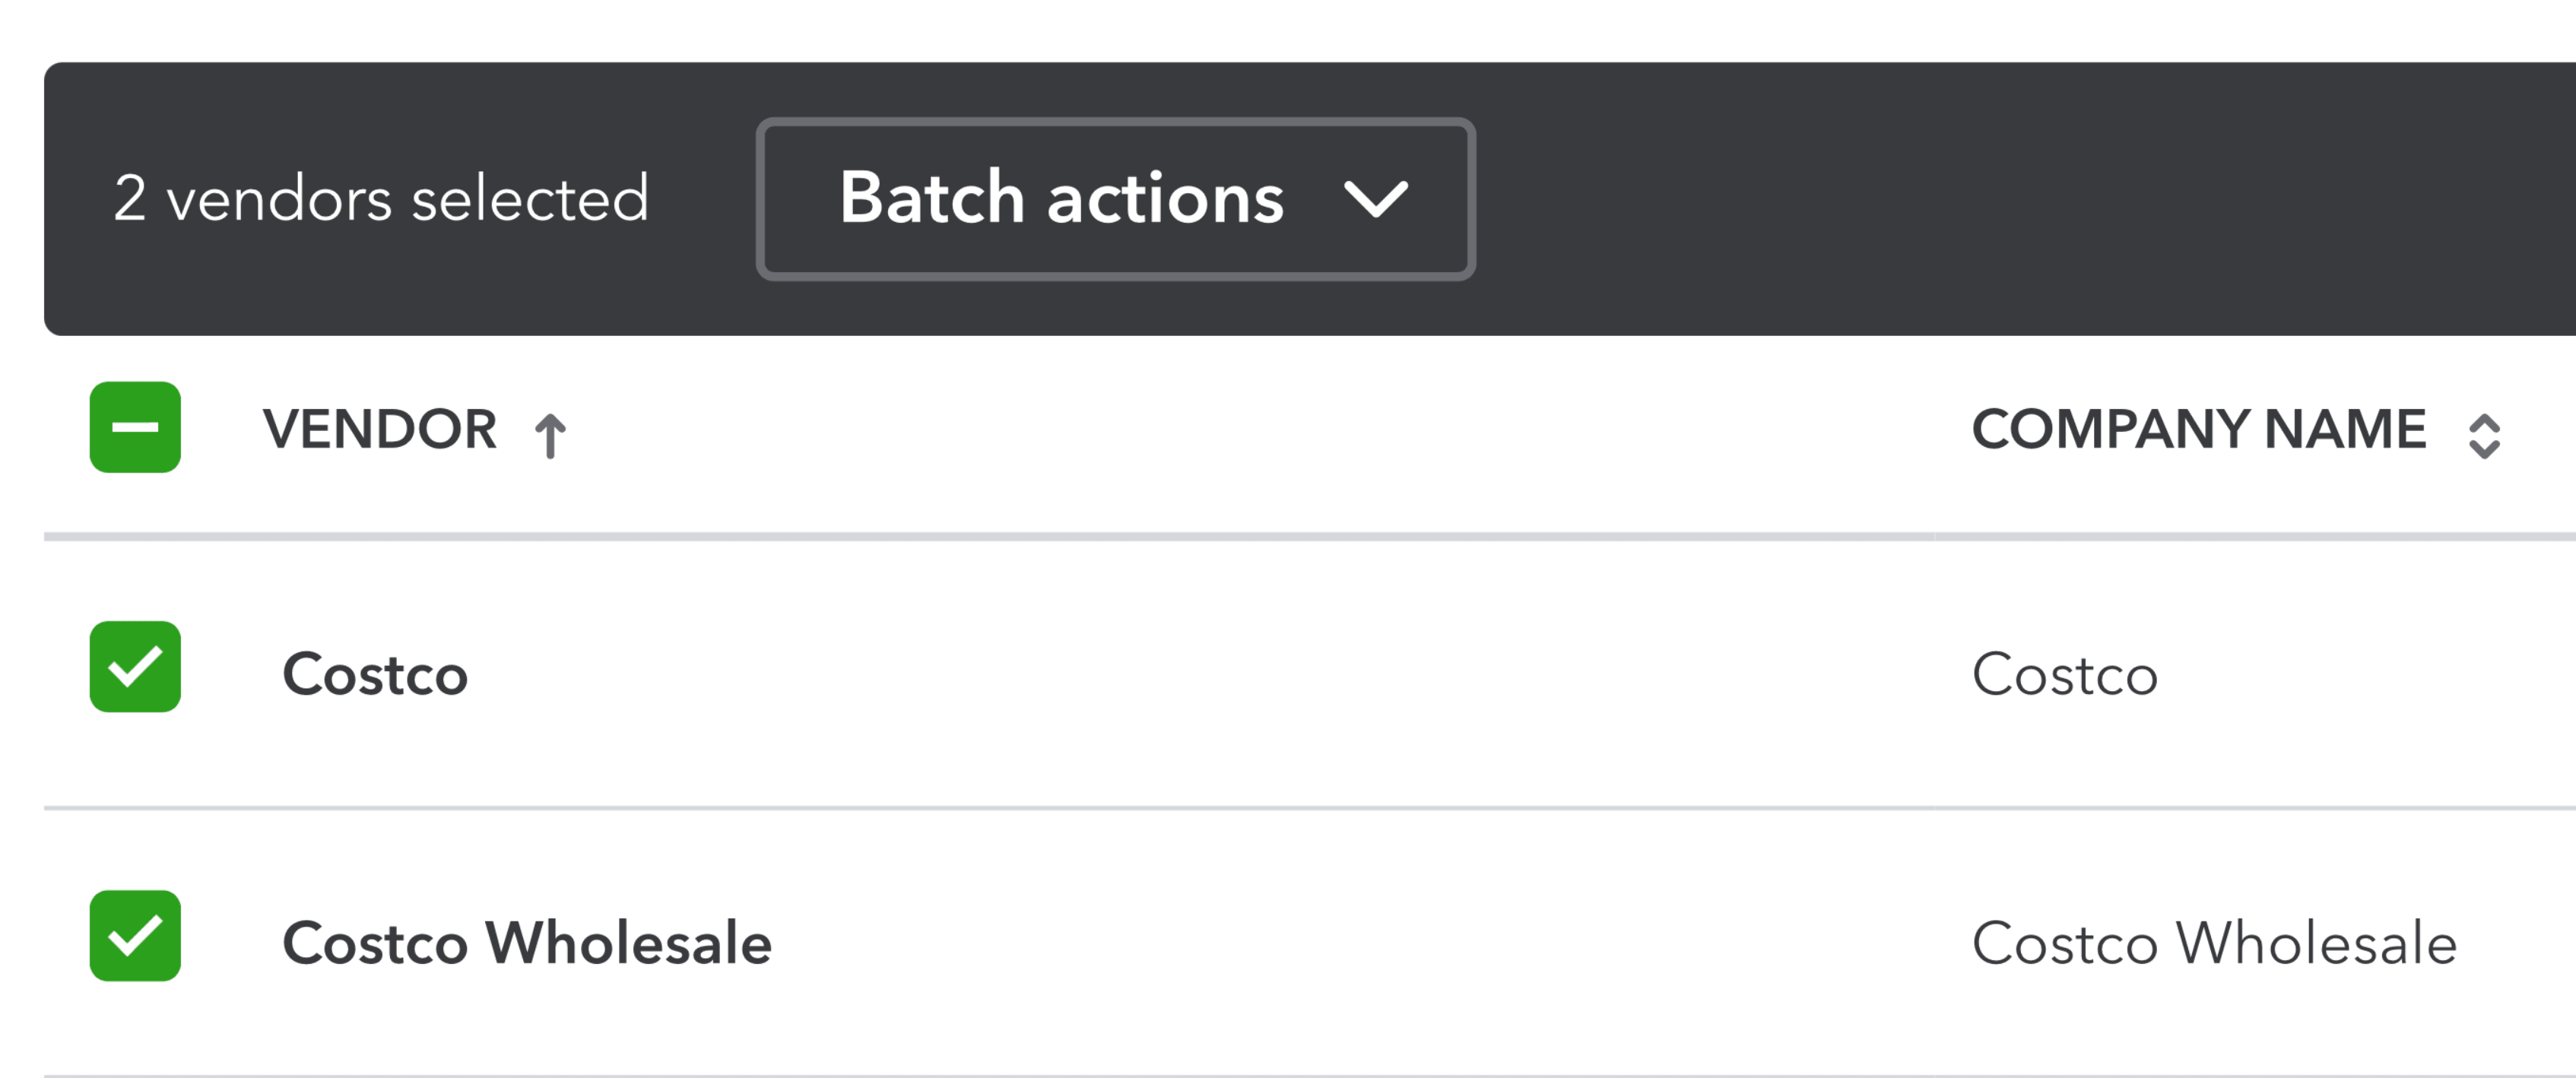
Step 2: Identify Duplicate Vendors
Review your vendor list and identify duplicates that need to be merged.
- Decide which vendor you want to keep
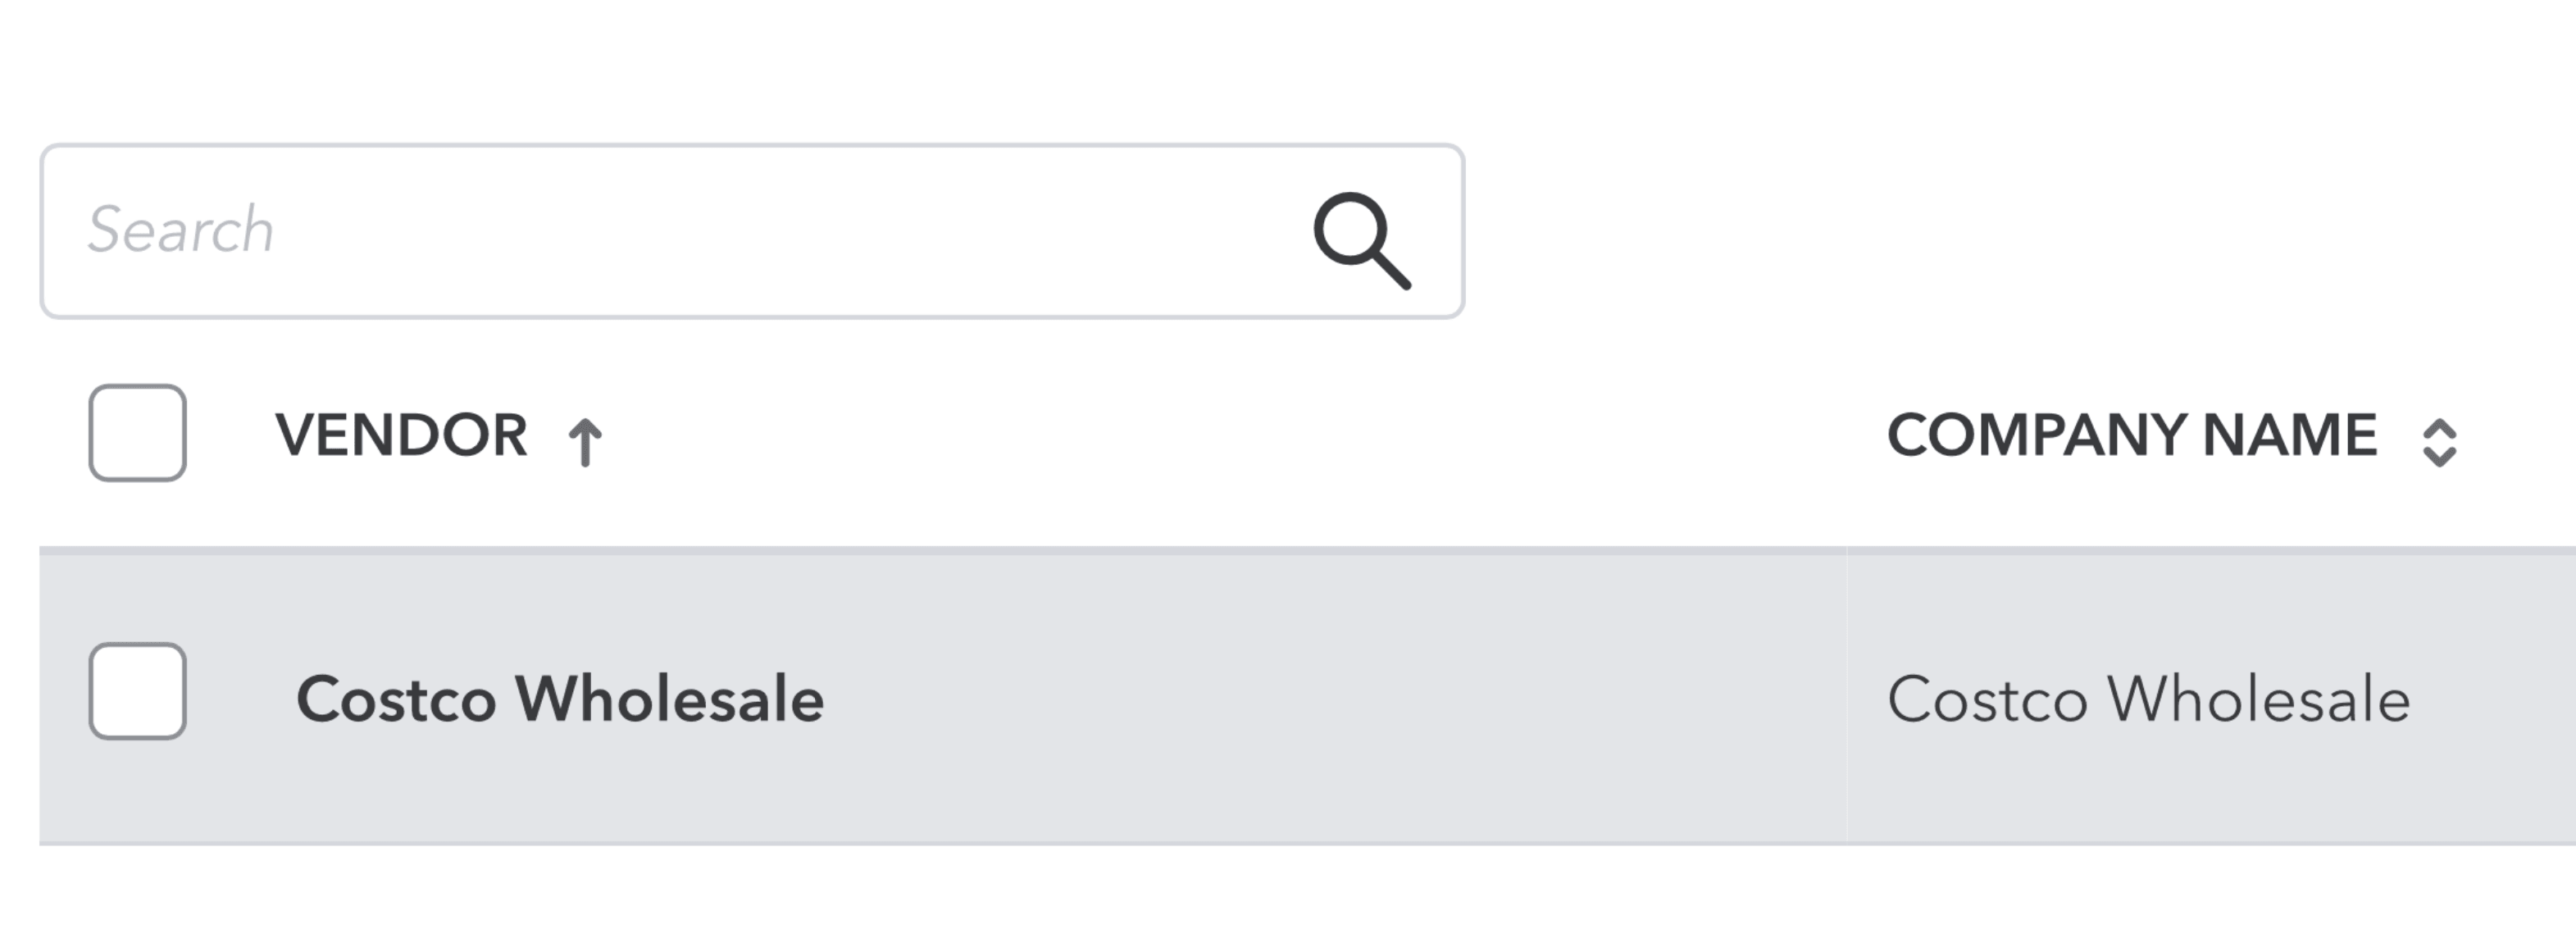
- Look for similar names that may refer to the same vendor
For example, vendors like “Costco” and “Costco Wholesale” may be duplicates.
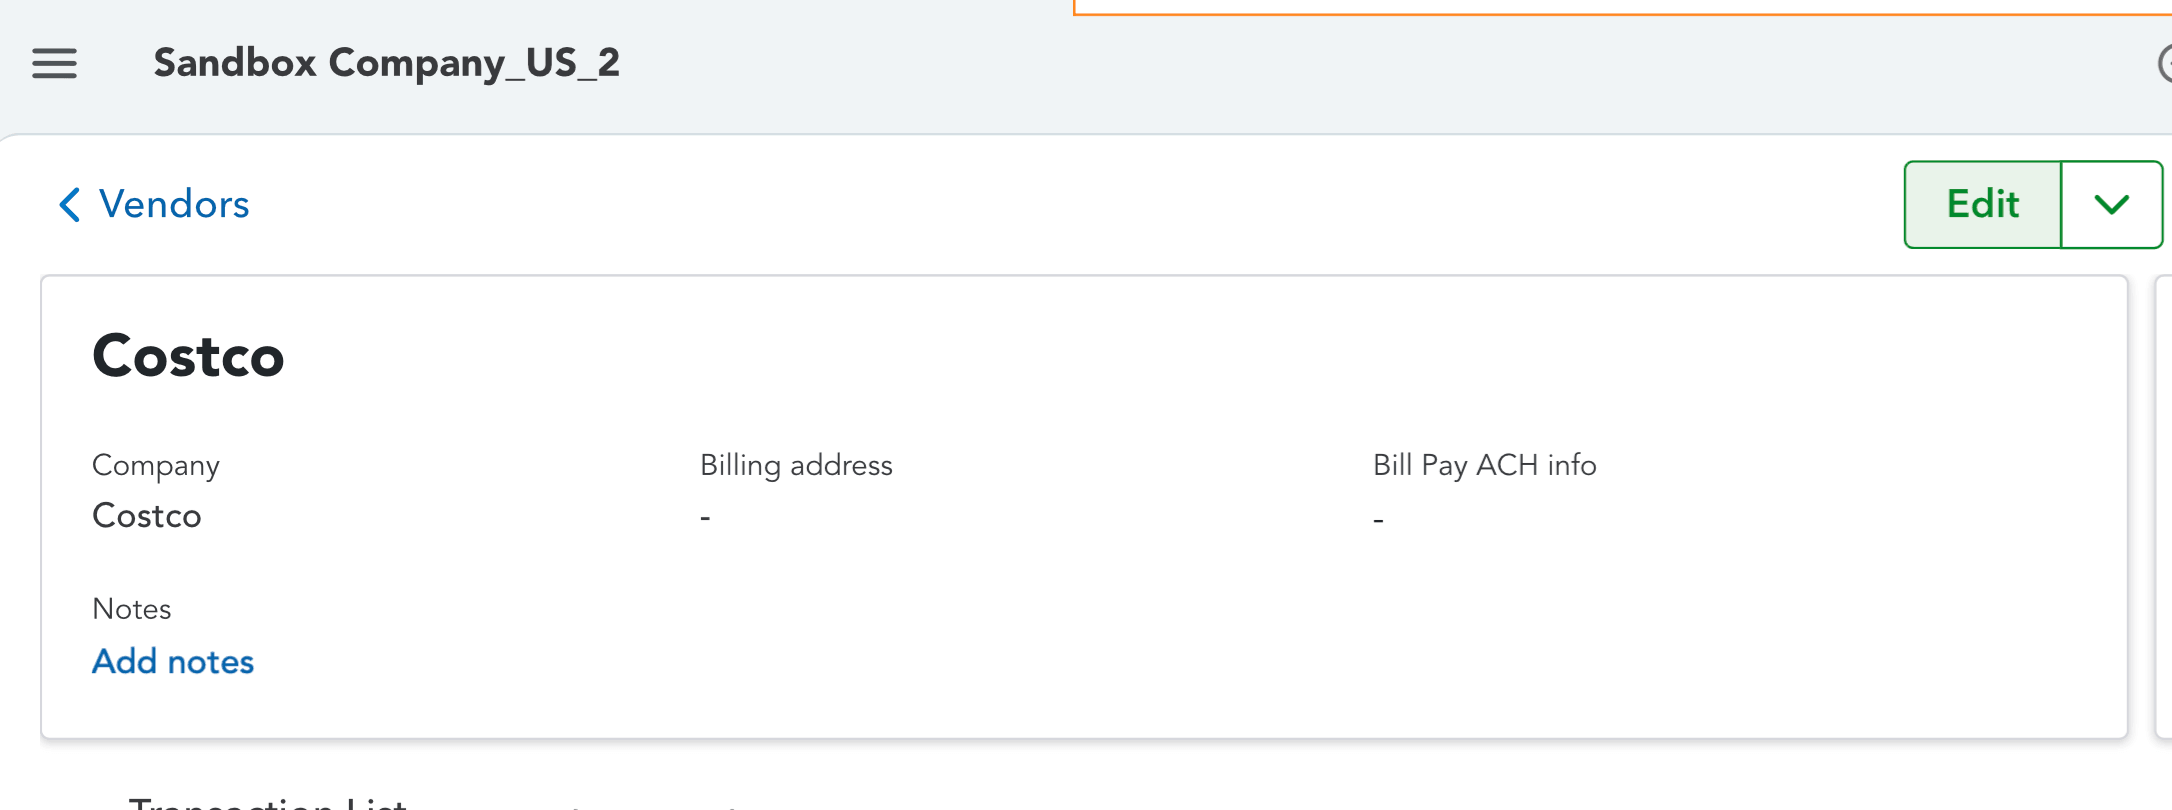
Step 3: Rename the Duplicate Vendor
QuickBooks Online merges vendors by renaming one vendor to match another.
- Open the duplicate vendor
- Click Edit
- Change the vendor name to exactly match the one you want to keep
Example: Rename “Costco” to “Costco Wholesale” to merge both vendors.
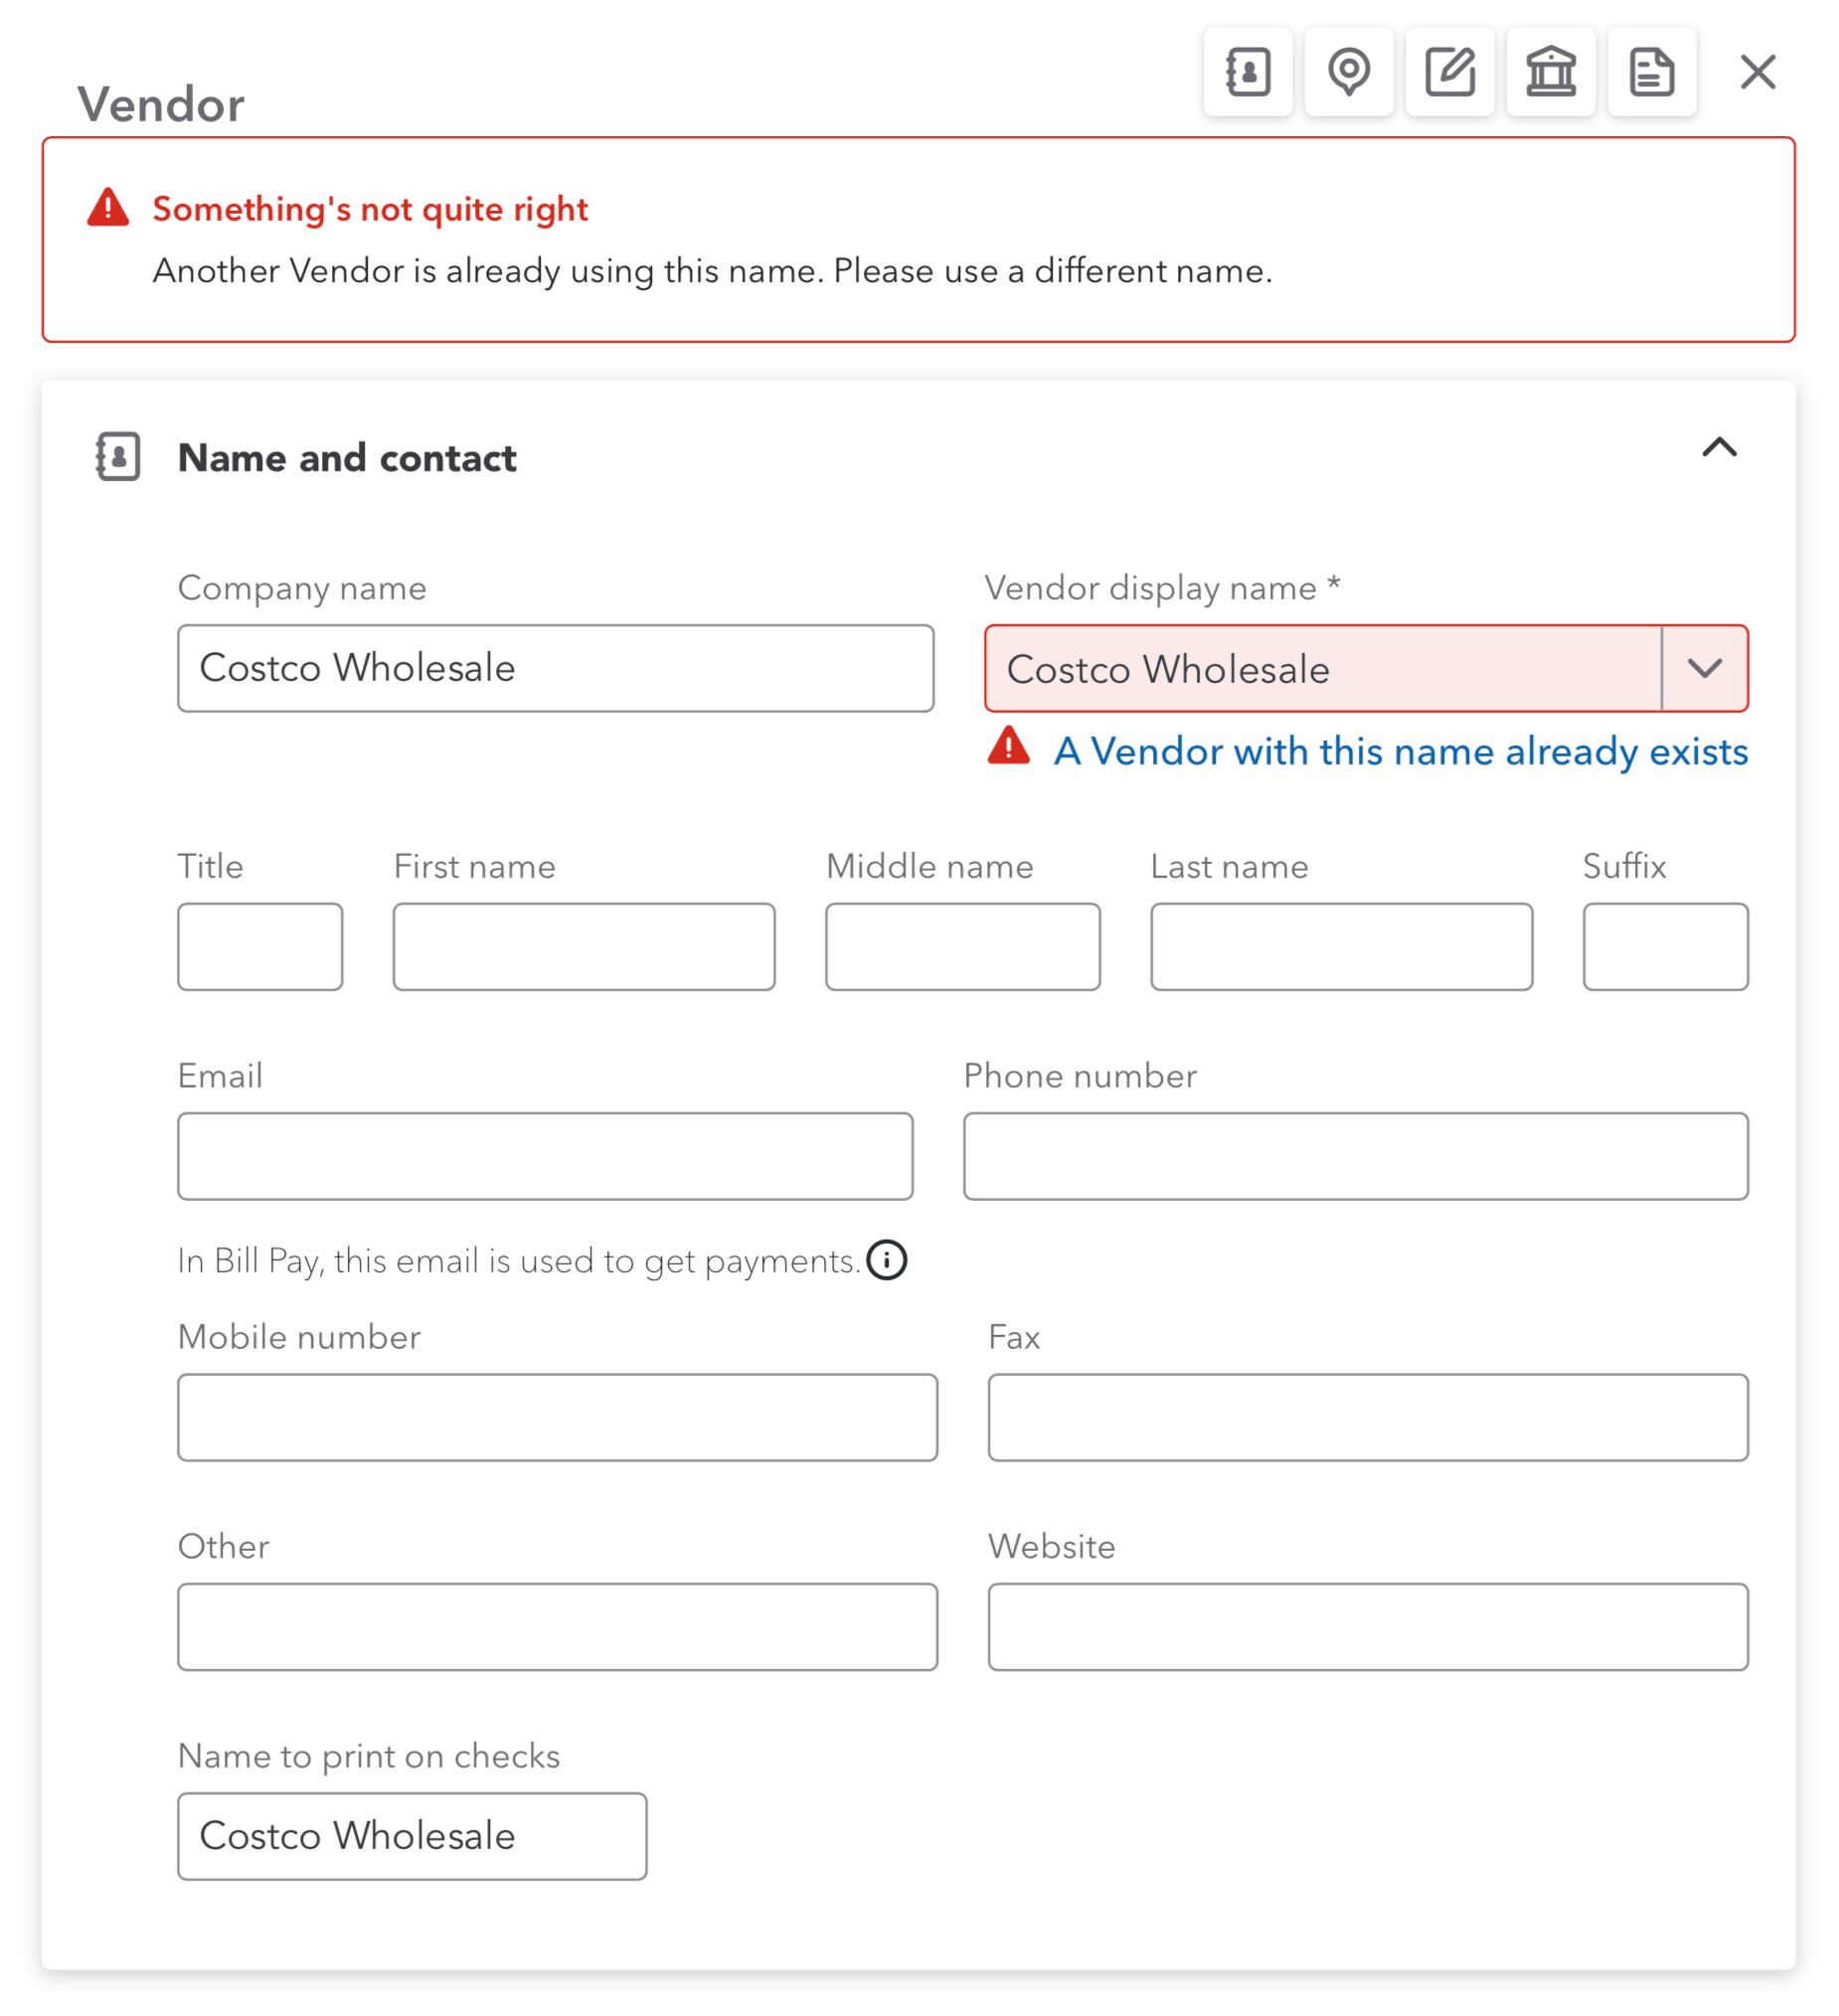
QuickBooks Online merges vendors by renaming one vendor to match another.
- Open the duplicate vendor
- Click Edit
- Change the vendor name to exactly match the one you want to keep
Example: Rename “Costco Wholesale” to “Costco” to merge both vendors.
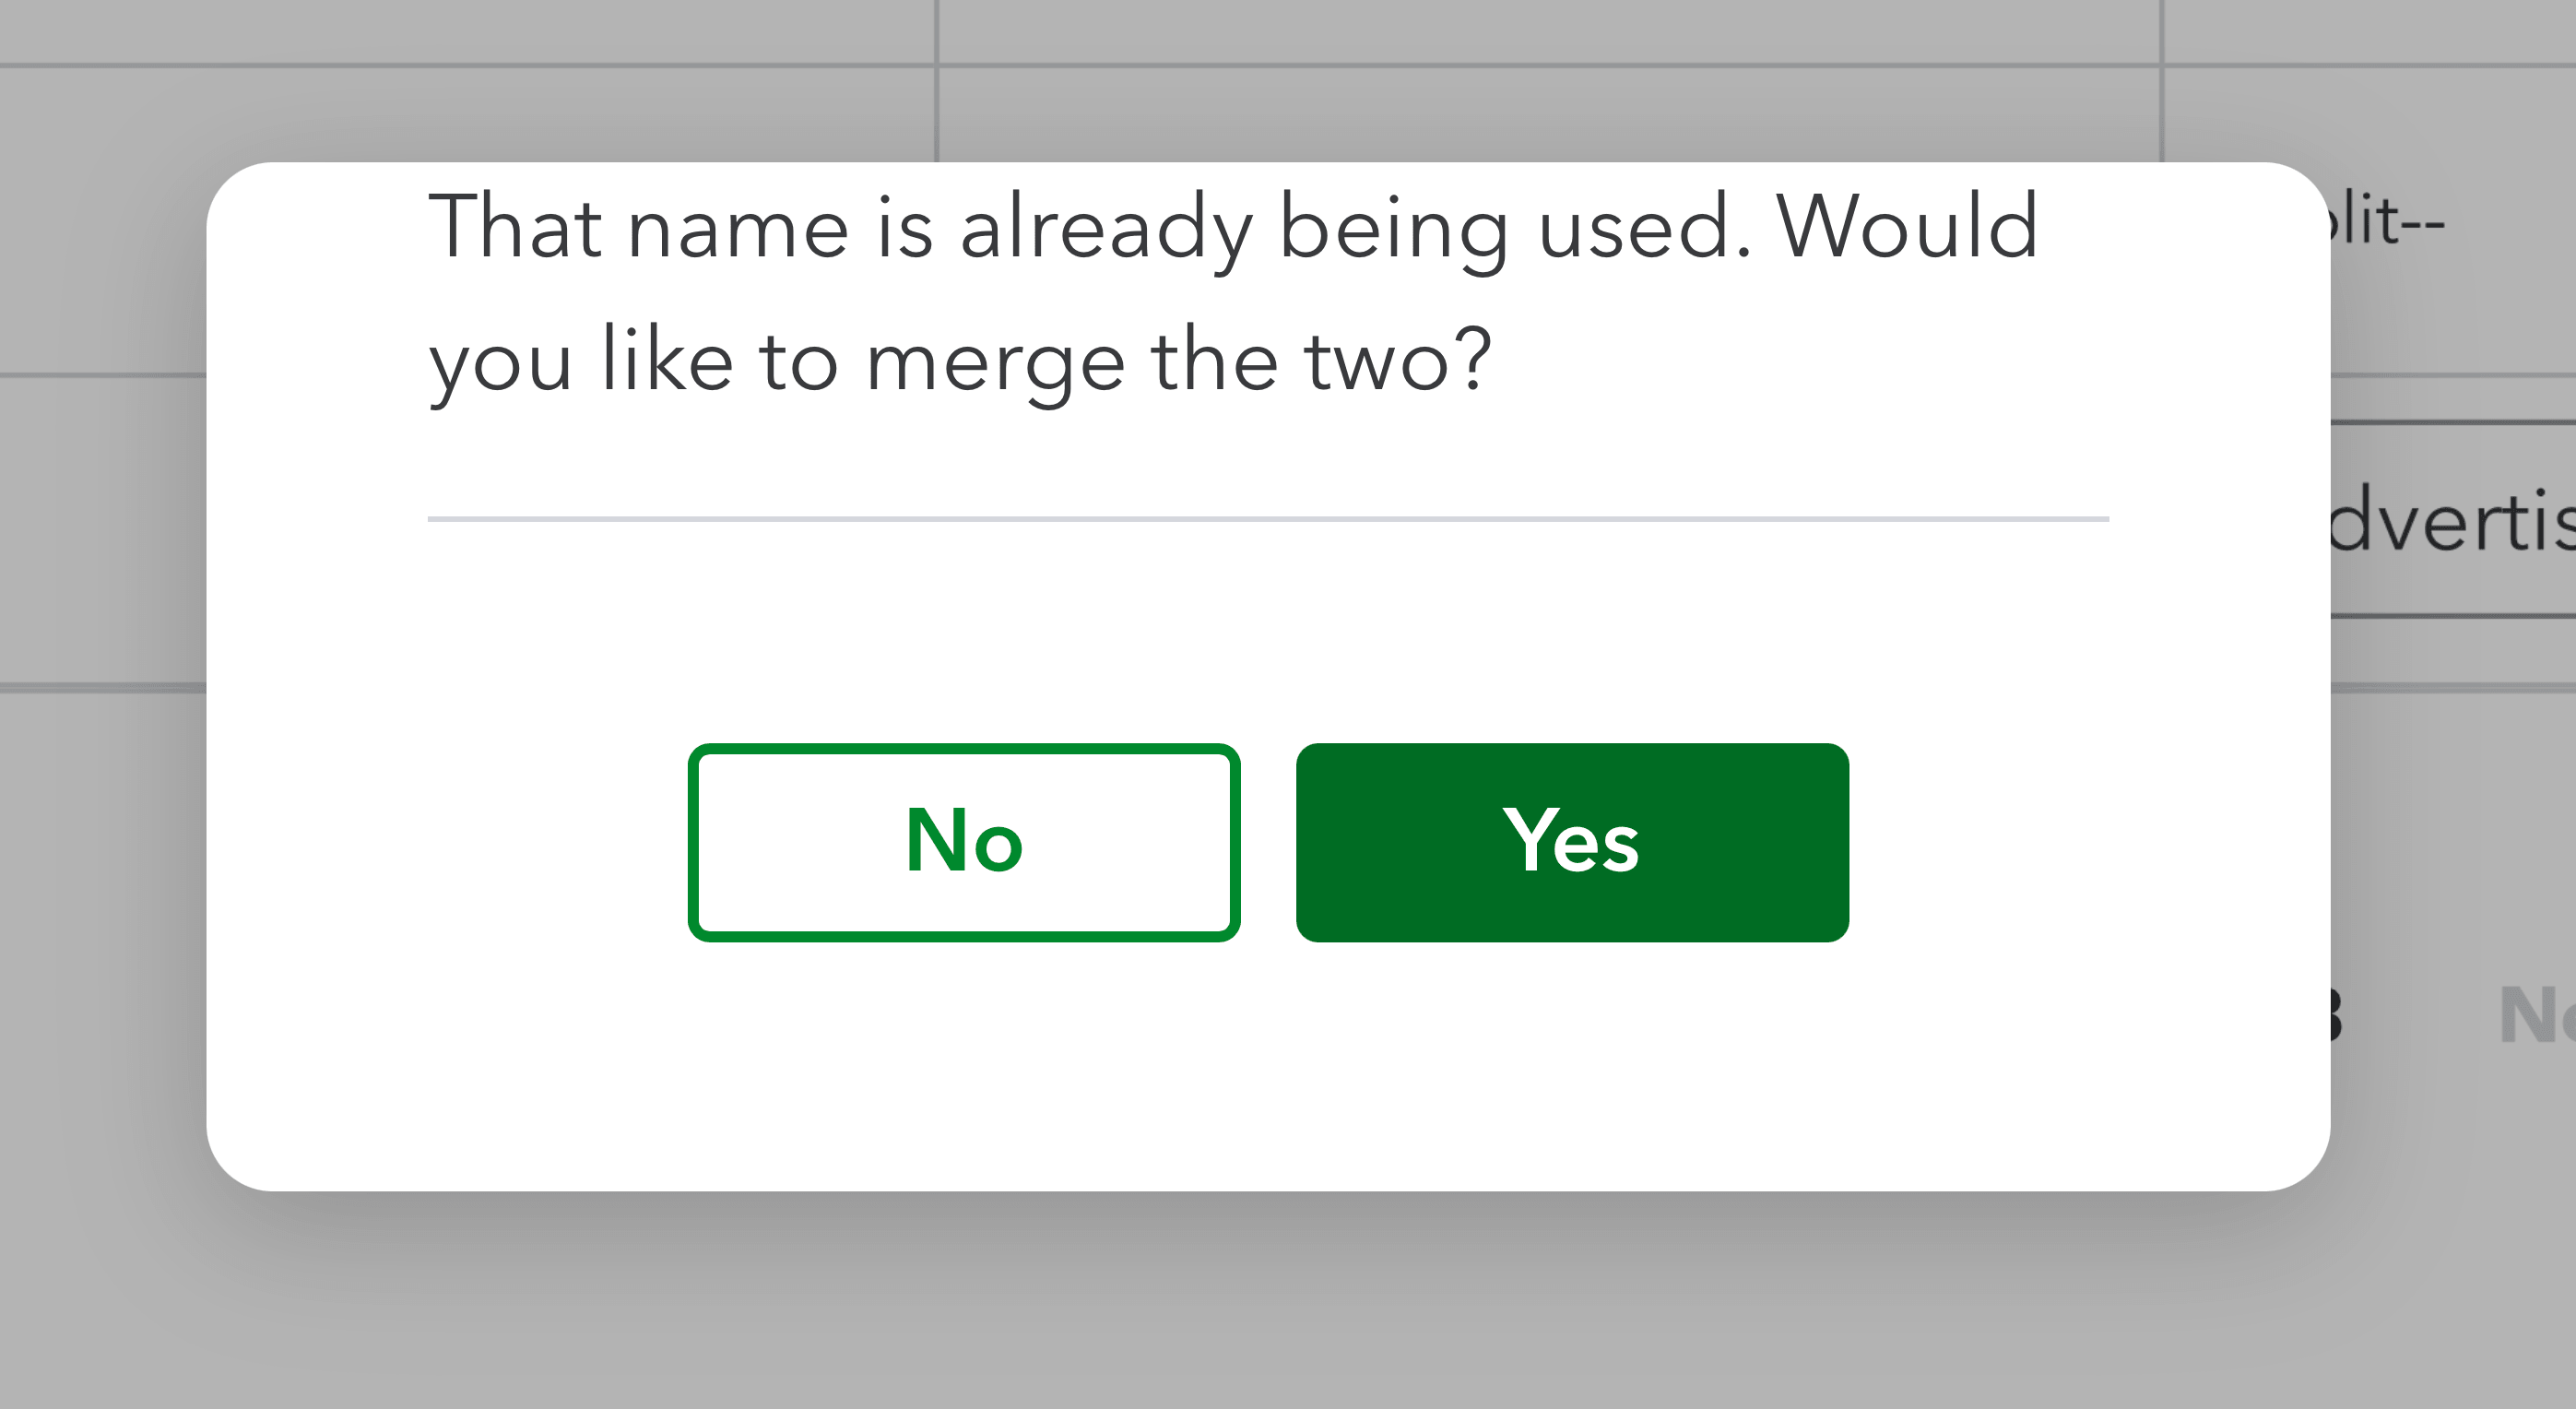
When you do this, QuickBooks may show a warning that the vendor name already exists. This is expected.
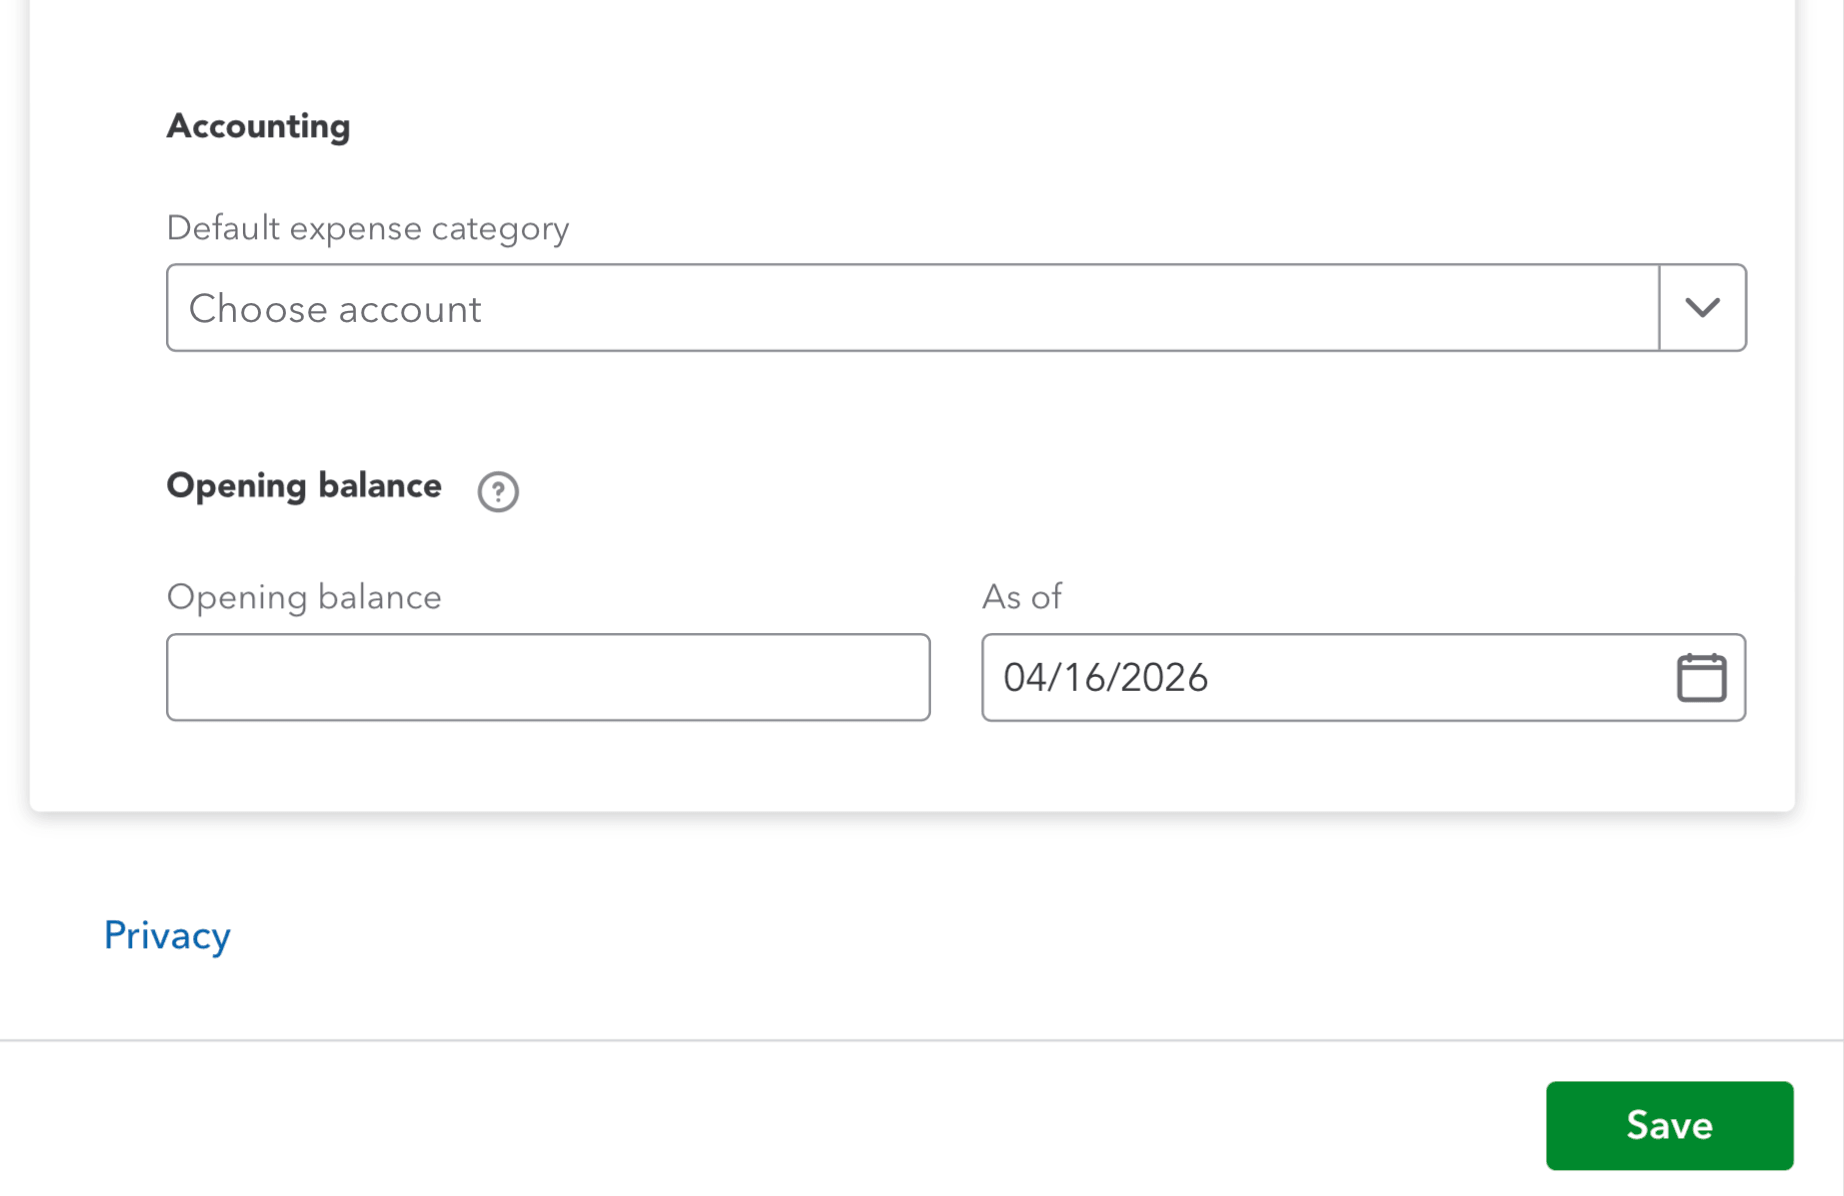
Scroll down to the bottom of the page and click Save to continue.
Step 4: Confirm the Merge
After saving, QuickBooks will ask if you want to merge the two vendors.
- Click Yes to confirm the merge
⚠️ This action cannot be undone.
Step 5: Done
Once completed:
- The duplicate vendor is removed
- All transactions are merged into the remaining vendor
Your vendor list is now clean and organized.
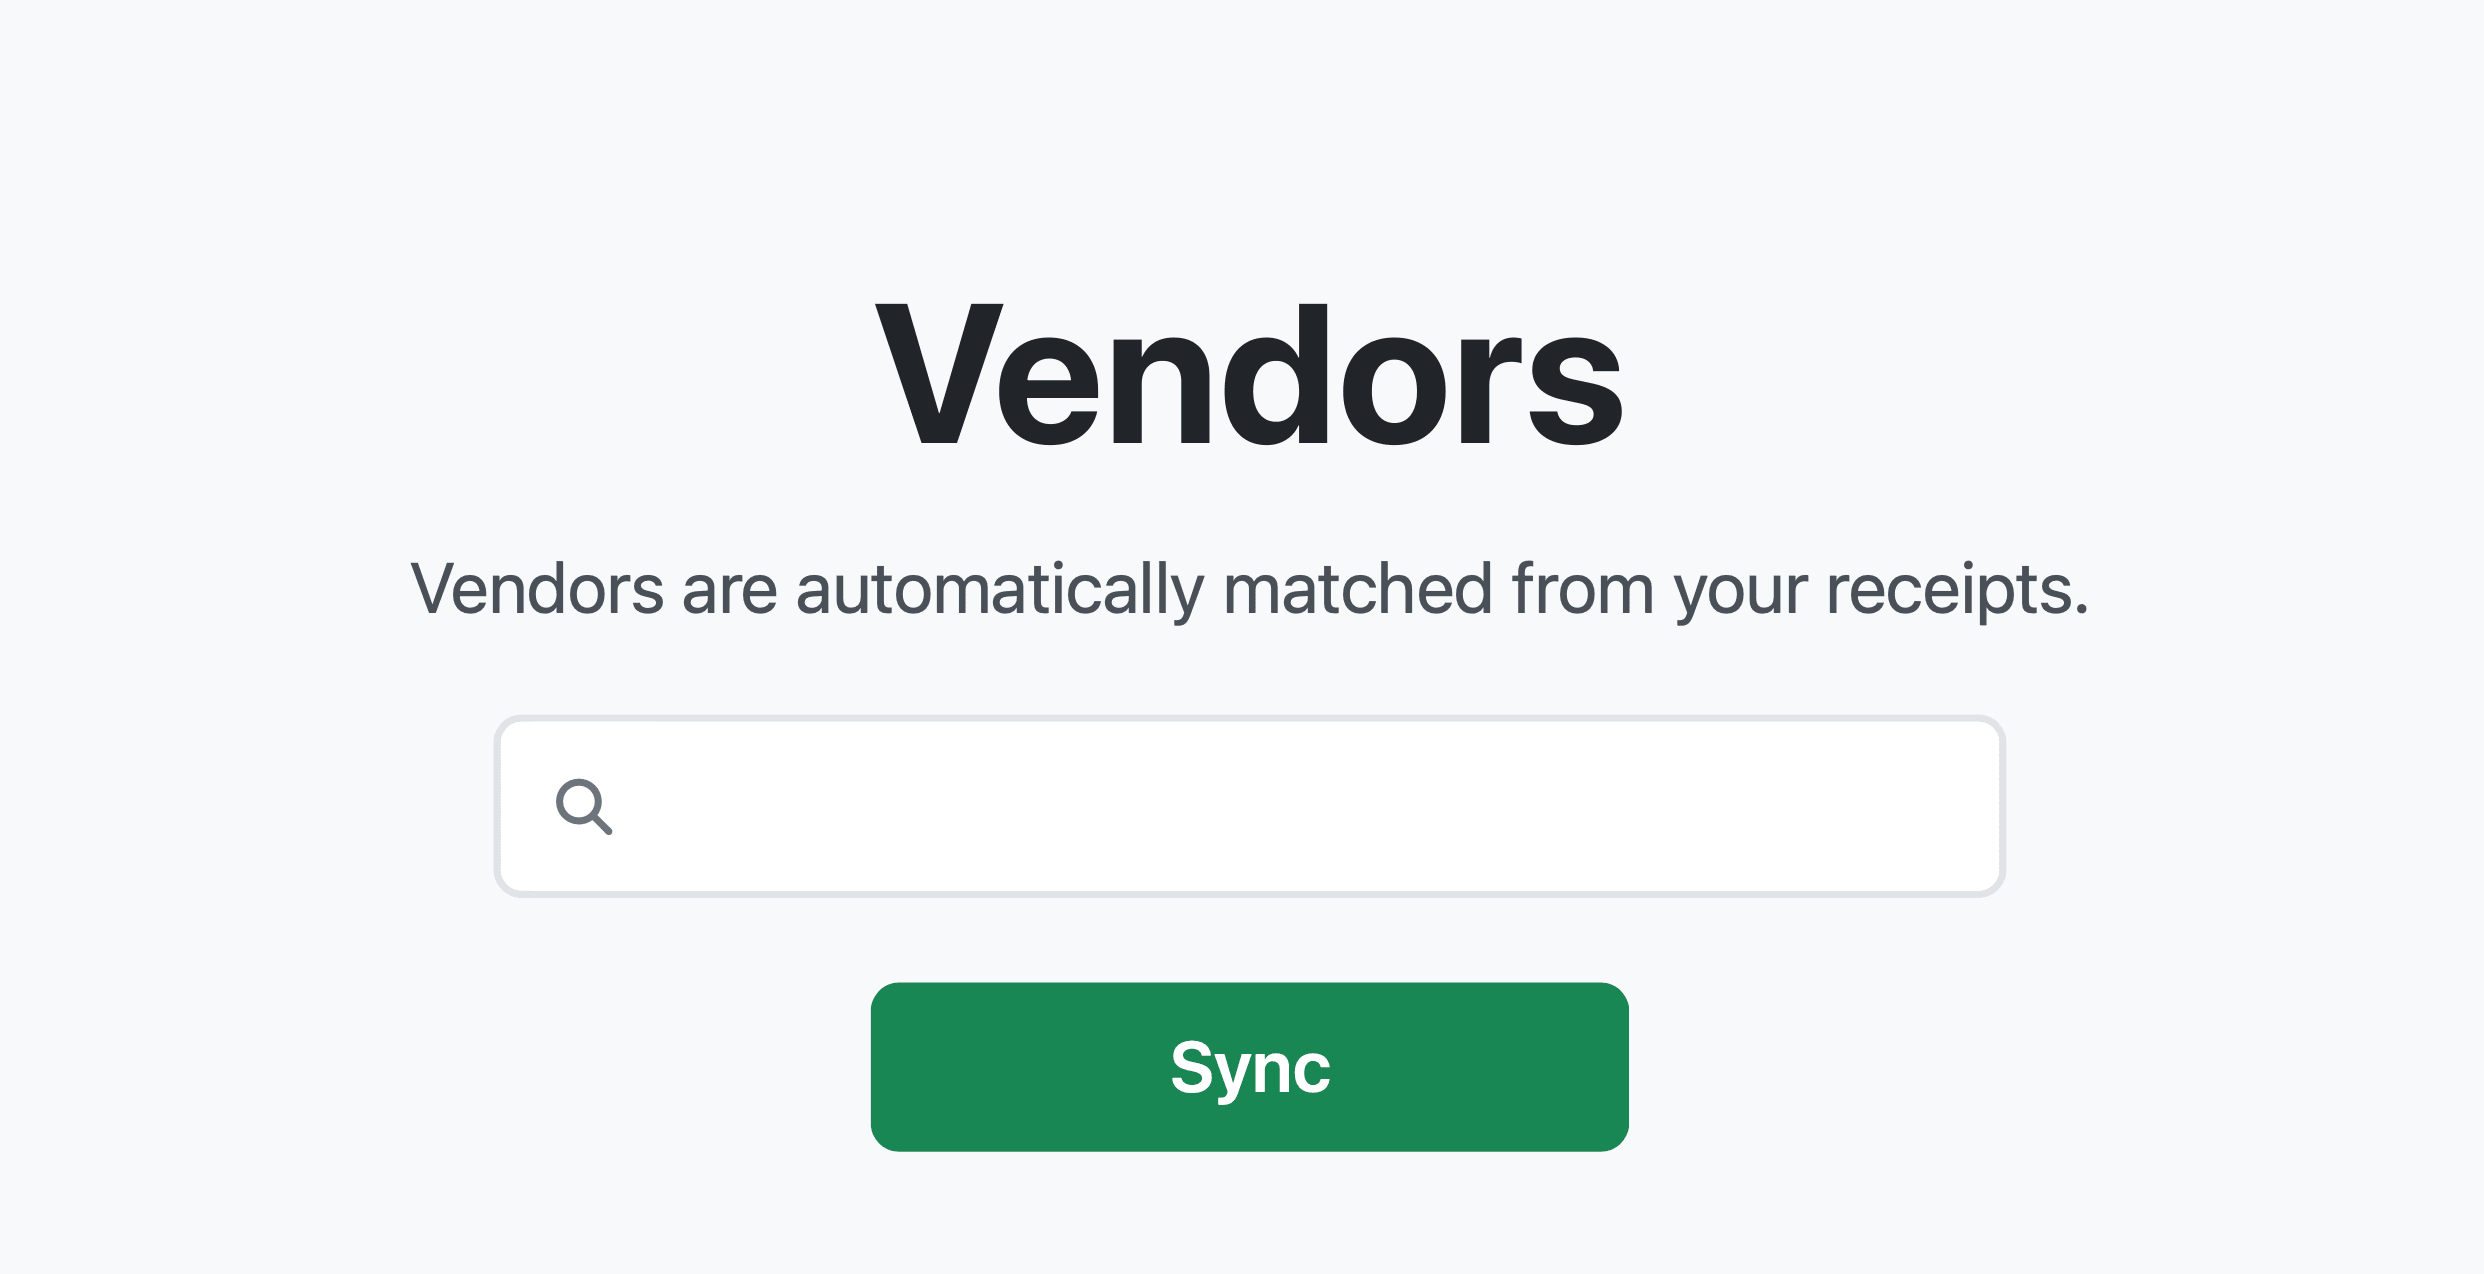
Next Step: Sync with Receipt AI
After cleaning up your vendors in QuickBooks Online, you can sync them with Receipt AI.
- Go to the Vendors page in Receipt AI
- Click Sync
This ensures your vendor data stays up to date automatically.
Your QuickBooks vendors are now clean and organized — sync them with Receipt AI to keep everything up to date automatically.
Try Receipt AI today and eliminate duplicate vendors for good.