In this guide, we’ll show you the three ways receipts from Receipt AI can appear in Xero — from simple files to fully itemized transaction. Use the quick links below to jump to the section you need:
1. Receipt as a File Only
The most basic setup is when a receipt is sent into Xero through Receipt AI but isn’t automatically turned into a spend money transaction. Instead, it shows up simply as a stored file (PDF, JPG, PNG, etc.) inside Xero.
How it looks
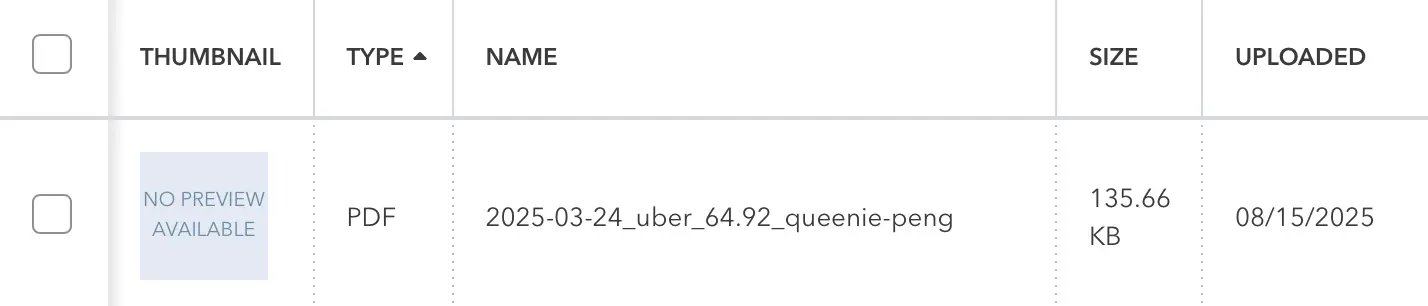
The uploaded file (for example, 2025-03-24_uber_64.92_queenie-peng.pdf) will be available in Xero → Files. No transaction is created — just the receipt itself.

Why it’s useful
- Compliance and audits: Keep receipts stored in Xero for audit purposes.
- Flexibility: Attach later to a bill, match to a bank feed, or keep as record-only.
- Control: Avoid auto-creating transactions with every uploaded receipt.
How to enable in Receipt AI
- Connect Receipt AI to your Xero account.
- Do not enable One-Click Reconciliation.
- Leave Line Item in Accounting Software disabled.
- Receipts will flow into Xero only as files, without transactions or line items.
Perfect for businesses that want control over how receipts are used, without forcing them into transactions right away.
Automate receipts in Xero
Text receipts by SMS and watch them sync directly into Xero with full line item details. No apps. No manual entry.
Start Free Trial2. Receipt Linked to a Spend Money Transaction
The next level is when a receipt uploaded through Receipt AI is not just stored in Xero but also automatically linked to a new Spend Money transaction. This ensures the expense is recorded in your books at the same time the receipt is saved.
How it looks
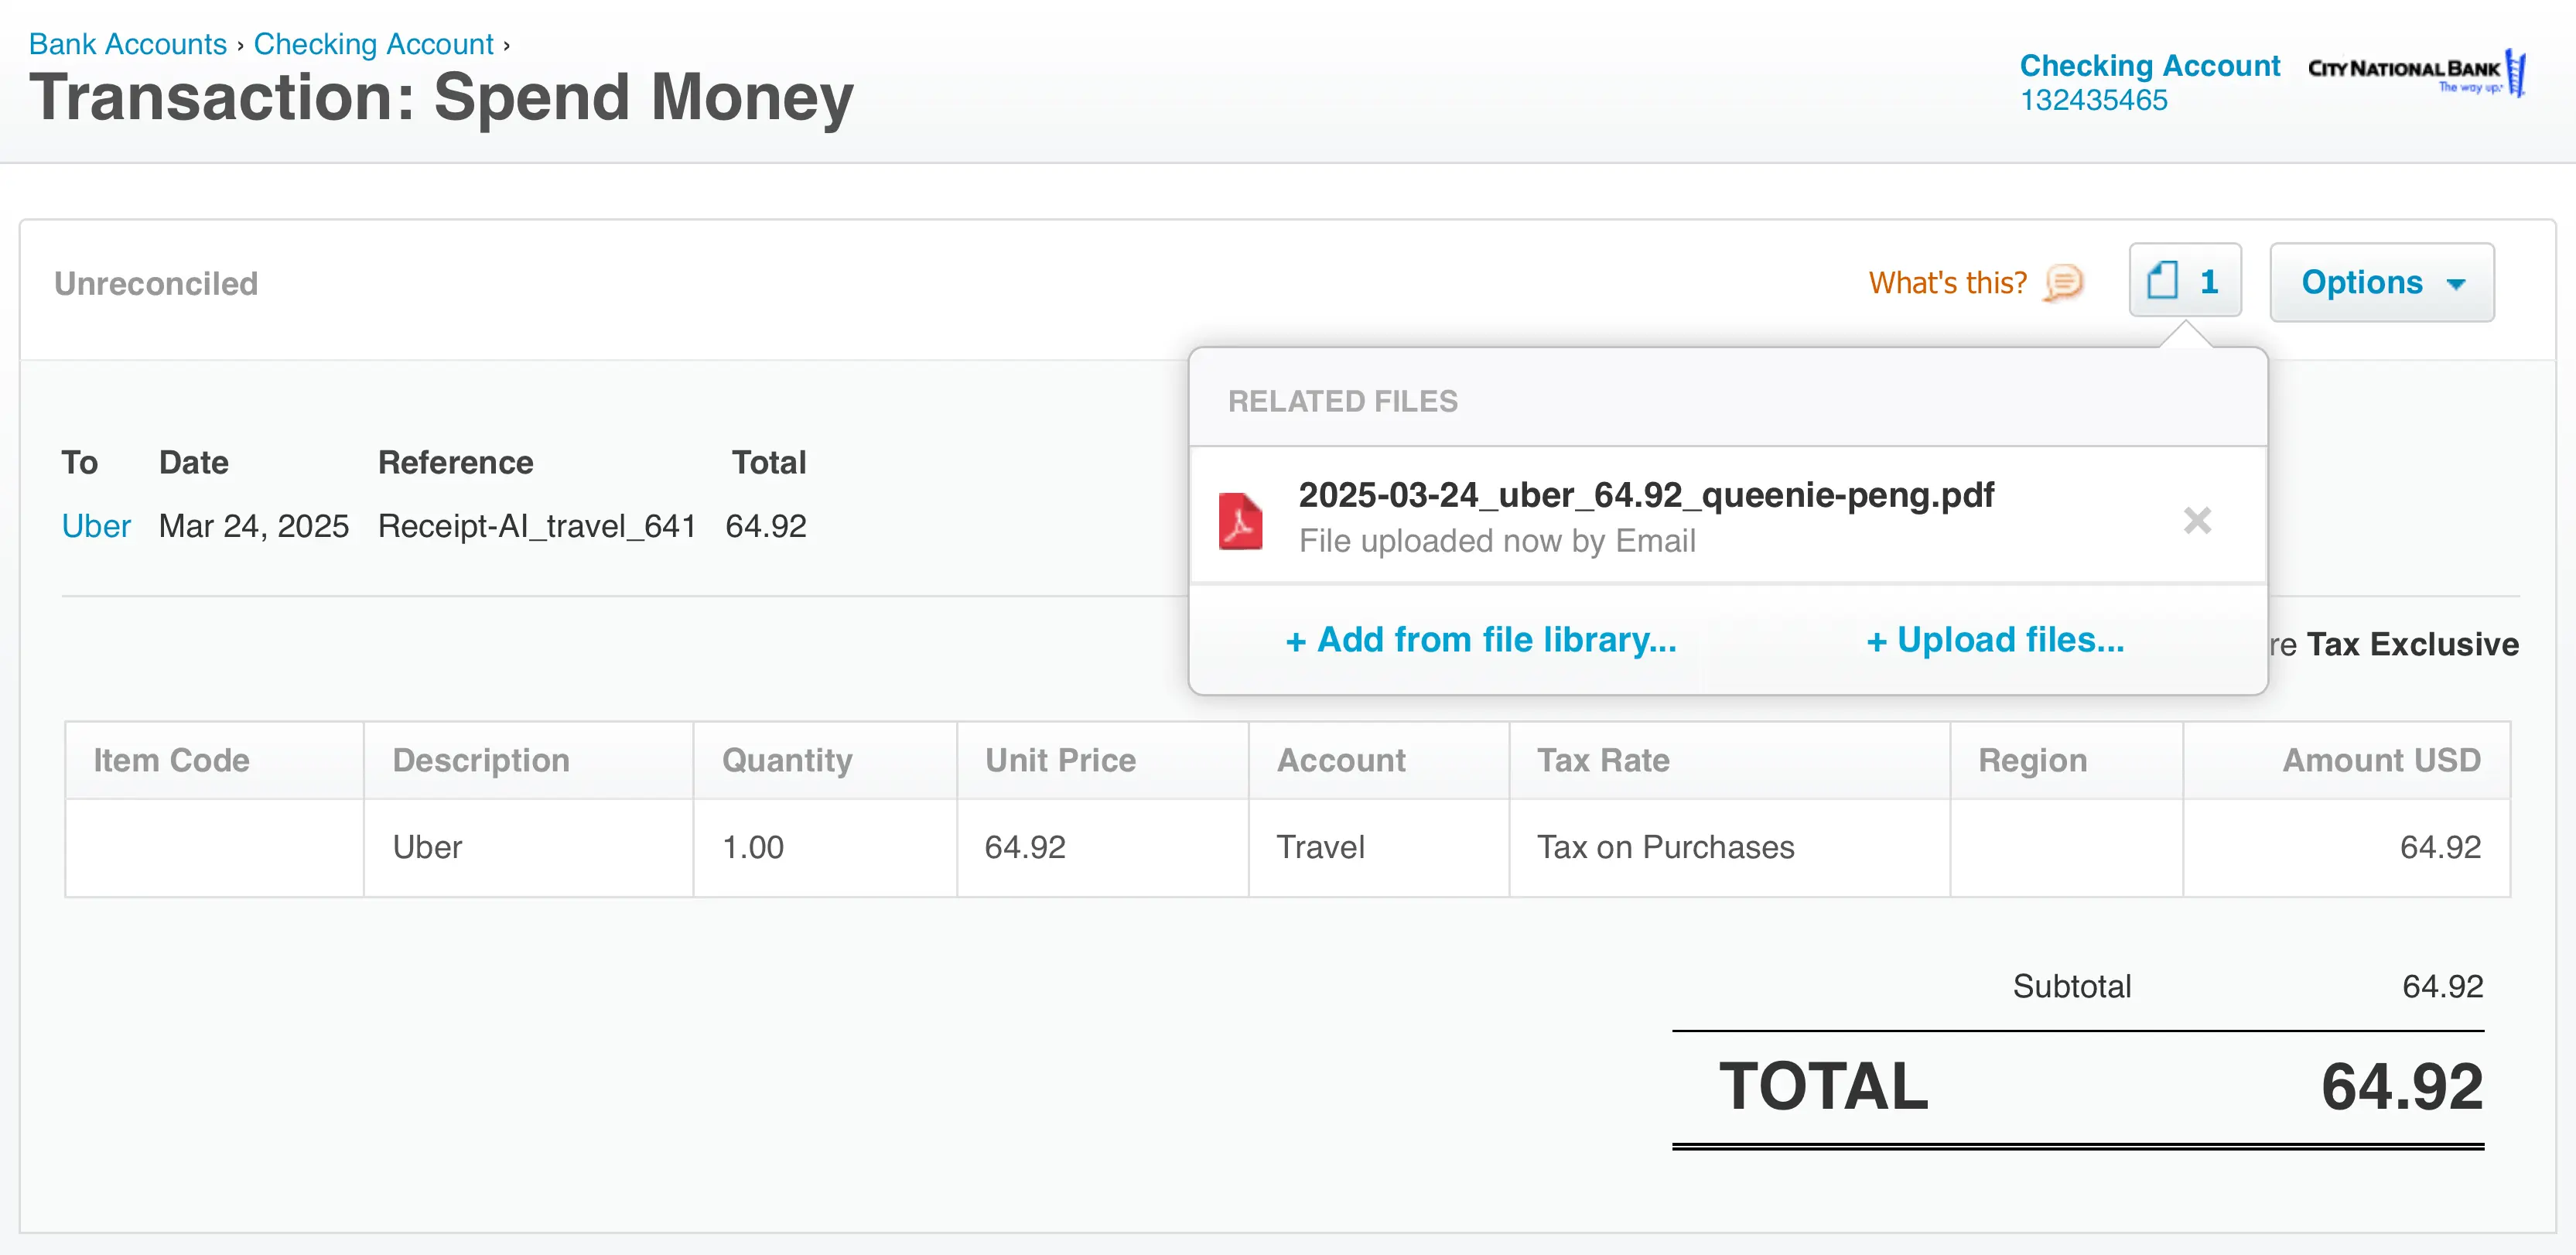
In Xero, you’ll see a Spend Money transaction (for example, Payee: Uber, Amount: $64.92, Account: Travel) with the receipt file attached. The Reference field is filled with the Receipt AI Receipt ID (e.g., RA-48291) for traceability.
Why it’s useful
- Automation: Each receipt instantly becomes a transaction.
- Traceability: Receipt AI ID ensures every transaction can be tracked.
- Audit-ready: Receipts + permanent ID provide compliance proof.
- Efficiency: Simplifies reviews, approvals, and reconciliations.
How to enable in Receipt AI
- Connect Receipt AI to your Xero account.
- Turn on One-Click Reconciliation.
- Leave Line Item in Accounting Software disabled.
- Set up your Chart of Accounts in Receipt AI for auto-categorization.
- Each processed receipt will then create a Spend Money transaction with:
- 📎 Receipt file attached
Best for businesses that want receipts + transactions seamlessly linked, with a built-in audit trail.
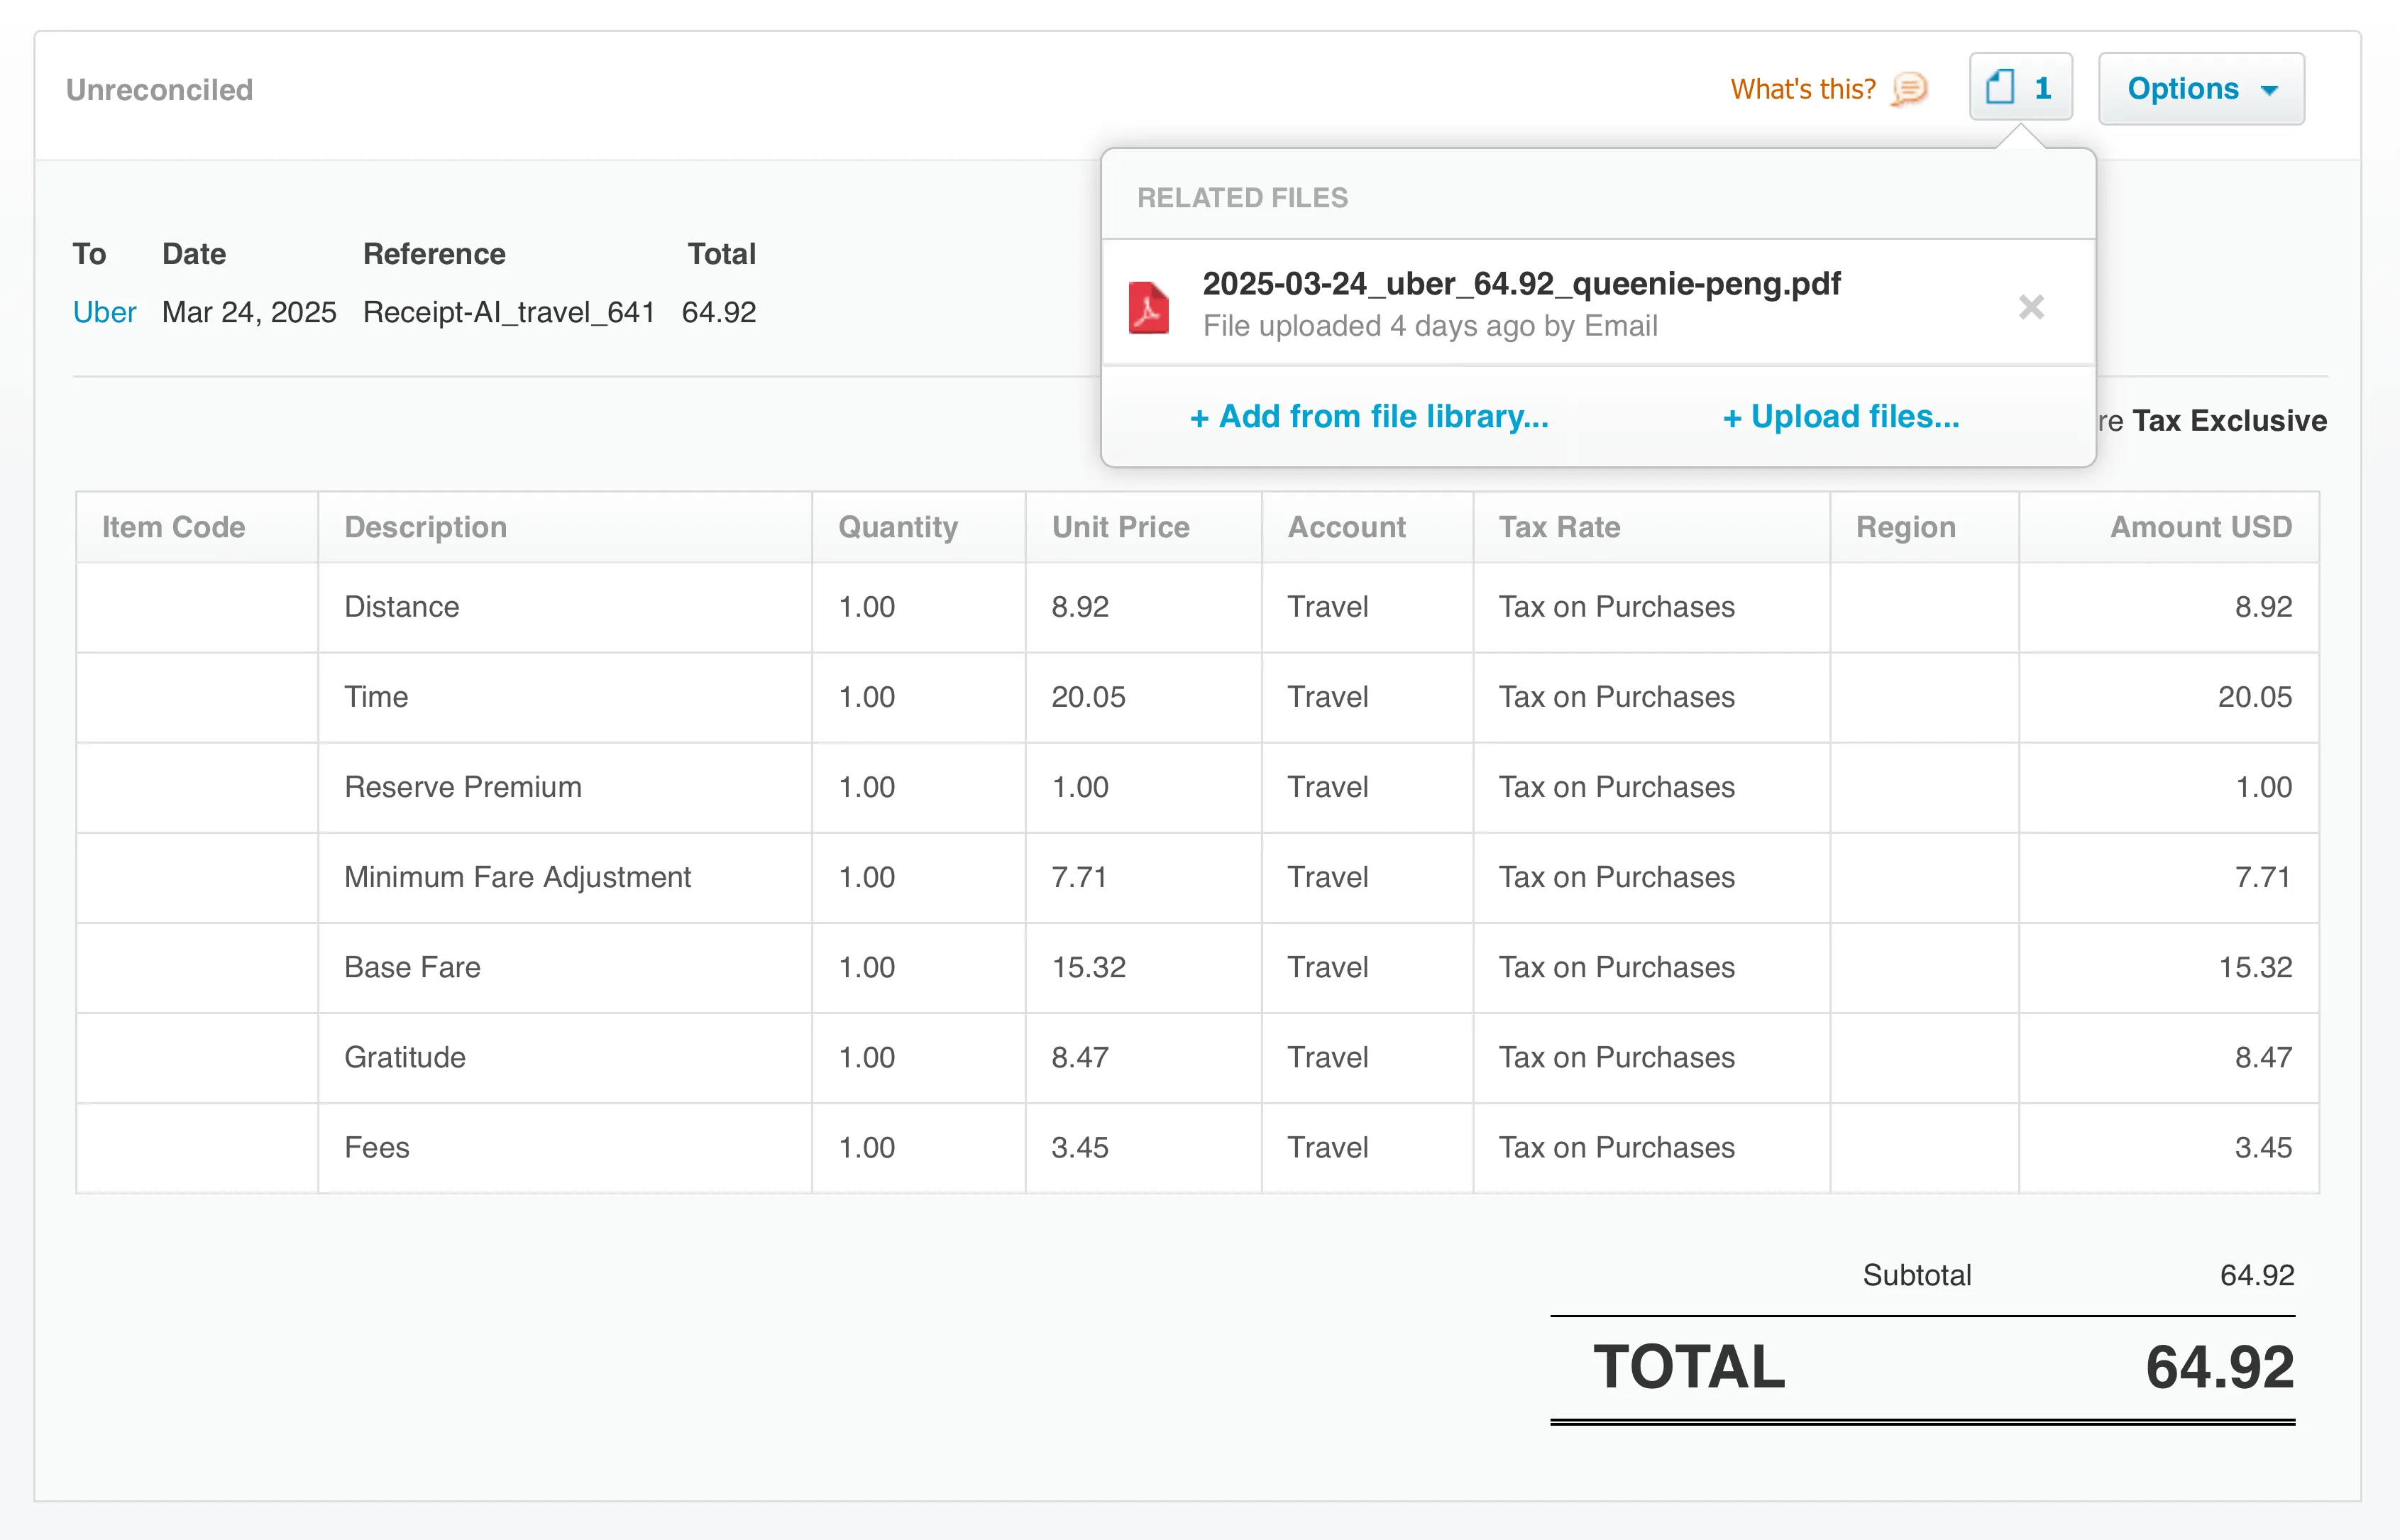
3. Receipt Linked to a Spend Money Transaction with Line Item Details
For businesses needing detailed breakdowns, Receipt AI will soon support line item sync into Xero. Instead of one lump-sum, each receipt will be split into expense lines.
How it will look
In Xero, a $64.92 Uber receipt could be broken into:
- Distance: $8.92
- Time: $20.05
- Reserve Premium: $1.00
- Base Fare: $15.32
- Gratuity: $8.47
- Fee: $3.45
The receipt file will still be attached, and the Reference field will include the Receipt AI ID (e.g., 641).
Why it’s useful
- Accurate accounting: Costs broken down line by line.
- AI-powered categorization: Mapped to your Chart of Accounts.
- Audit-ready reports: Receipts + Receipt AI IDs attached.
- Insights: See spend breakdown (e.g., tips vs fares).
How to enable in Receipt AI
- Connect Receipt AI to your Xero account.
- Turn on One-Click Reconciliation and Line Item in Accounting Software.
- Set up your Chart of Accounts in Receipt AI — the AI will categorize each line item automatically.
- Each processed receipt will then create a fully itemized expense in Xero with the receipt attached.
This mode is best for businesses that want the highest level of detail, with AI ensuring each line is classified correctly.
Frequently Asked Questions about Receipt AI and Xero
1. Does Receipt AI work with Xero?
Yes. Receipt AI integrates with Xero on the Business Basic plan and higher. Once connected, receipts can sync as attachments, spend money transactions, or line items. You can switch between these formats anytime.
2. Why can’t I connect to Xero on my current plan?
The Pro plan is for individuals and does not include accounting software sync. To use Xero integration, you will need to upgrade to the Business Basic or higher plan from your dashboard → Edit Subscription.
3. How do I connect my Xero account to Receipt AI?
After upgrading to the Business Basic plan or higher:
- Go to your Receipt AI dashboard.
- Click Connect to Xero.
- Sign in with your Xero account and follow the onboarding process.
Your receipts will then appear in Xero in the format you selected.
4. Do edits to receipts automatically sync to Xero?
Any edits you make in Receipt AI after a receipt is uploaded will automatically update in Xero once it has synced.
You’ll see a Xero icon below each receipt once it has been uploaded to Xero.
5. Where can I find the receipt or transaction created in Xero?
Click the Xero icon below each receipt to view it directly in Xero. You can also find all synced receipts under Files or Account Transactions in your Xero account.
Note: All three sync modes (attachments, spend money transactions, and line items) can be changed easily at any time without re-uploading your receipts.
Learn more:
how Receipt AI automates refund receipts in Xero
.