Thursday, April 16, 2026

How to Merge Duplicate Contacts in Xero (Step-by-Step Guide)

Share this article:

Keeping your contact list clean in Xero is essential for accurate records and smooth bookkeeping. If you’ve created duplicate contacts, you can merge them so that all transactions are consolidated under a single contact.

Follow the step-by-step guide below to merge duplicate contacts in Xero.


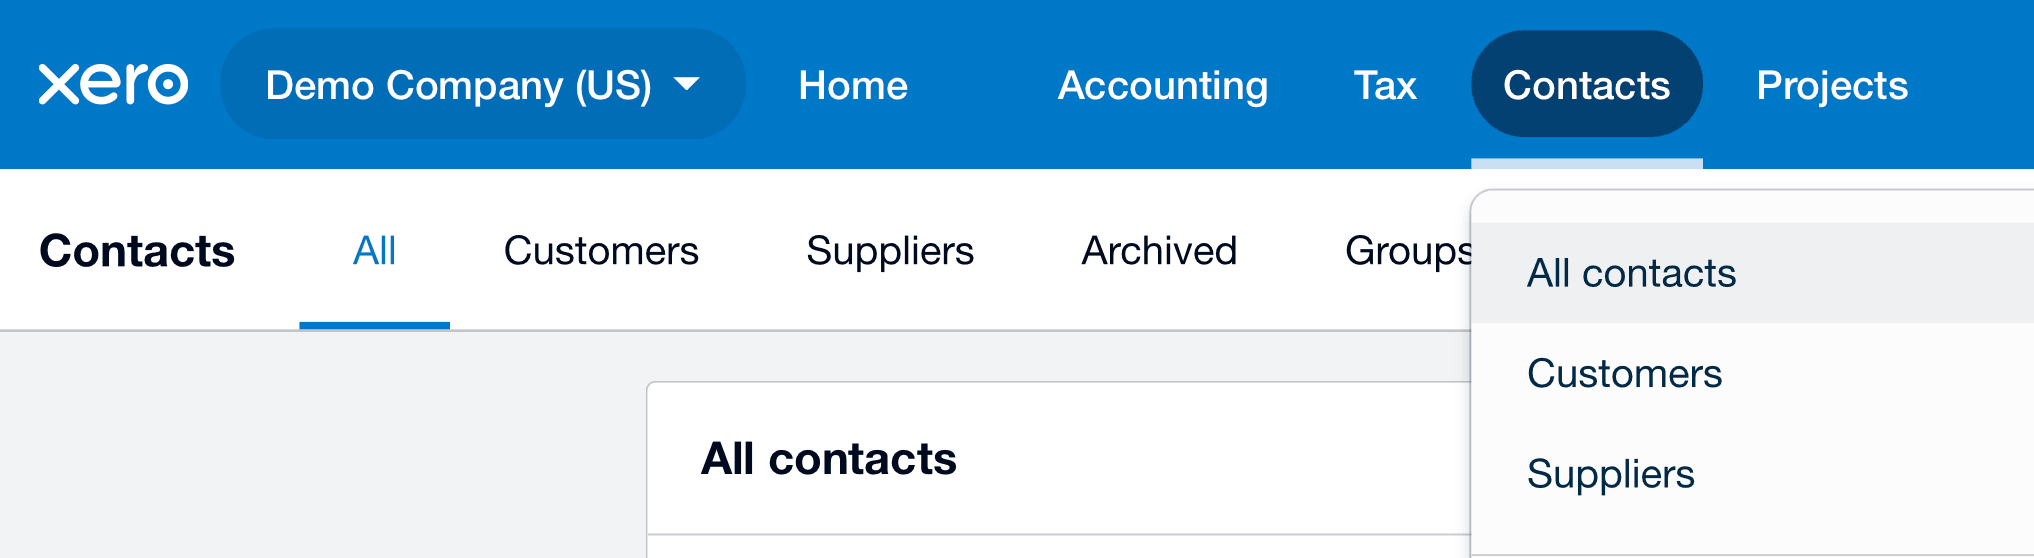
Step 1: Go to Your Contacts List

Log in to your Xero account, then go to Contacts > All Contacts from the top navigation bar.

Xero dashboard showing navigation to Contacts and All Contacts page
Go to Contacts > All Contacts from the top navigation bar in Xero.

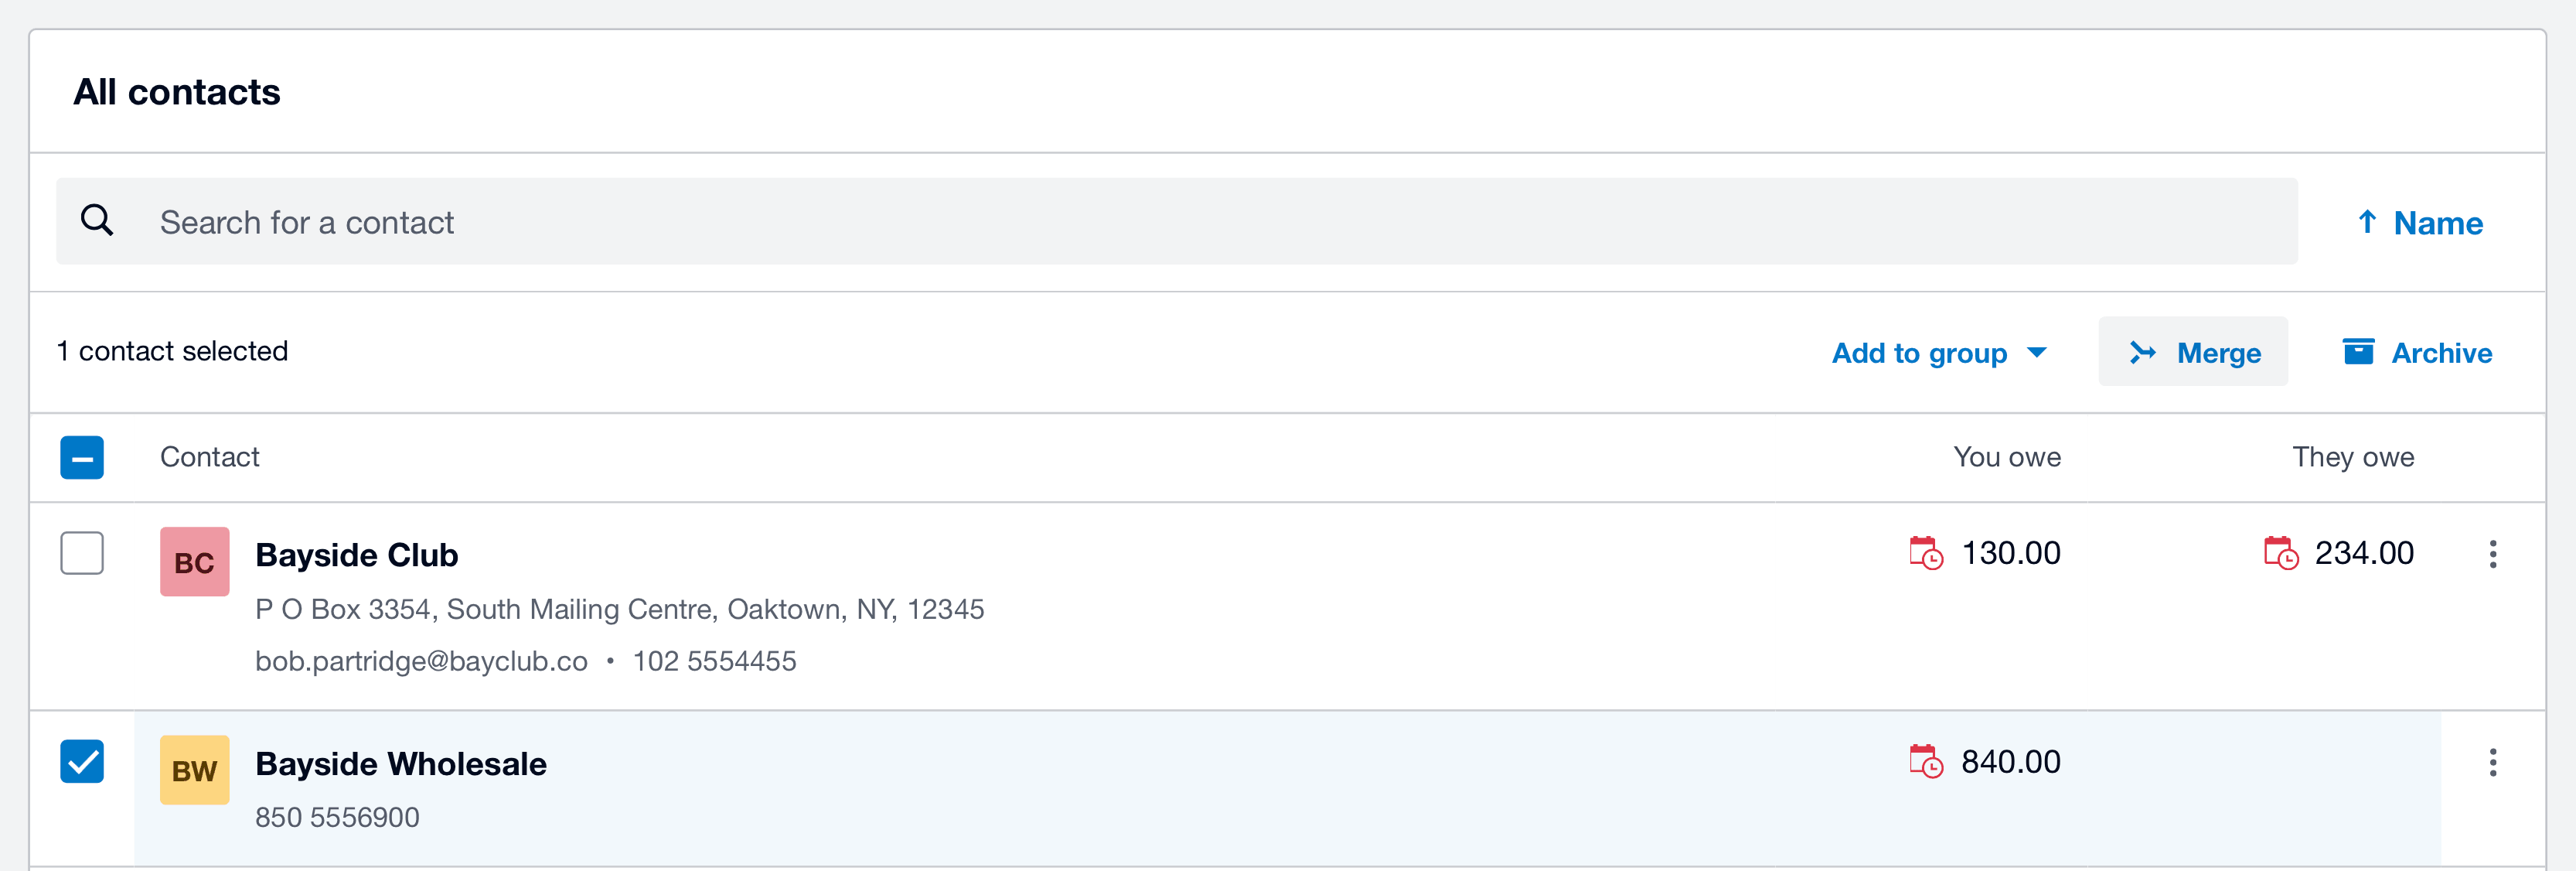
Step 2: Select the Contact You Want to Remove

Find the duplicate contact you no longer want to keep.

  • Click on the contact (e.g., Bayside Wholesale)
  • Click Merge

Note: The selected contact will be archived after merging.

Xero contacts list showing duplicate contacts with merge option selected
Select the duplicate contact you want to remove, then click Merge to begin combining records.

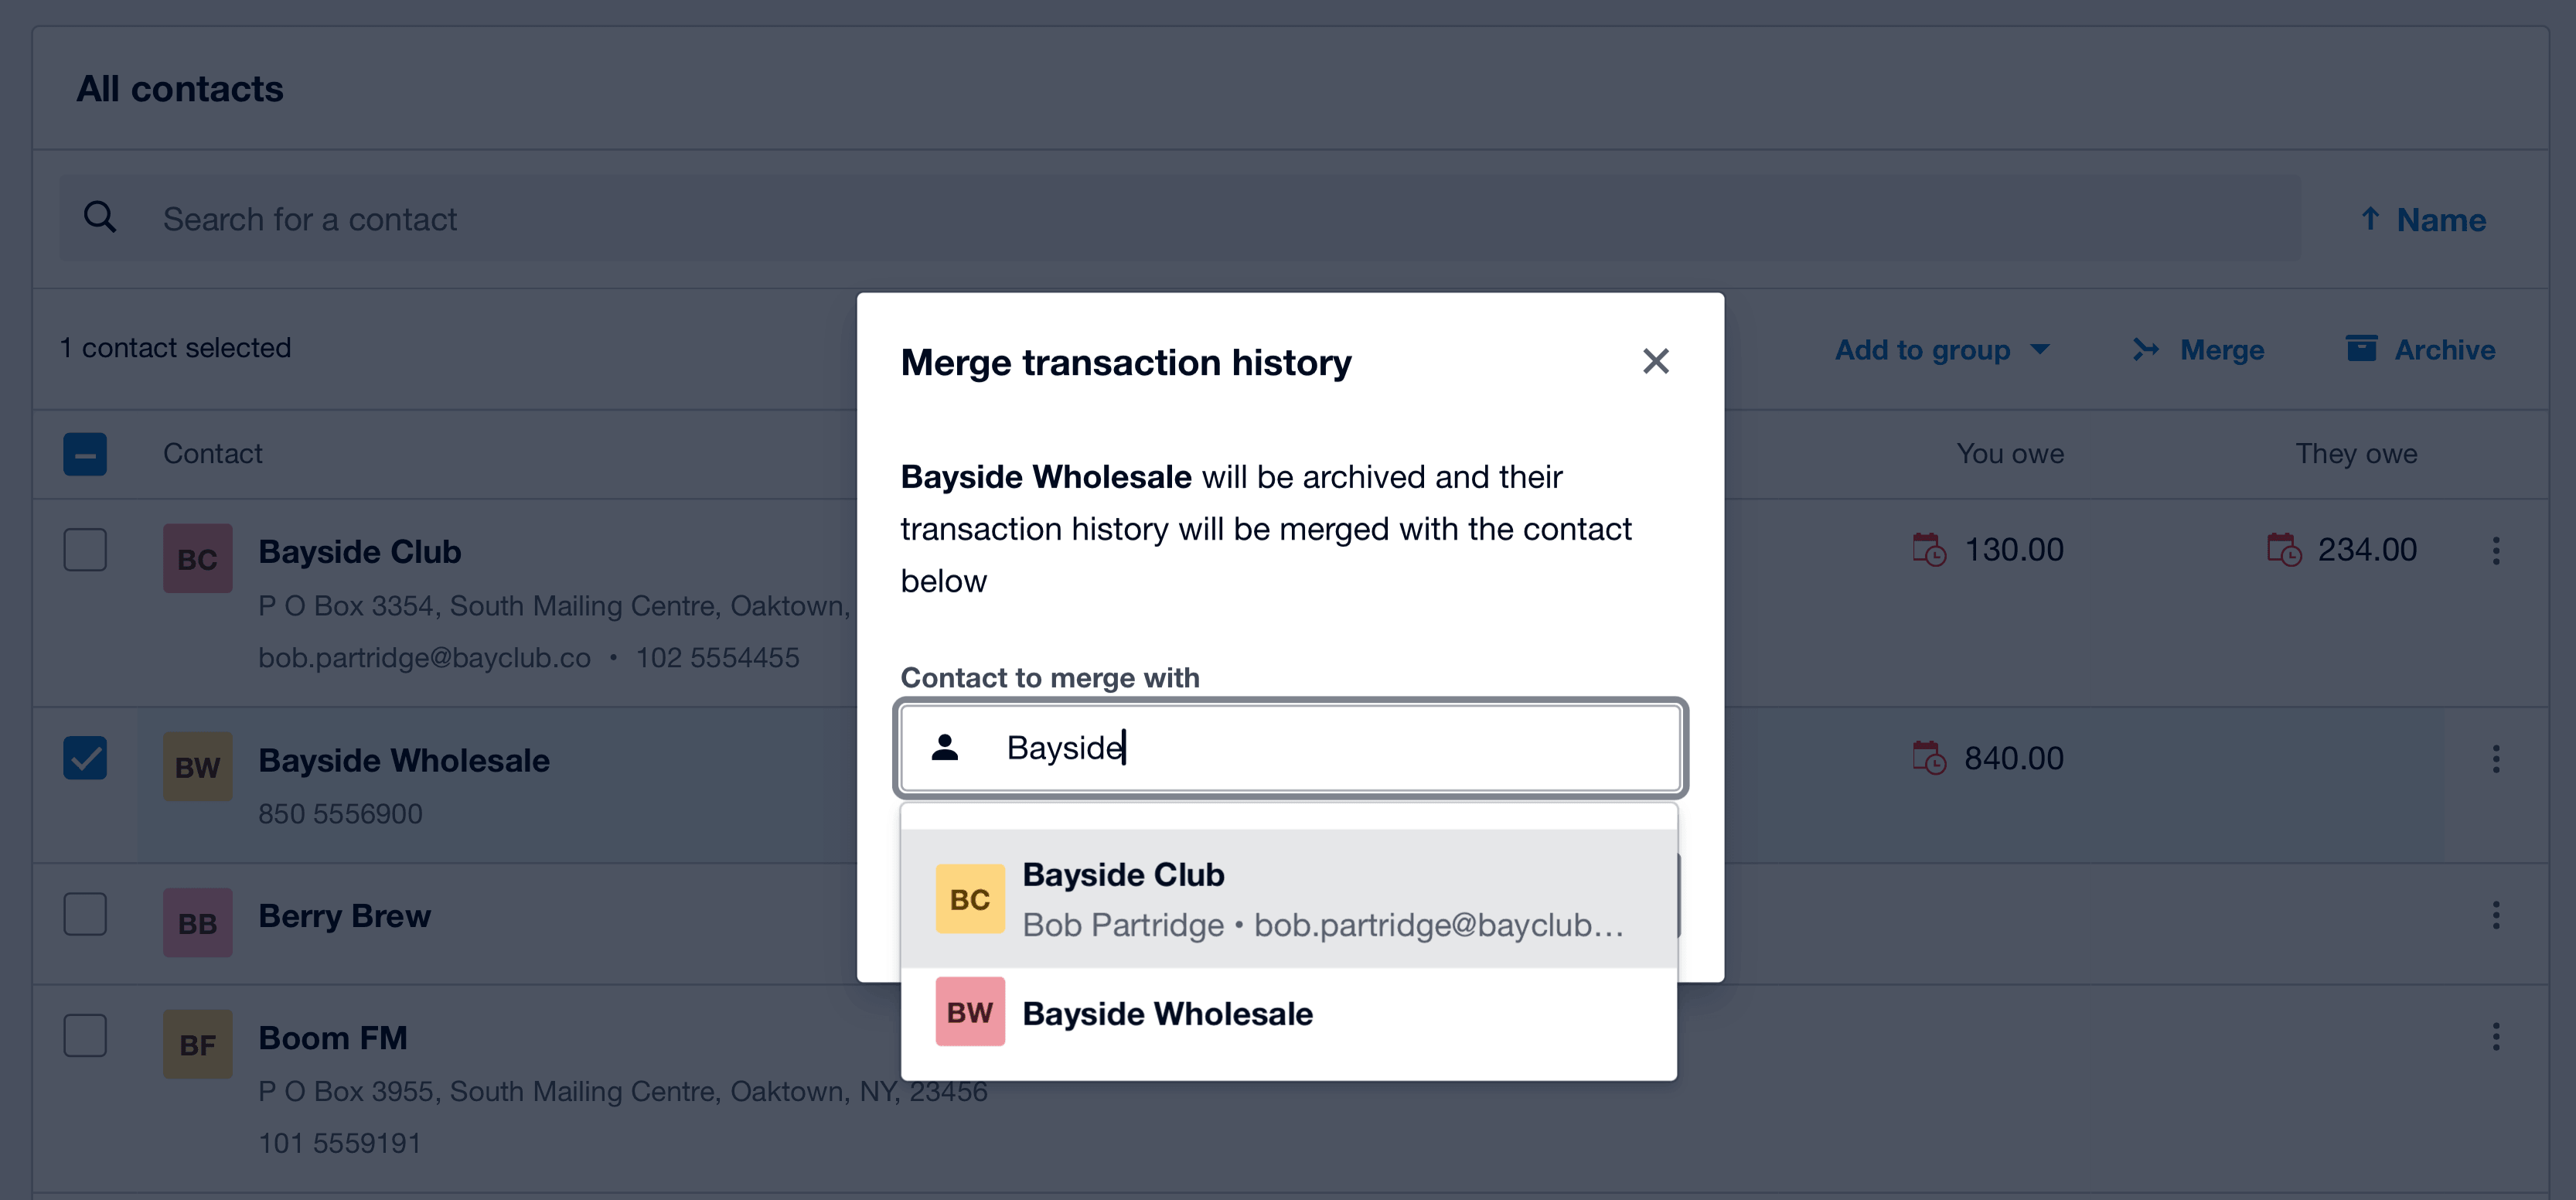
Step 3: Choose the Contact to Merge Into

A dialog box will appear explaining that the selected contact will be archived and its transaction history will be merged.

  • Search for the contact you want to keep (e.g., Bayside Club)
  • Select it and click Merge
Xero merge contacts dialog showing Bayside Wholesale being merged into Bayside Club
Search and select the contact you want to merge into, then proceed with the merge.
Xero merge confirmation dialog showing Bayside Wholesale merging into Bayside Club with Merge button highlighted
Review the selected contact, then click Merge to confirm.

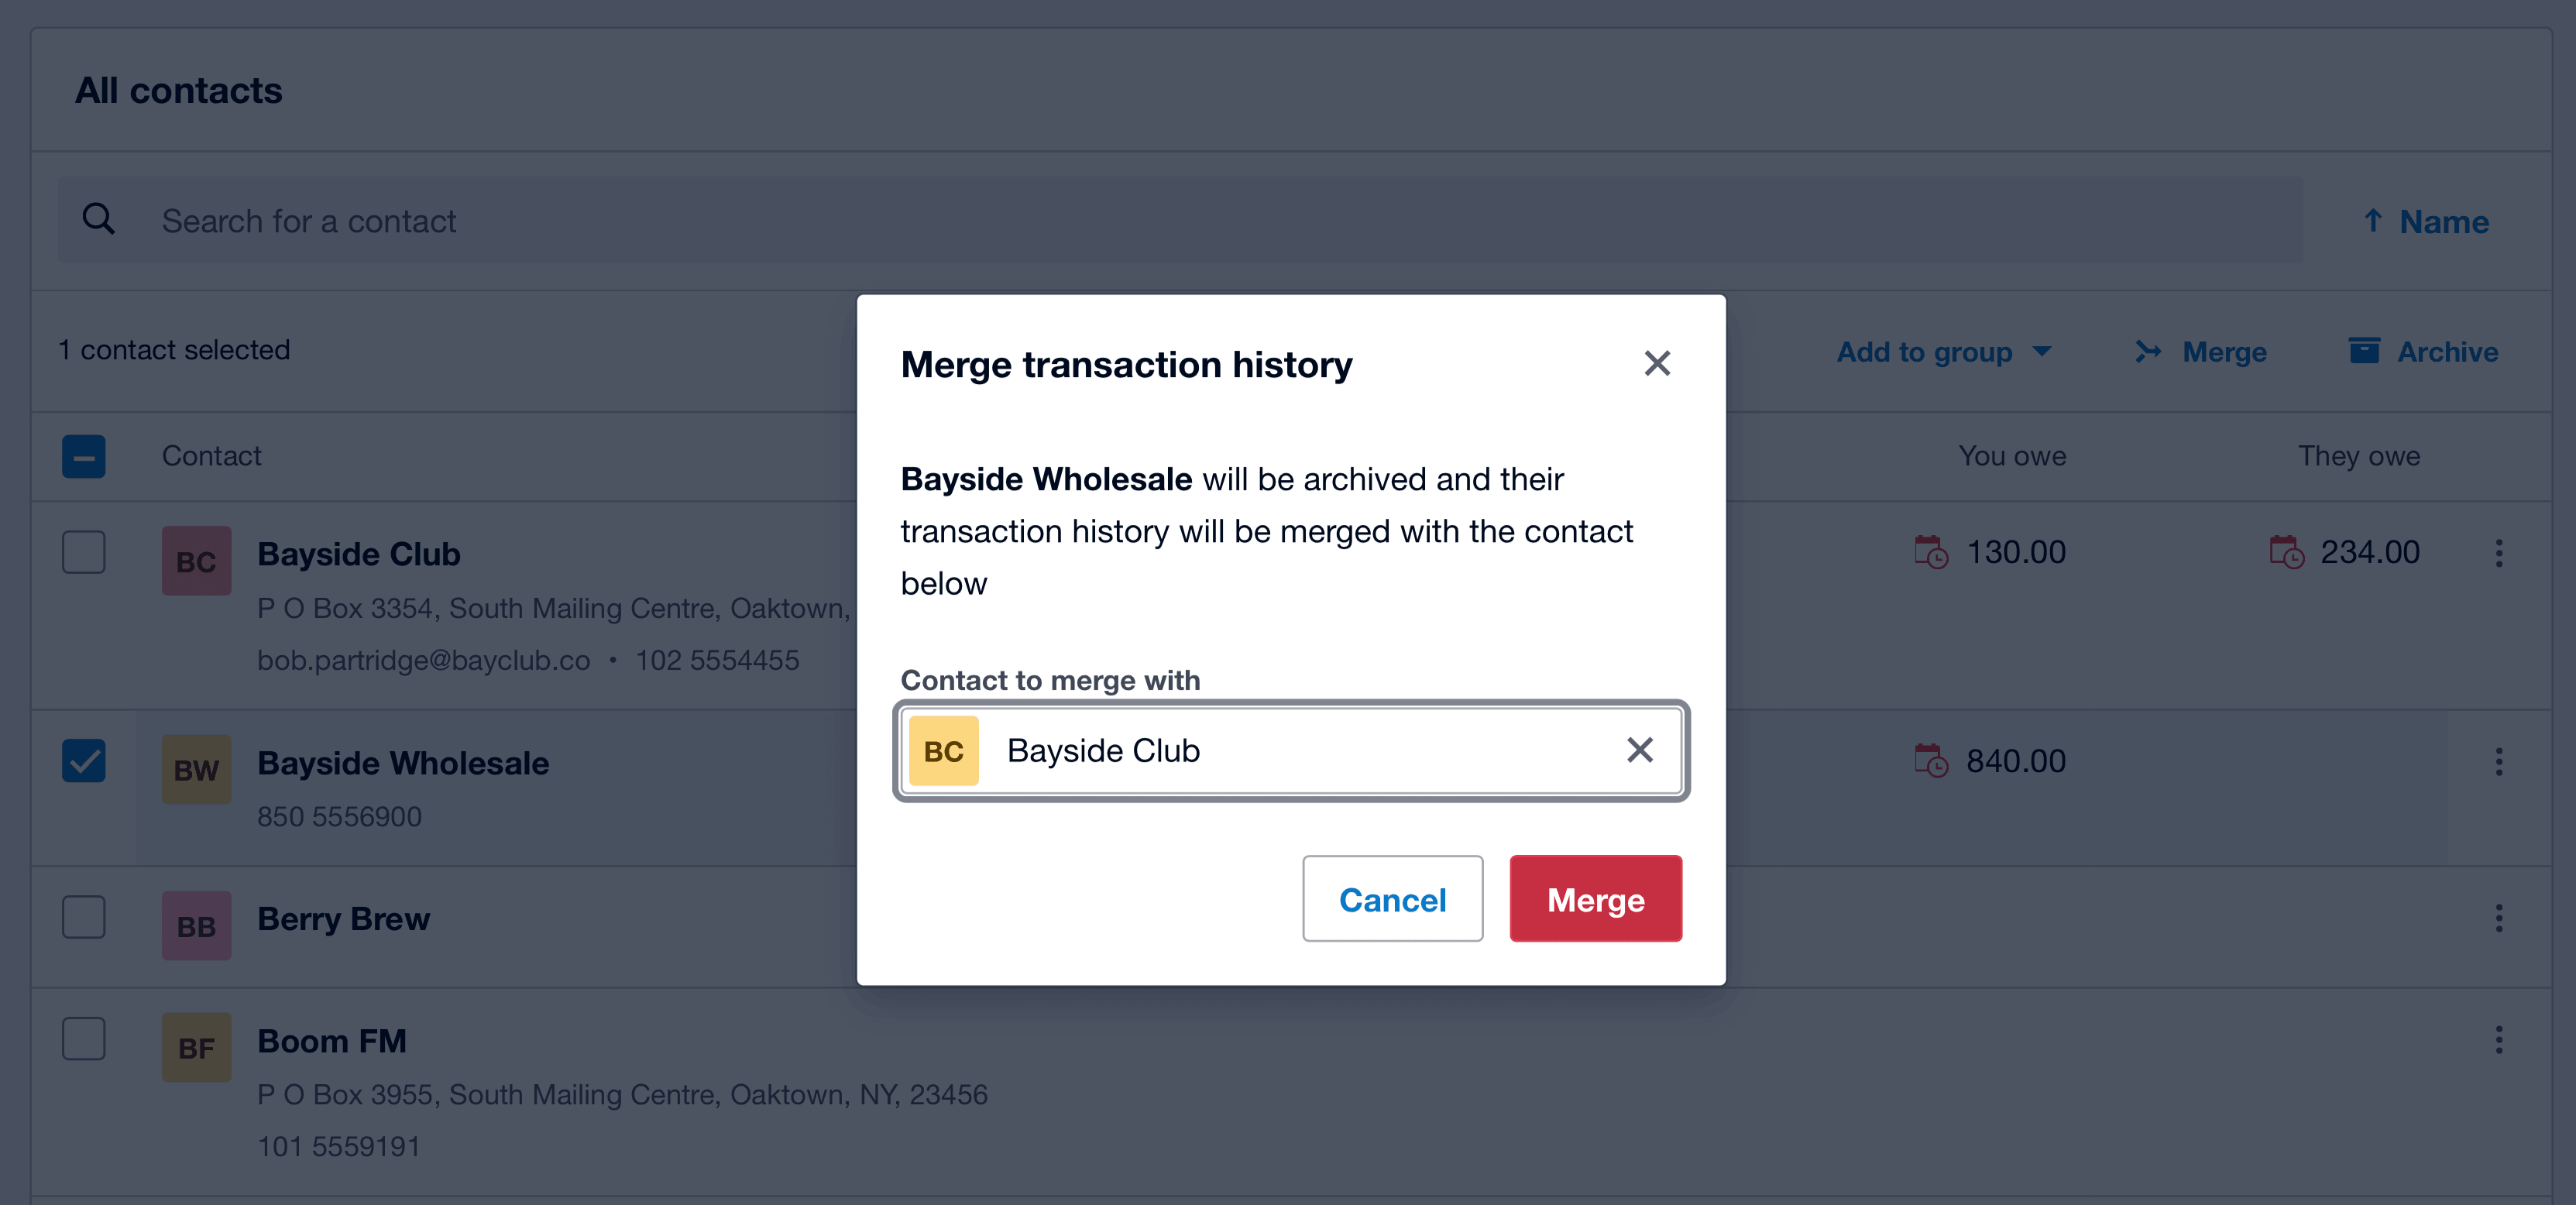
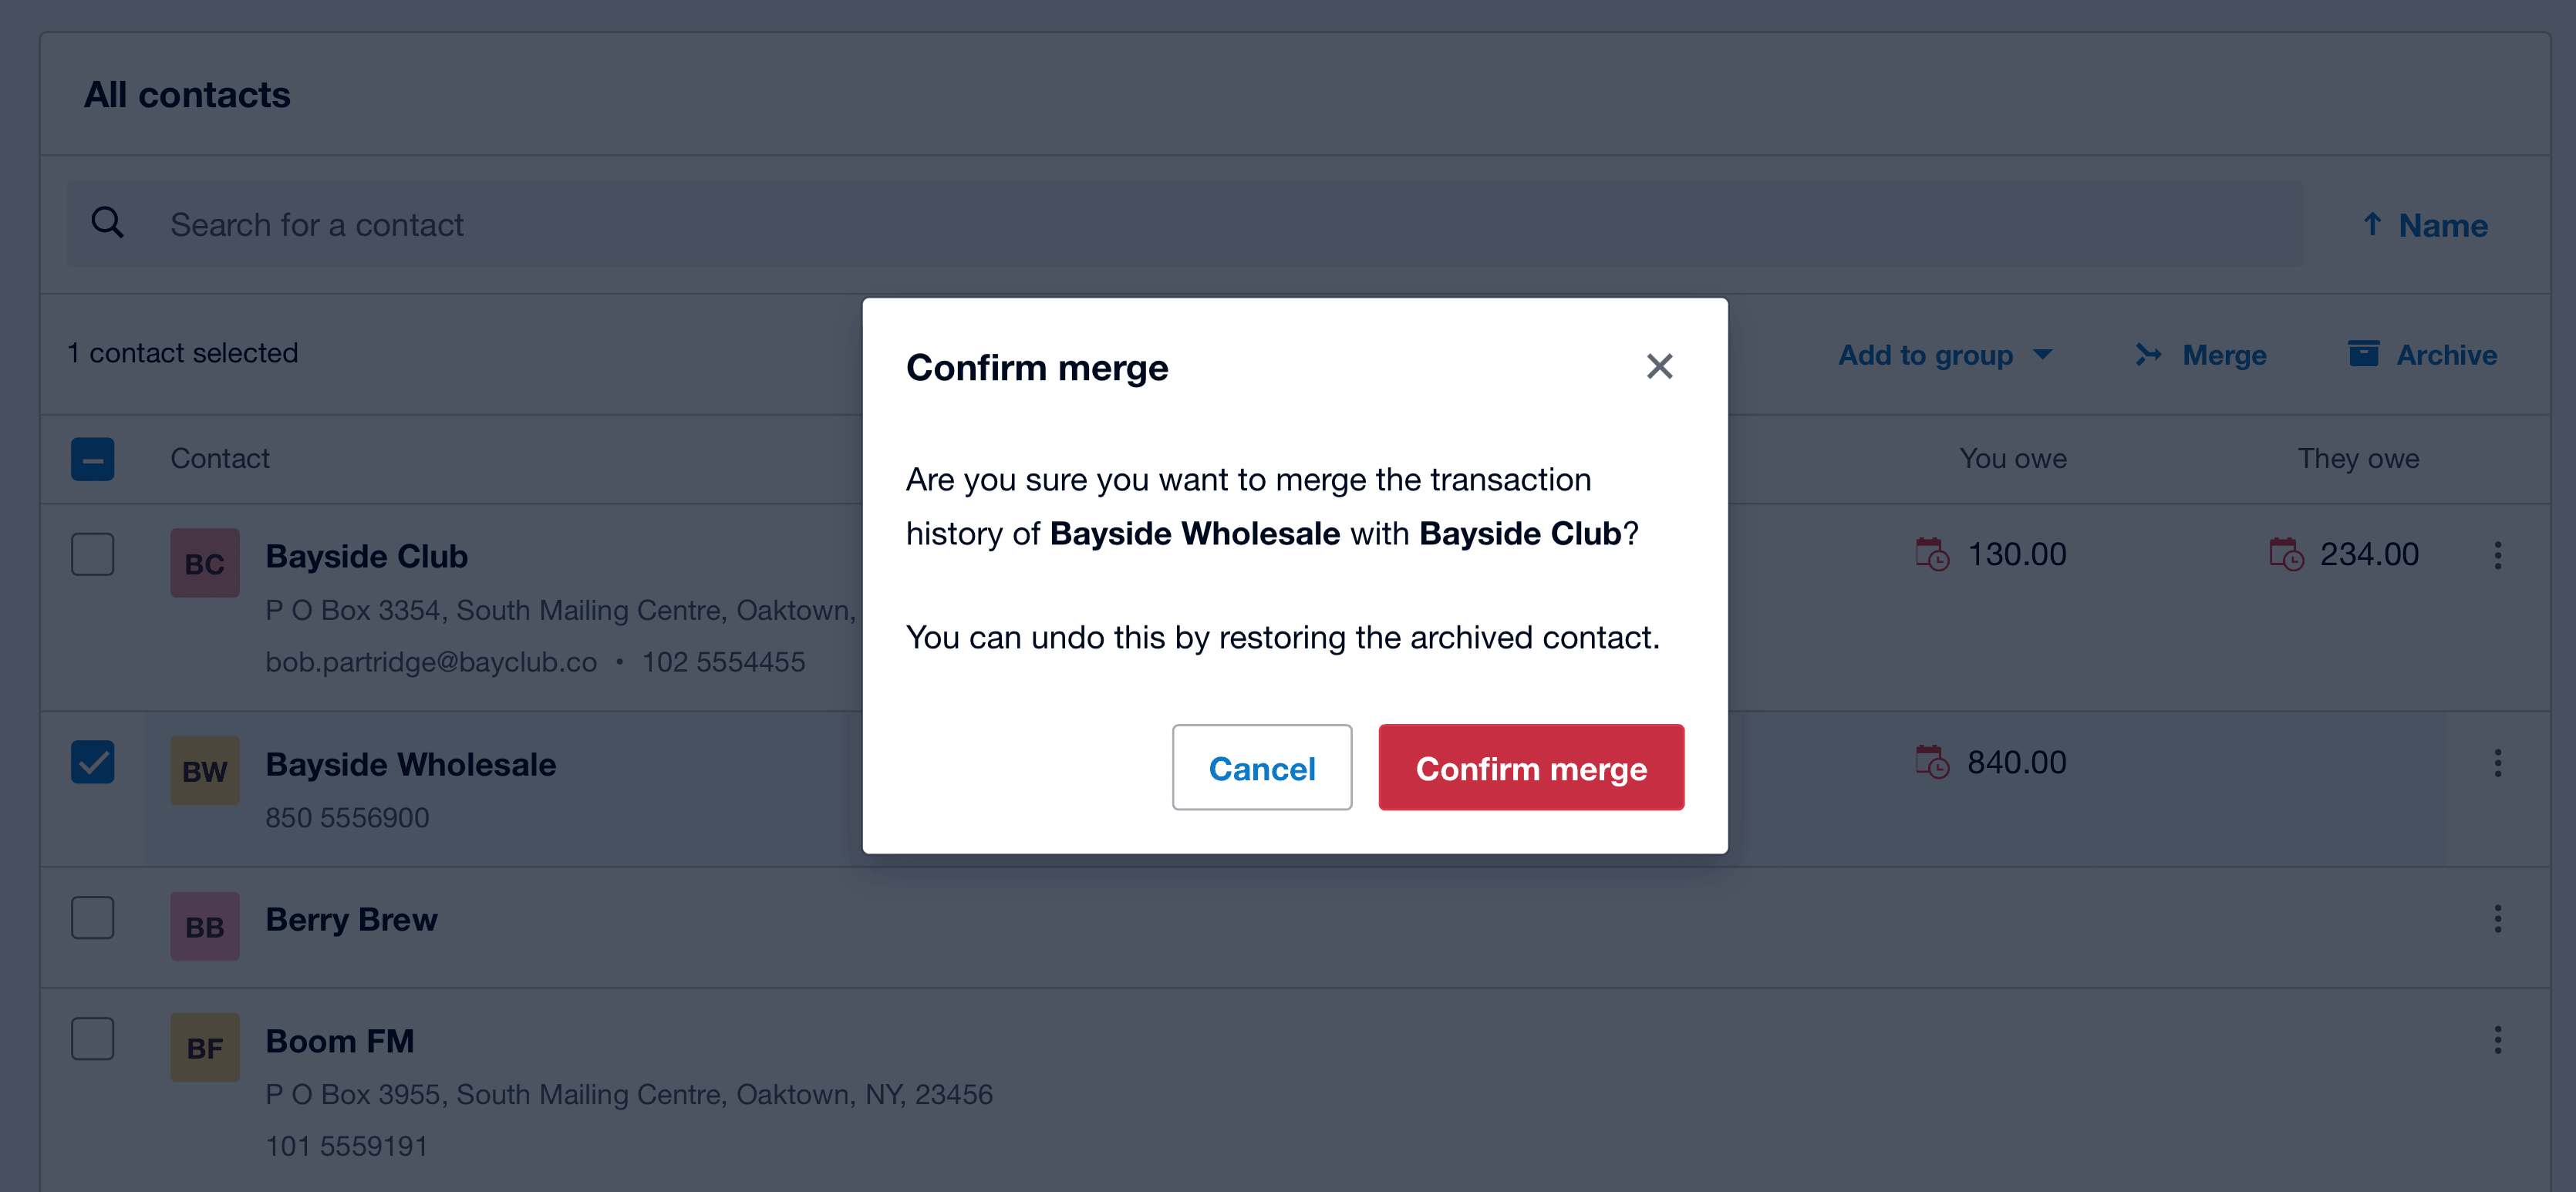
Step 4: Confirm the Merge

Xero will ask you to confirm the action.

  • Click Confirm Merge

⚠️ This action cannot be undone, so make sure you select the correct contact.
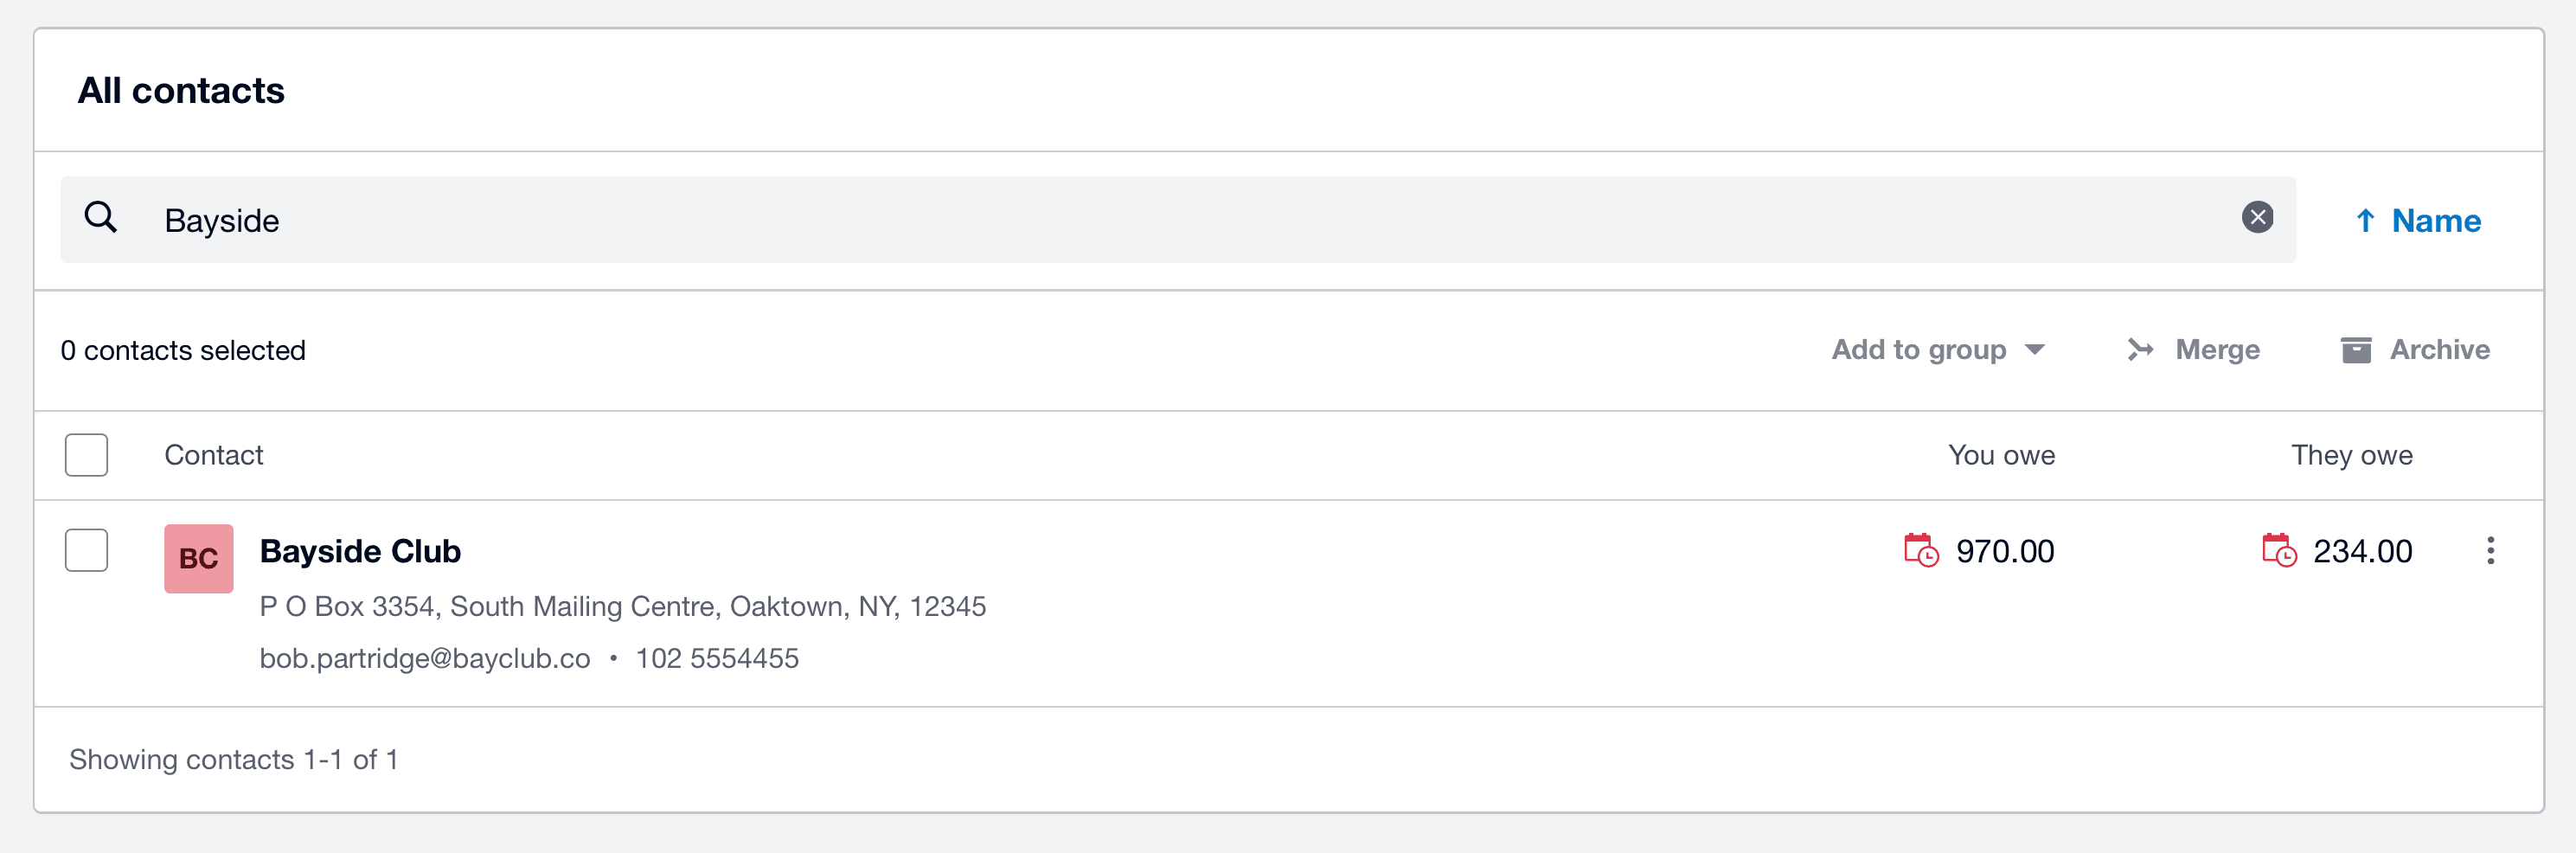
Xero confirm merge dialog showing Bayside Wholesale being merged into Bayside Club with Confirm merge button
Click Confirm merge to finalize the process.

Step 5: Done

Once completed:

  • The duplicate contact is archived
  • All transactions are merged into the selected contact

Your contact list is now cleaner and more organized.

Xero contacts list showing Bayside Club as the only remaining contact after merging duplicates
The duplicate contact has been removed, and all transactions are now combined under a single contact.

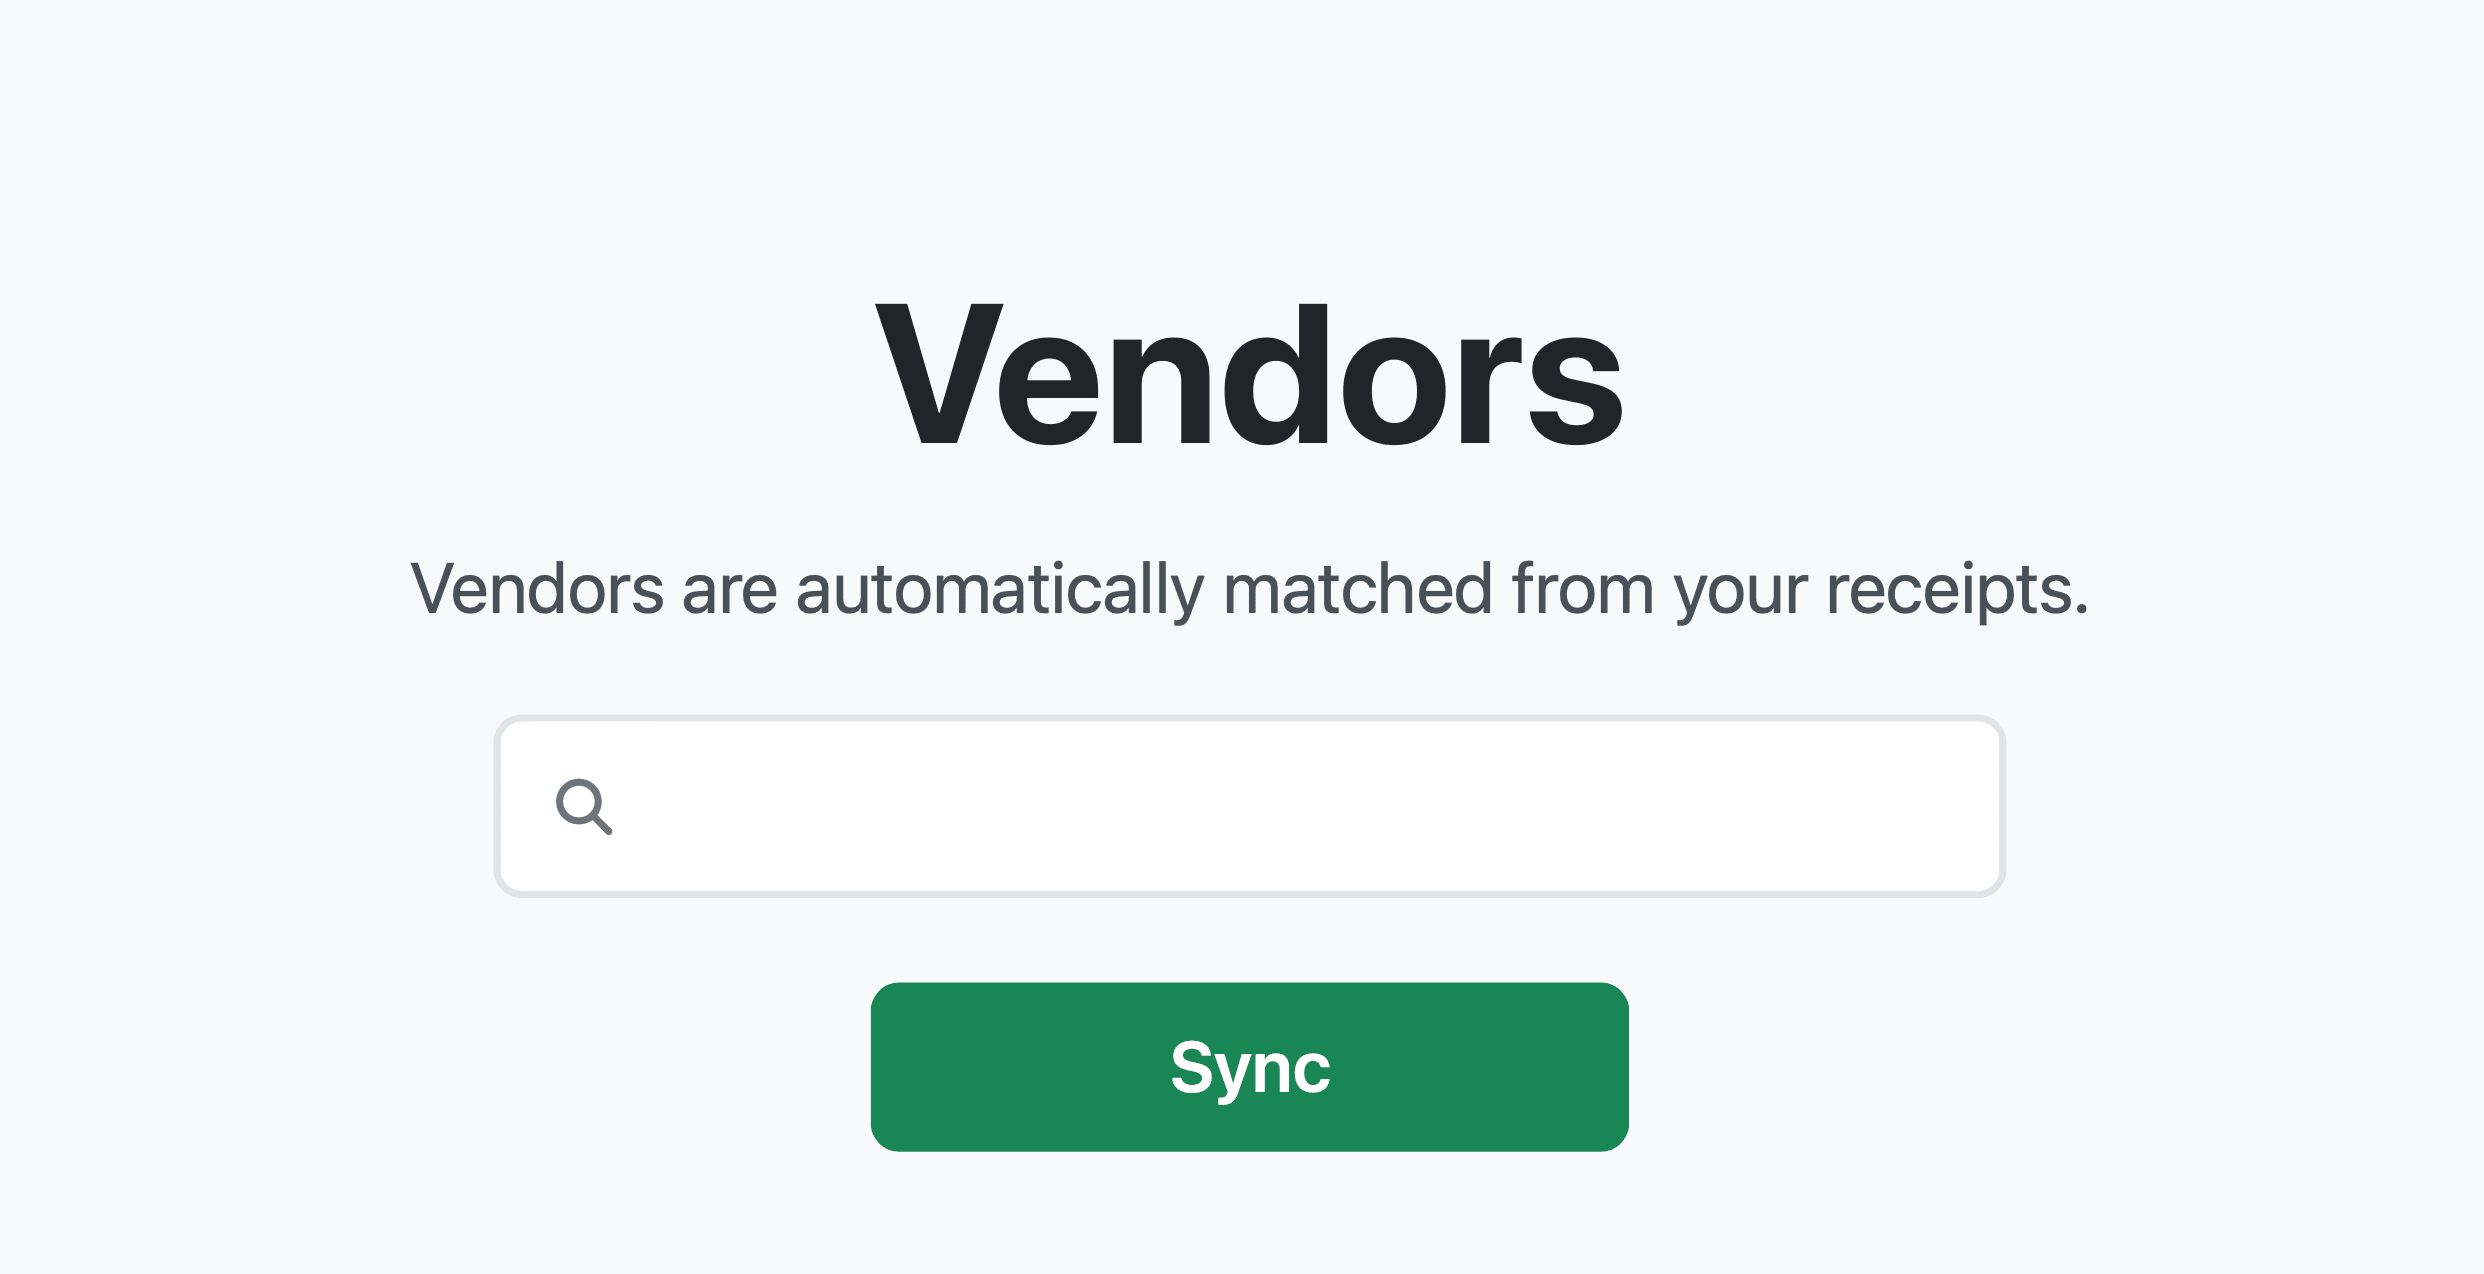
Next Step: Sync with Receipt AI

After organizing your contacts in Xero, you can sync them with Receipt AI.

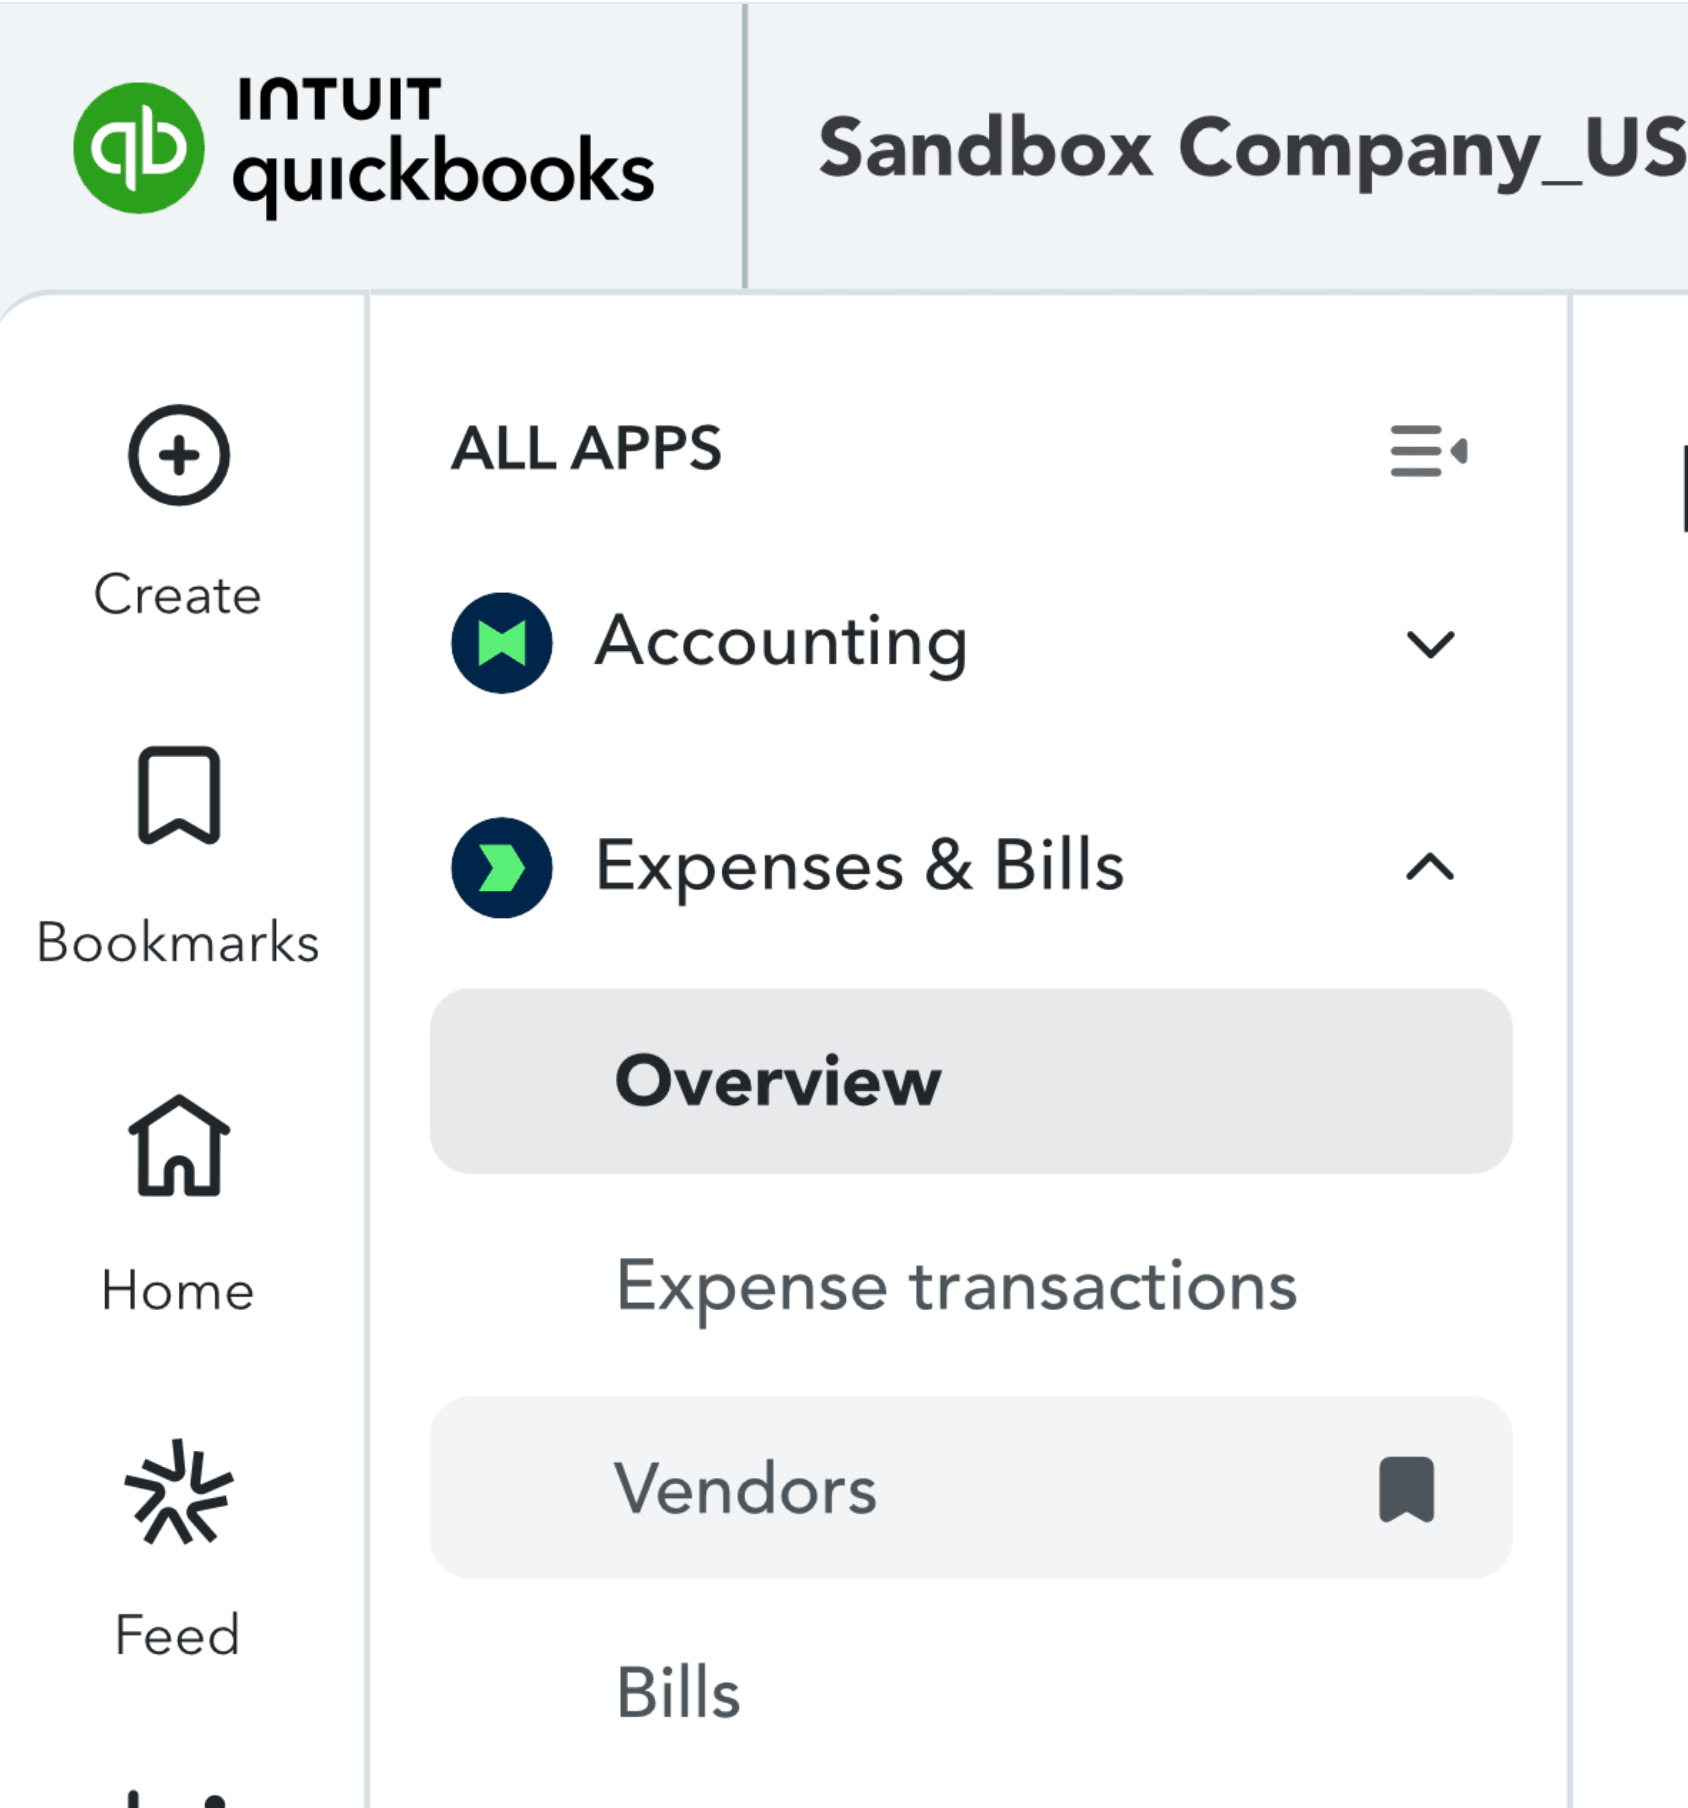
  • Go to the Vendor page in Receipt AI
  • Click Sync

This ensures your contact data stays up to date in Receipt AI.

Receipt AI vendors page with Sync button to update vendor data from Xero contacts
Go to the Vendors page in Receipt AI and click Sync to update your contacts.

Try Receipt AI today to automatically keep your vendors clean and up to date.

merge duplicate contacts Xero

Xero merge contacts guide

how to merge contacts in Xero

remove duplicate contacts Xero

Xero contact management

Xero duplicate contacts fix

clean up contacts in Xero

Xero contacts tutorial

Xero data cleanup contacts

sync Xero contacts Receipt AI

Related Articles

Start uploading Receipts using SMS.

Save 97% of your time with efficient receipt processing

Works with Xero and QuickBooks

Perfect for businesses, big and small

No extra app downloads. Works with tools you already have (Email and SMS)

Start For Free Now →
A working professional traveling at a client site smiles as he takes a photo of a receipt with his smartphone. He plans to upload the receipt using SMS and Receipt AI, which is integrated with Xero or QuickBooks, while sitting in a cozy café environment. Indicating the ease of using the app.
<span class="translation_missing" title="translation missing: en.layouts.footer.alt">Alt</span>

Made in the USA. Receipt AI is proudly made in the USA. We support phone numbers from both the US and Canada, no matter where you are.

We value simplicity.
What's new? Accounting Tips, Product News & Stories
Receipt AI™ © 2023-2026 Big Green Company
Terms of Service Privacy Policy