Thursday, February 22, 2024
How to reconcile in Xero?
Share this article:
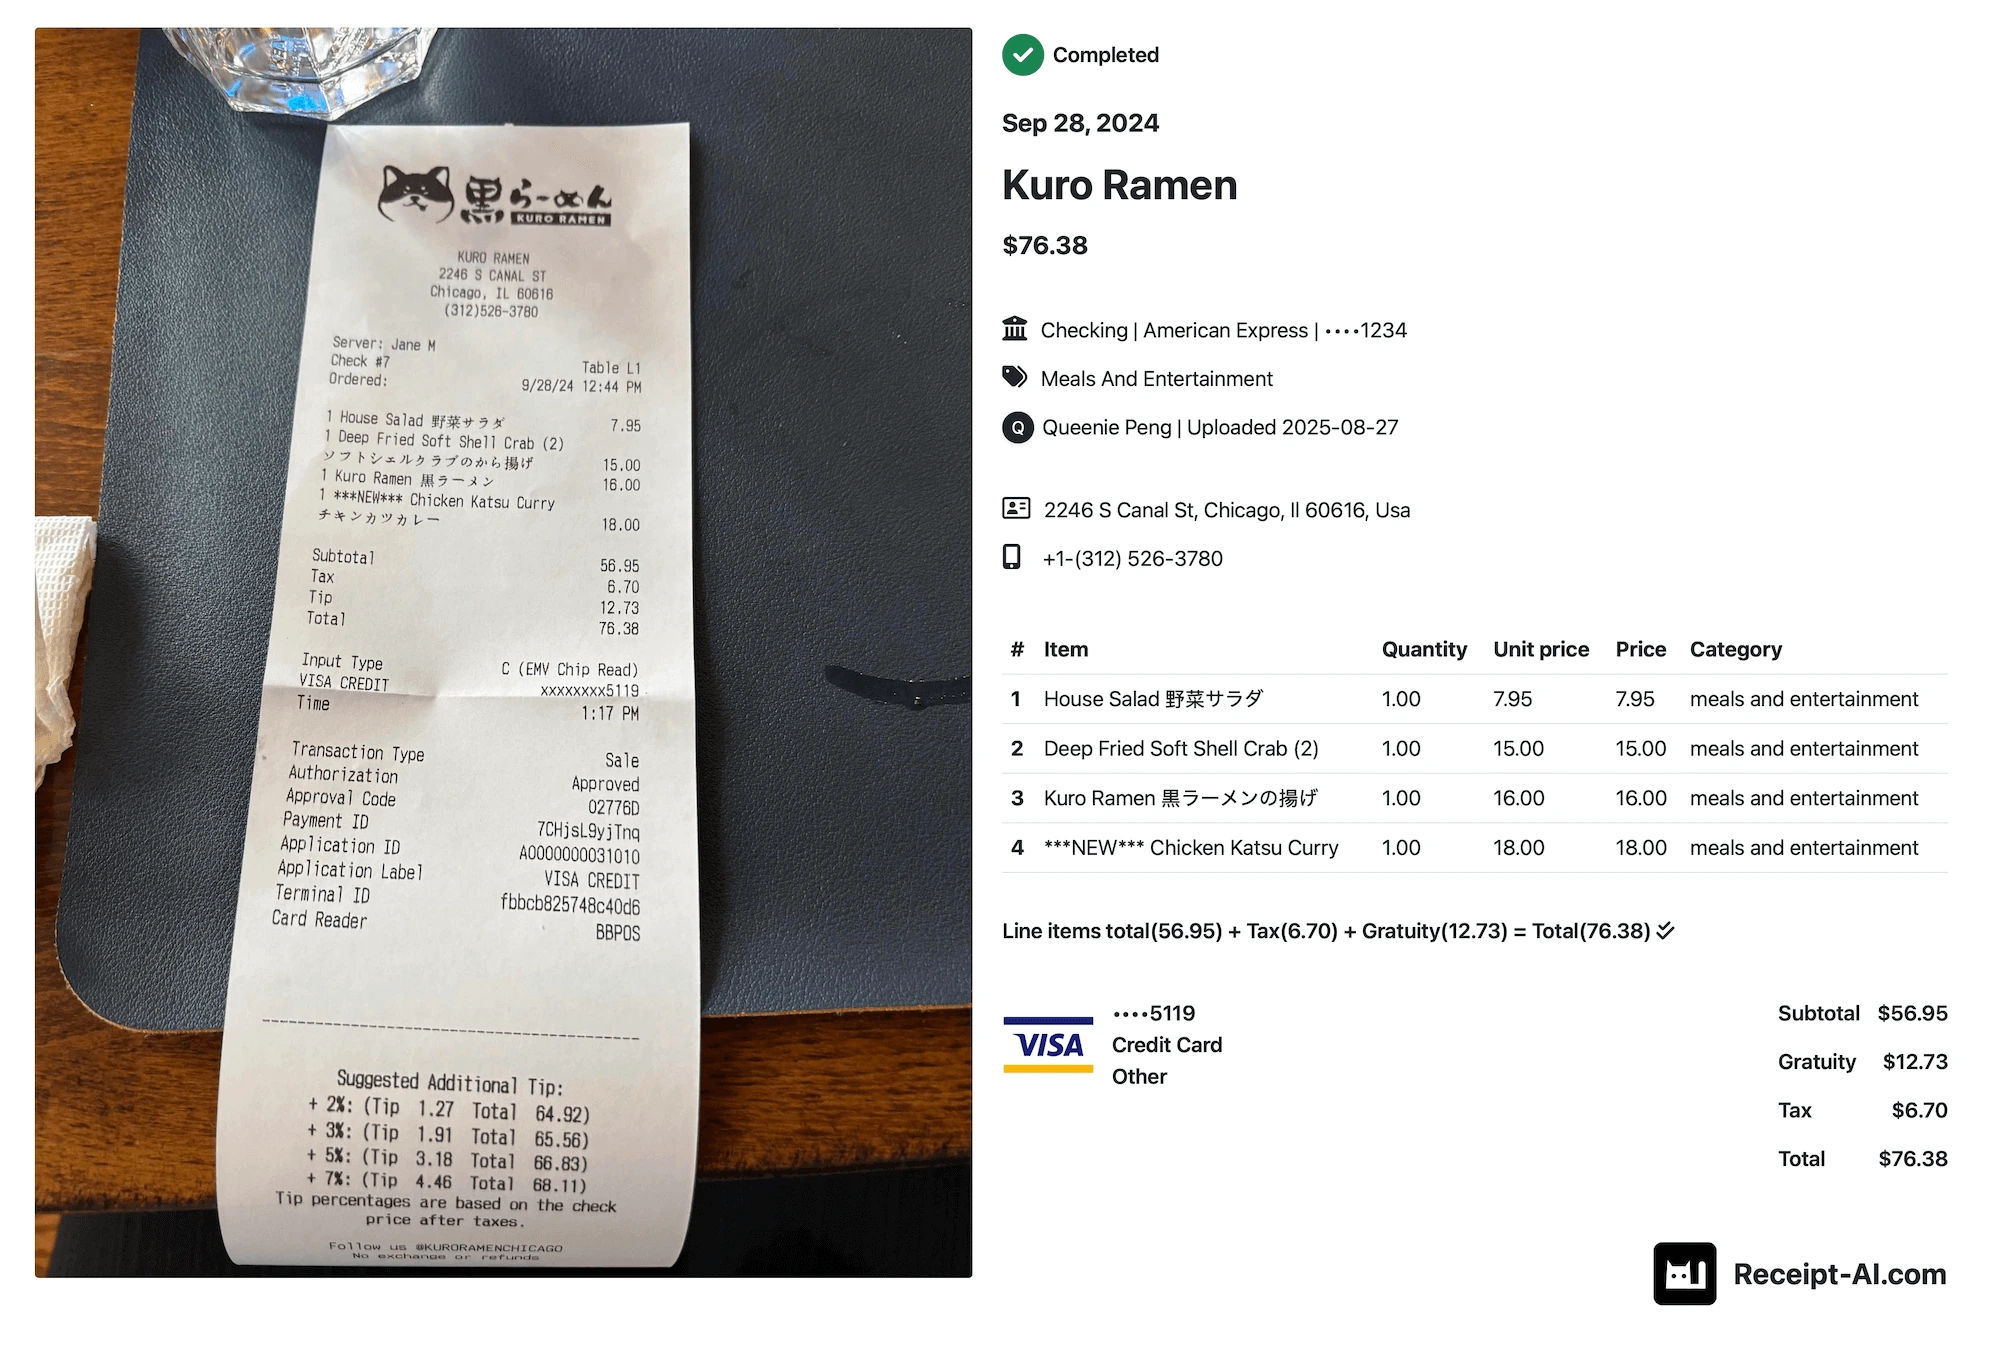
Since November 6, 2024, Receipt AI has been available for One-Click Reconciliation in Xero.
How to reconcile in Xero with One-Click
Before November 6, 2024:
This guide will help you reconcile bank transactions (Expenses) in Xero from your laptop or computer. 'Expenses' refer to the costs and money spent on managing your business. There are two steps:
1. Categorize Transaction
2. Attach Receipt
If you are using Xero mobile app:
Learn more: How to reconcile in Xero app
If you are using Xero website:
Step 1: Categorize Transaction
1. Click 'Dashboard' -> 'Reconcile xx items'

2. Select an expense transaction, type in the name of the contact(Who), and choose an account(What).
In this example, we are using a parking expense. If the contact name does not already exist, click '+ New Contact', and select 'Travel' to categorize the transaction. Click 'Add details' to continue.
* Receipt AI includes the business purposes for your receipt when you upload them using SMS and Email. If you don't use Receipt AI, make sure to include a description(Why) here.


Step 2: Attach Receipt
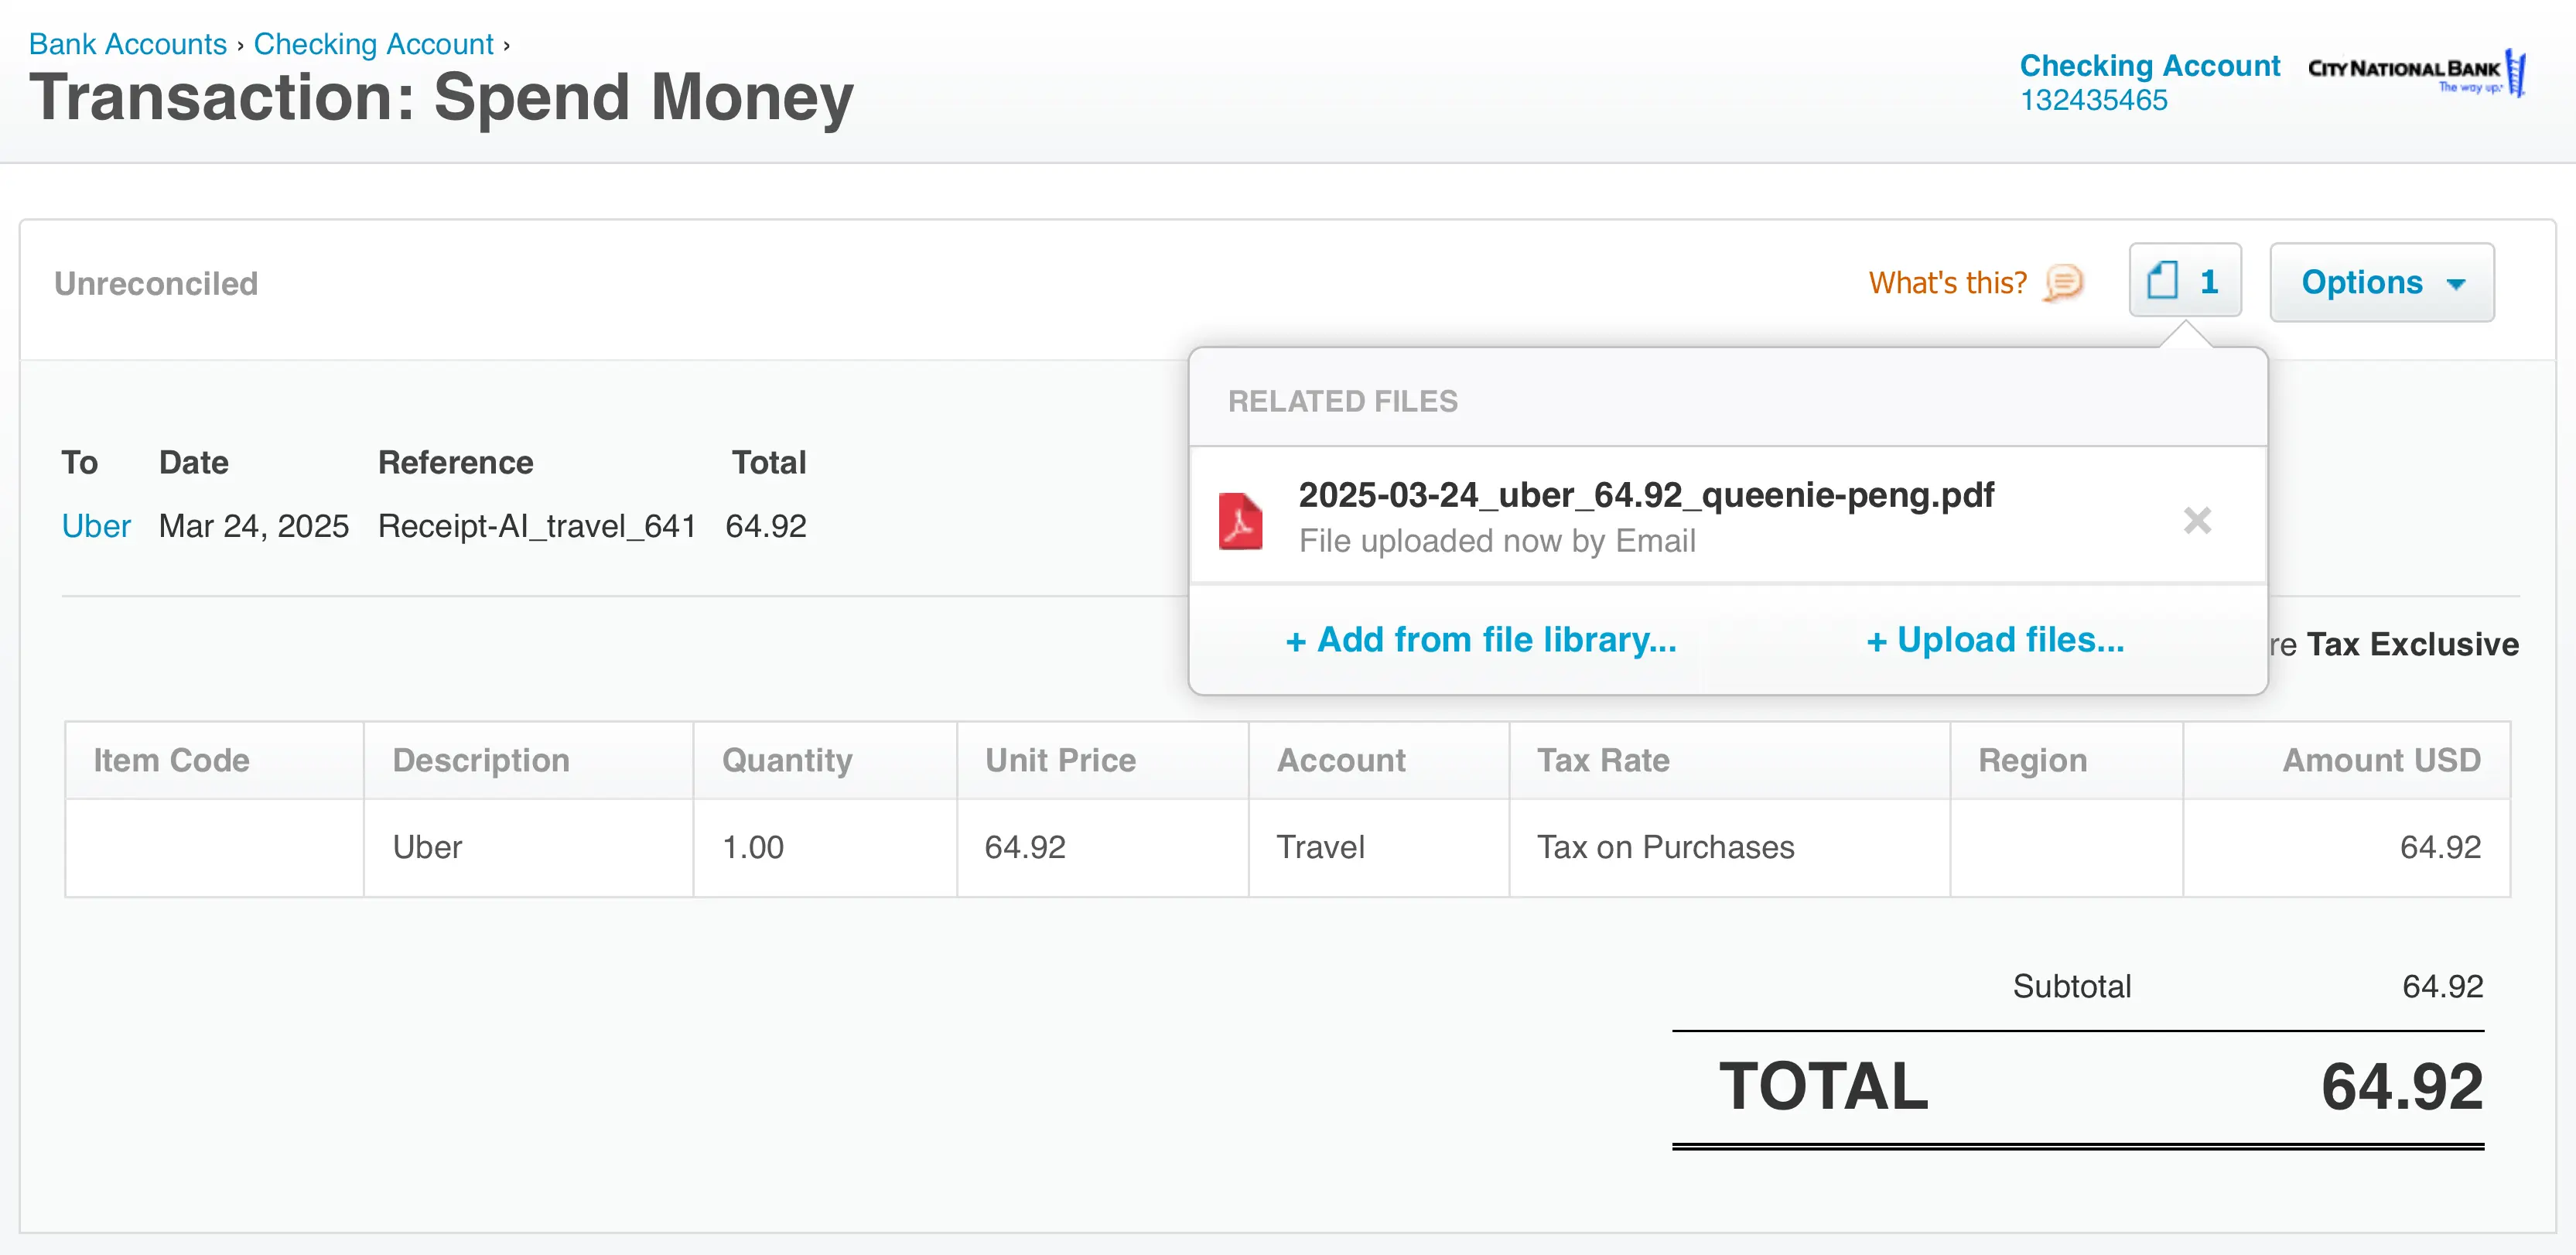
3. Find the document icon and click + Add from file library.

4. Use Receipt AI to upload receipts to your Xero account using SMS. It renames the file for you to help you quickly find the specific receipt you need.
Select the receipt and click 'Add 1 file'.

5. Click Save Transaction -> Reconcile.

Congratulations! You have successfully categorized your first bank transaction and attached a receipt to it. Well done! The process of reconciliation is aimed at monitoring your transactions and keeping your books clean. With Receipt AI, we help you upload receipts to Xero anytime, anywhere, without the need for an internet connection. All you need is a US or Canadian phone number. Simply take a picture and text.
How to reconcile in QuickBooks website?
https://receipt-ai.com/articles/how-to-reconcile-in-quickbooks
How to reconcile in QuickBooks mobile app?
https://receipt-ai.com/articles/how-to-reconcile-in-quickbooks-online-app
reconcile
reconcile definition
define reconcile
reconcile meaning
receipt ai xero


