Tuesday, February 20, 2024
How to reconcile in QuickBooks?
Share this article:
Since November 6, 2024, Receipt AI has been available for One-Click Reconciliation in QuickBooks online.
How to reconcile in QuickBooks with One-Click
Before November 6, 2024:
This guide is for reconciling bank transactions with expenses in your QuickBooks Online account. 'Expenses' are the costs or money spent in running your business. There are two steps:
Step 1. Categorize Transaction
Step 2. Attach Receipt
If you are using QuickBooks mobile app:
Learn more: How to reconcile in QuickBooks online app
If you are using QuickBooks website:
Step 1: Categorize Transaction
1. Click Transactions -> Bank Transactions

2. Select an expense transaction, select a category, then type the vendor name under 'Vendor/Customer'.
See the example where we use a Heroku transaction in Office Expense: Software Category.
* Receipt AI includes the business purposes for your receipt when you upload them using SMS and Email. If you don't use Receipt AI, make sure to include a memo here.

3. If the vendor does not already exist, click '+ Add new (Vendor Name)'.
Select 'Vendor' contact type and click 'Save'.

4. This will bring you back to previous page, click 'Confirm' to finish categorizing the transaction.

Step 2: Attach Receipt
5. Click 'Categorized' to locate the transaction you just confirmed. Then, click on the blue mark labeled 'Expense: Office Expense'


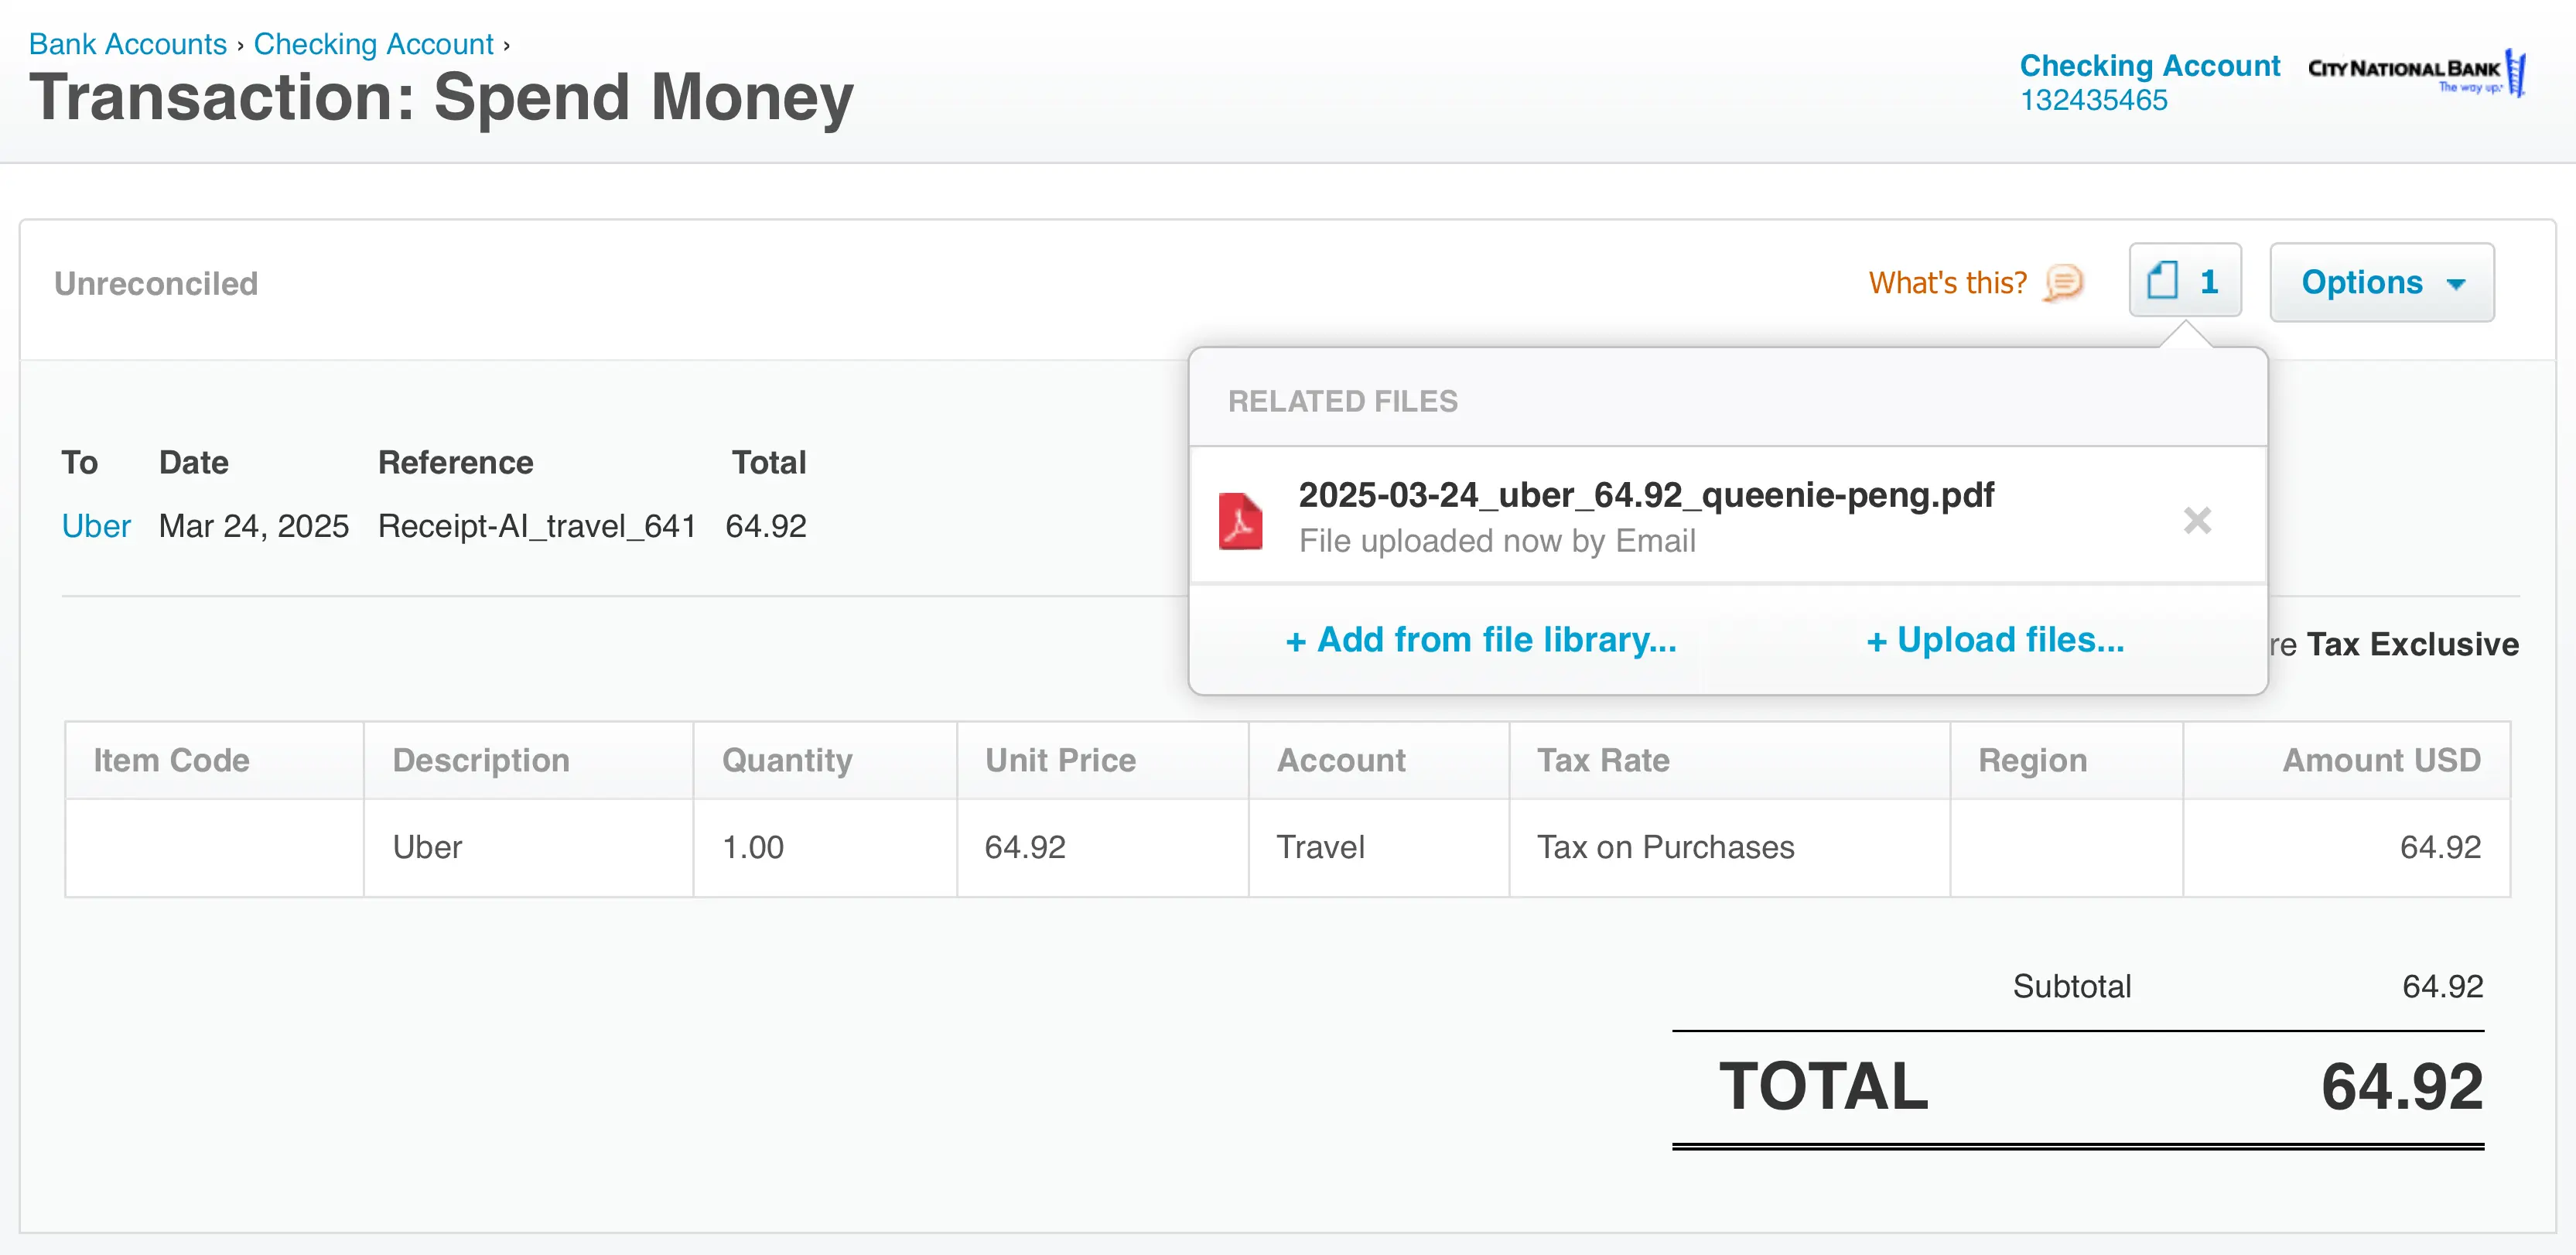
6. It will open a new window. Scroll to the bottom and click 'Show existing' under 'Attachments'.

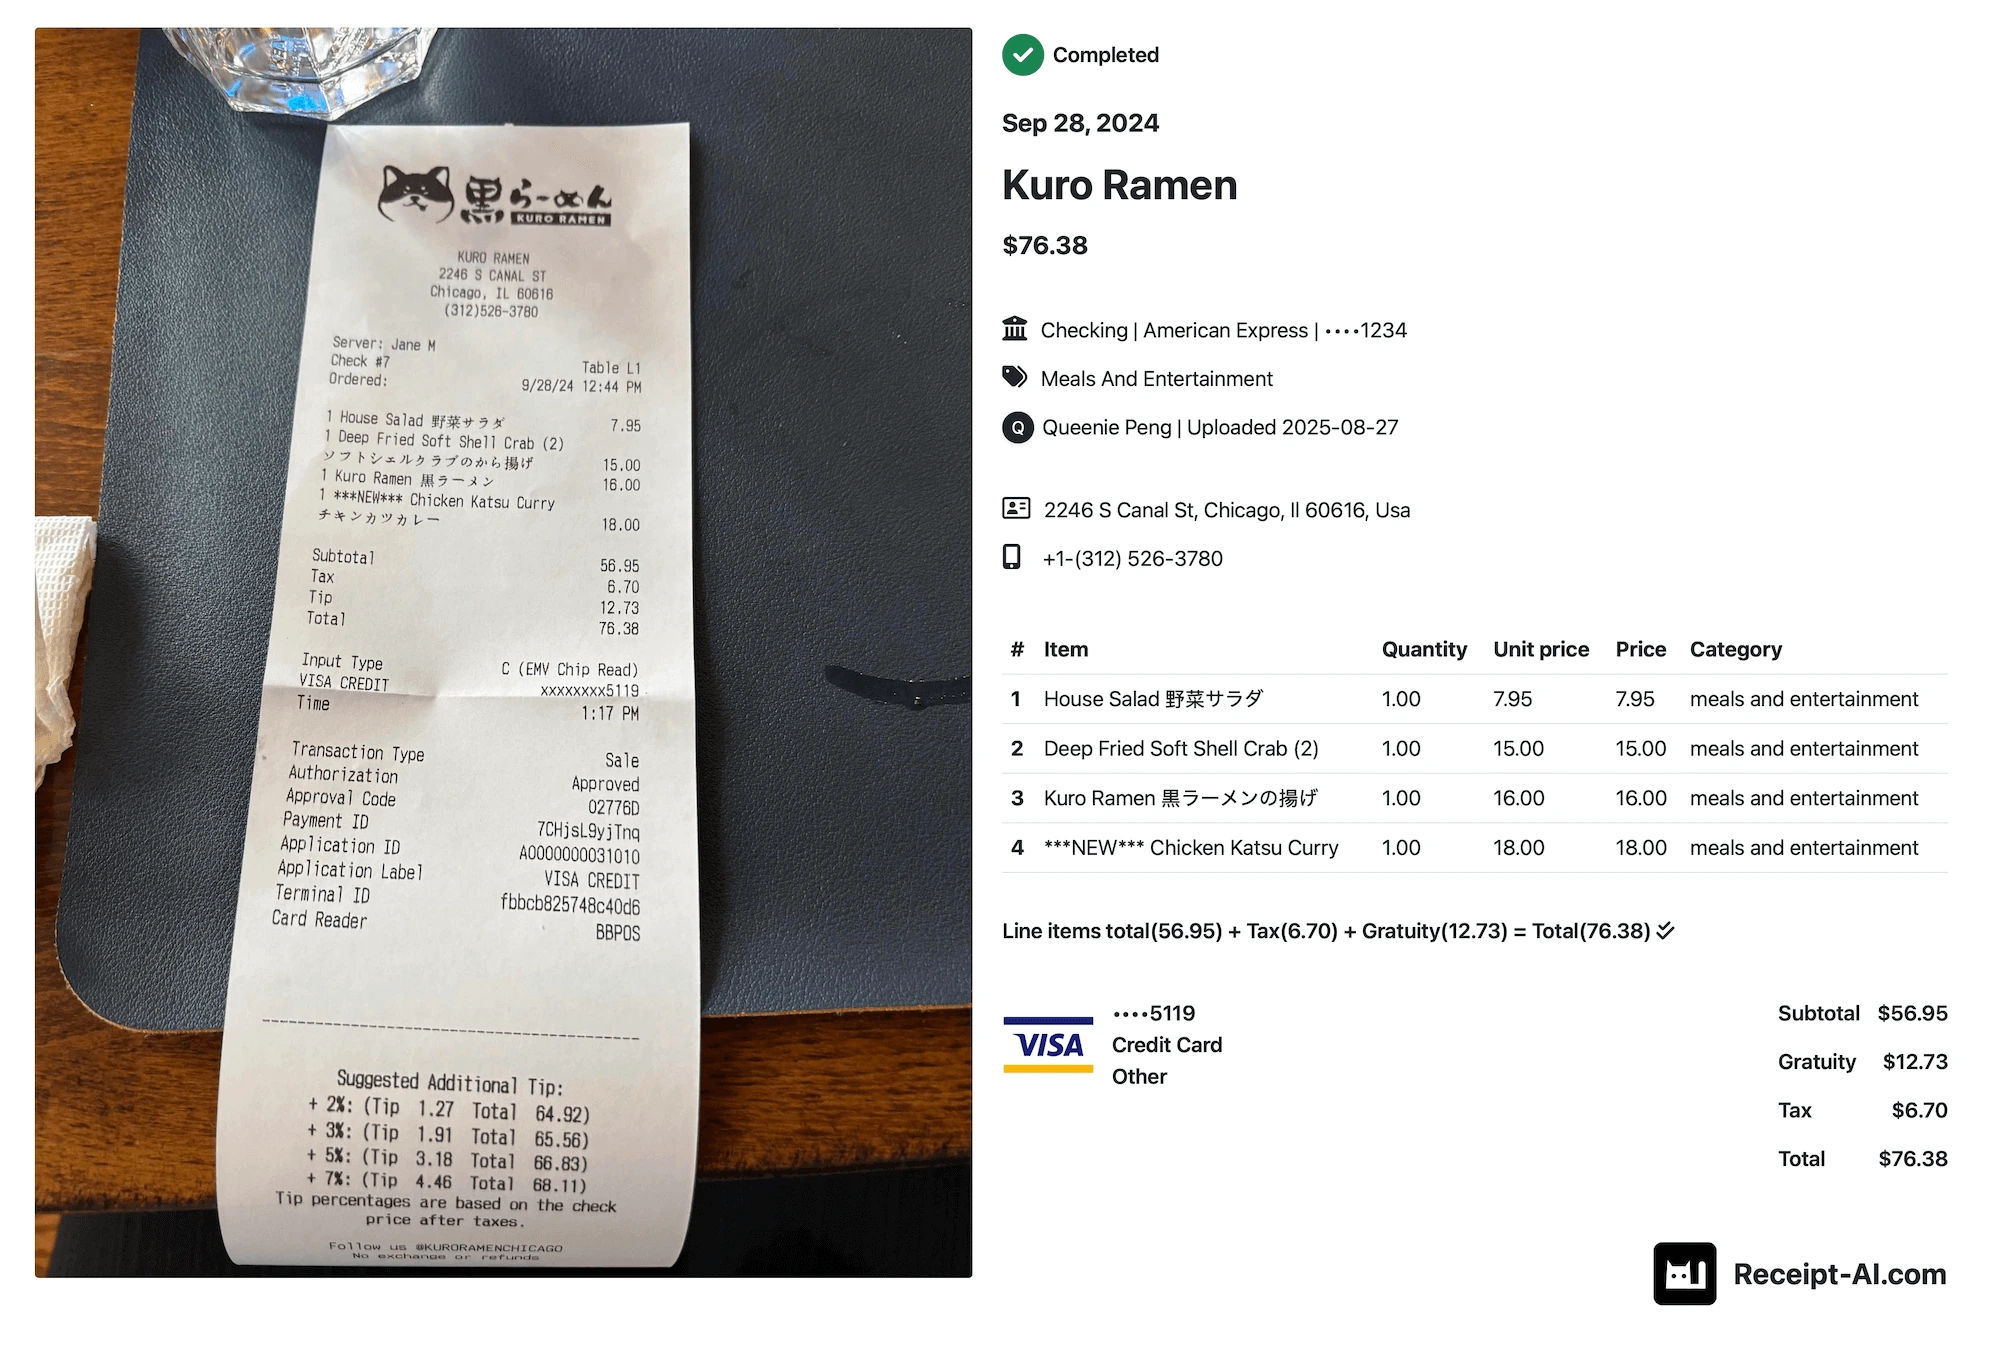
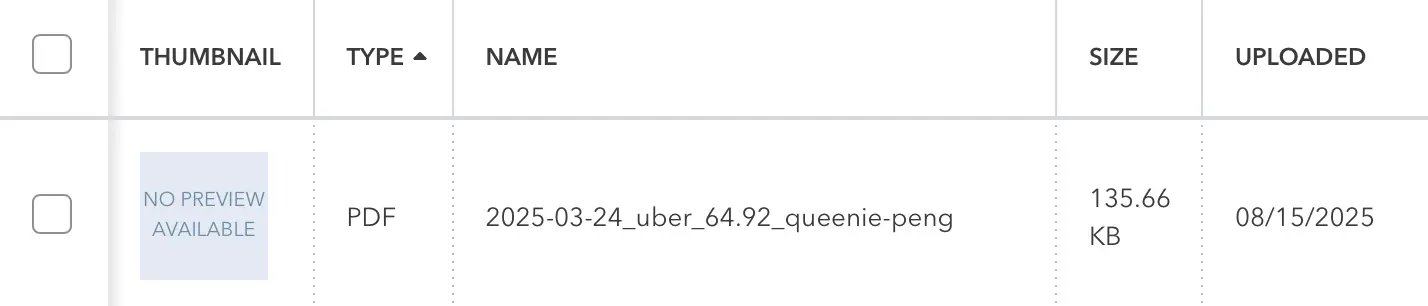
7. You will see a list of receipts uploaded by Receipt AI. All the receipts are renamed with the date, vendor name, and total to help you quickly navigate to the receipt you want.
Find the receipt for the transaction and click 'Add'.

8. You should see the receipt displayed under 'Attachments'. This indicates that the receipt has been successfully attached to your bank transaction. Click 'Save and Close'.

Congrats! You've just reconciled your first bank transaction. We recommend categorizing all transactions in QuickBooks first, and then matching each receipt with its transaction to save time. With Receipt AI, we make it easy to upload receipts to your QuickBooks account using email and SMS. All receipts are renamed to help you quickly find the specific receipt you need.
How to reconcile in Xero?
https://receipt-ai.com/articles/how-to-reconcile-in-xero
What does reconcile mean?
https://receipt-ai.com/articles/reconcile-definition
reconcile
reconcile definition
define reconcile
reconcile meaning
receipt ai QuickBooks
Related Articles

Start uploading Receipts using SMS.
Save 97% of your time with efficient receipt processing
Works with Xero and QuickBooks
Perfect for businesses, big and small
No extra app downloads. Works with tools you already have (Email and SMS)