Thursday, September 19, 2024
How to Upload Receipts Using Receipt AI?
Share this article:
How to upload:
1. SMS: Text a Receipt using SMS.
2. Email: Forward a Receipt using Email.
3. Website: Click Upload to Drag and Drop Receipts on the website.
* Your upload phone number and email are available in your dashboard after signing in.
Add a memo:
1. SMS: Type your message and send it along with your receipt.
2. Email: Use the subject line to write your memo.
3. Website: Go to Receipts, select a receipt, and click Add memo.
1. SMS (US and CA only)
1. Prepare the Receipt: Place the receipt on a flat surface with good lighting, ensuring it's fully visible. Hold your phone steady and take a clear photo.
2. Send the Photo: Text the photo to the Receipt AI number.


Adding a memo like 'Lunch with Jason about the Q3 project' in your text message can help you remember the expense later.
Note:
- Only available for US and Canadian phone numbers.
- Up to 3 receipt photos per message, each photo should contain only one receipt.
- Supported image formats: JPEG, PNG, WEBP, HEIC and HEIF.
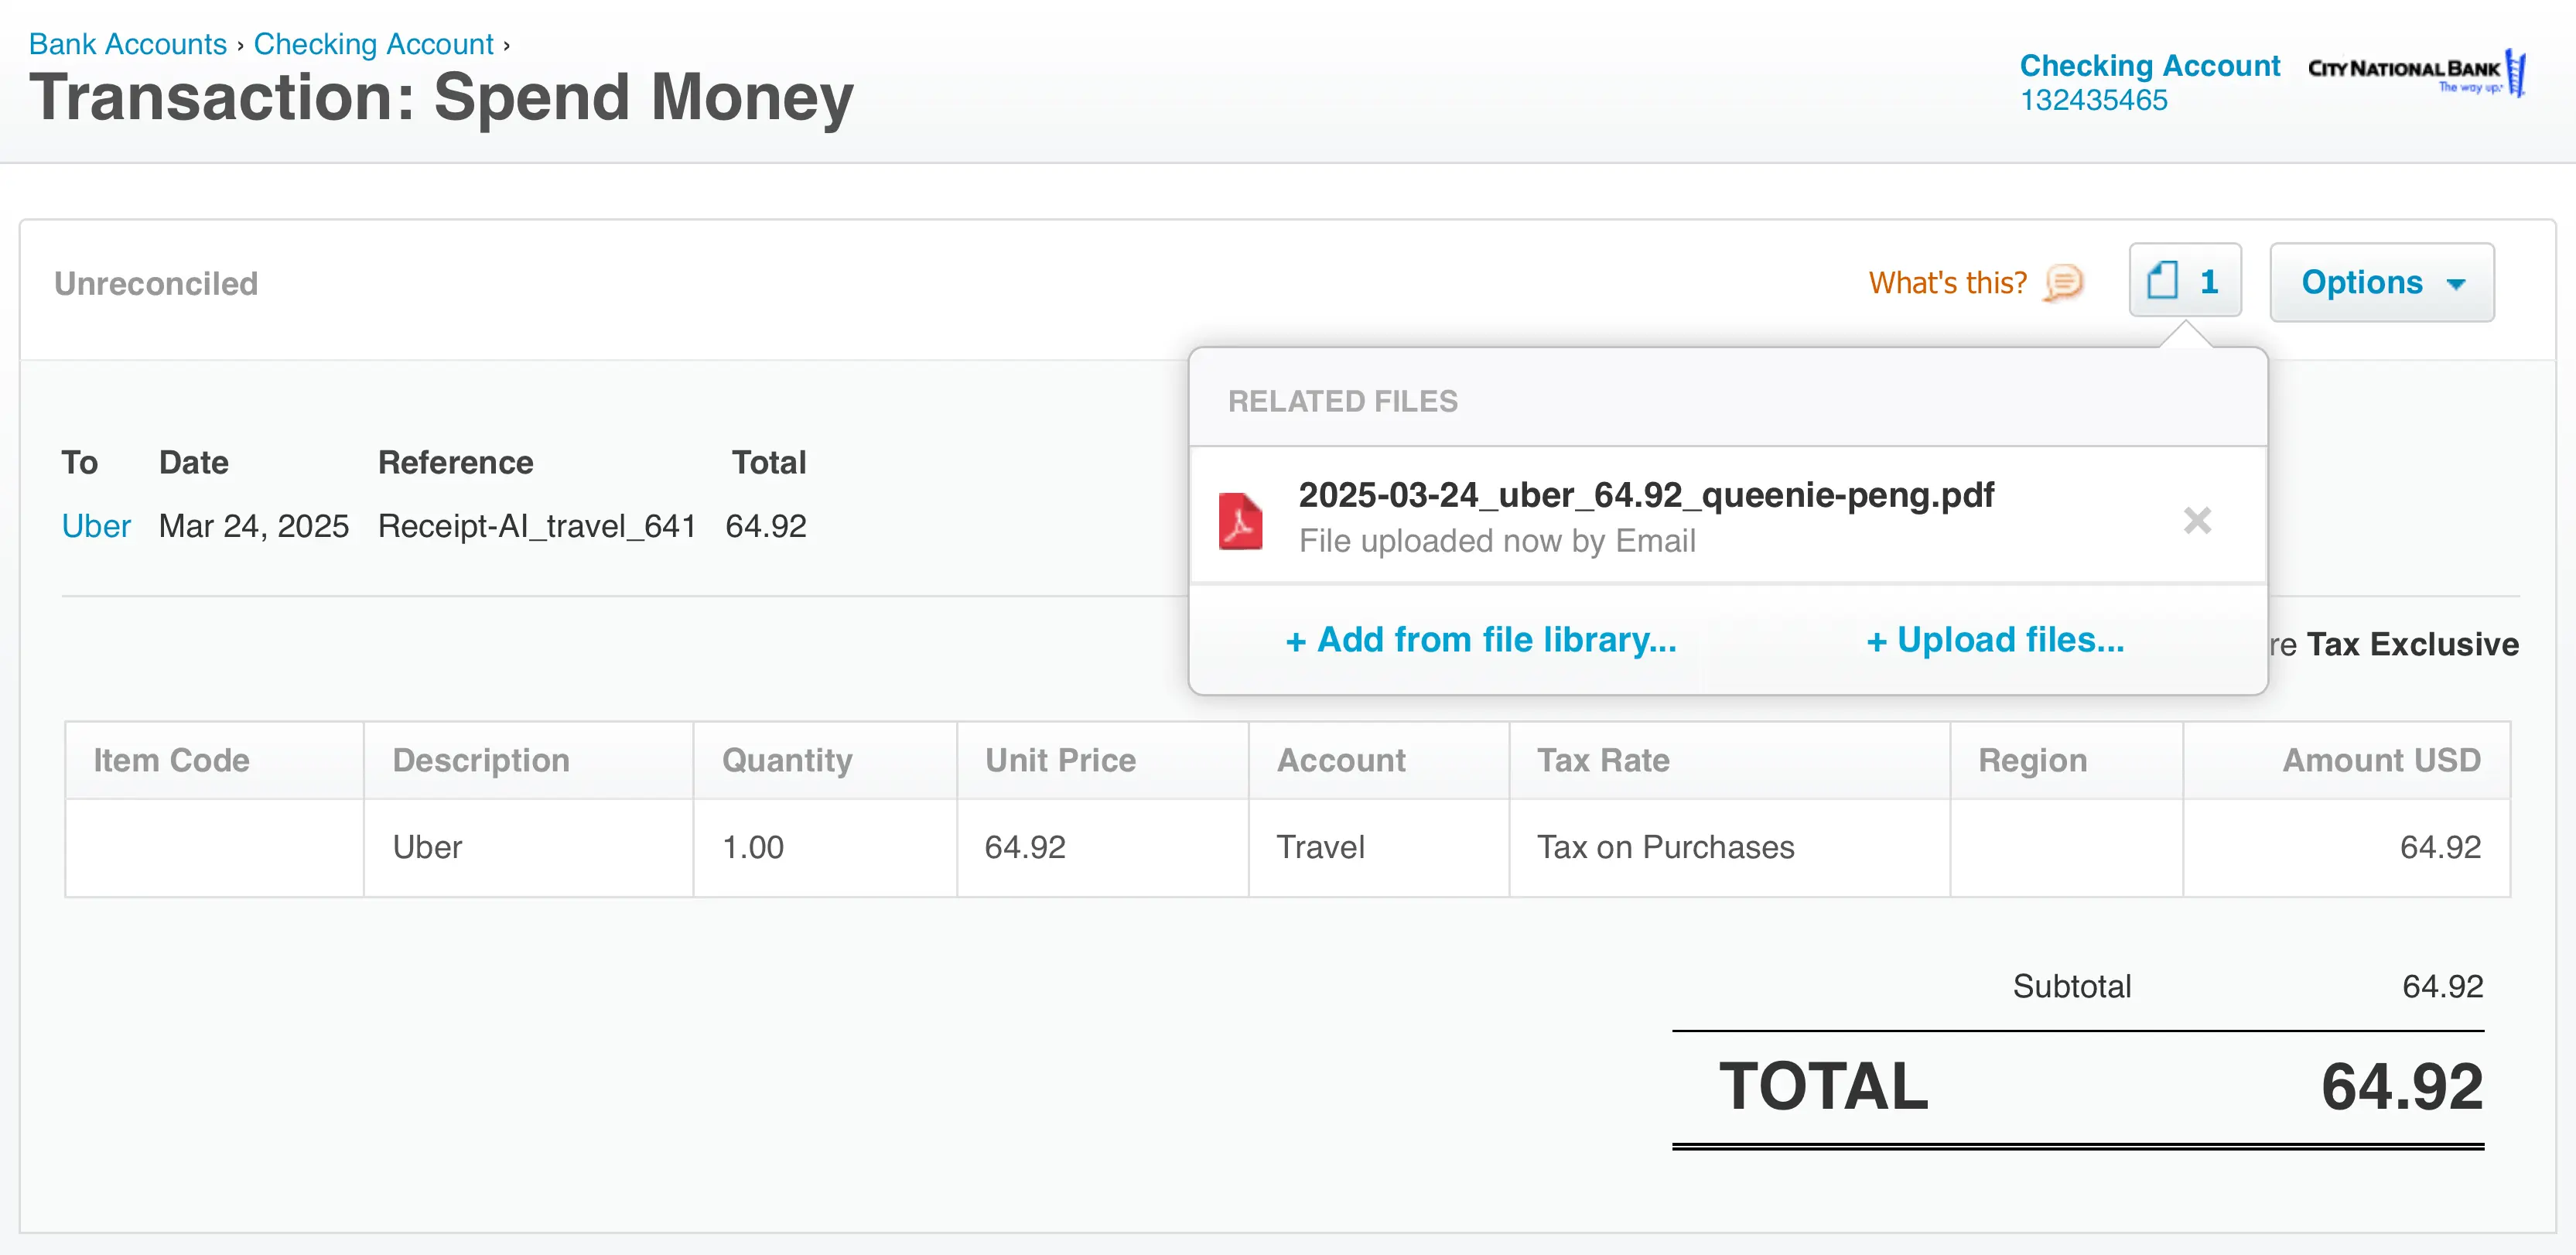
Use Email to upload your PDF files.
Adding a Memo via SMS
Include the memo in the text message along with the receipt photo.
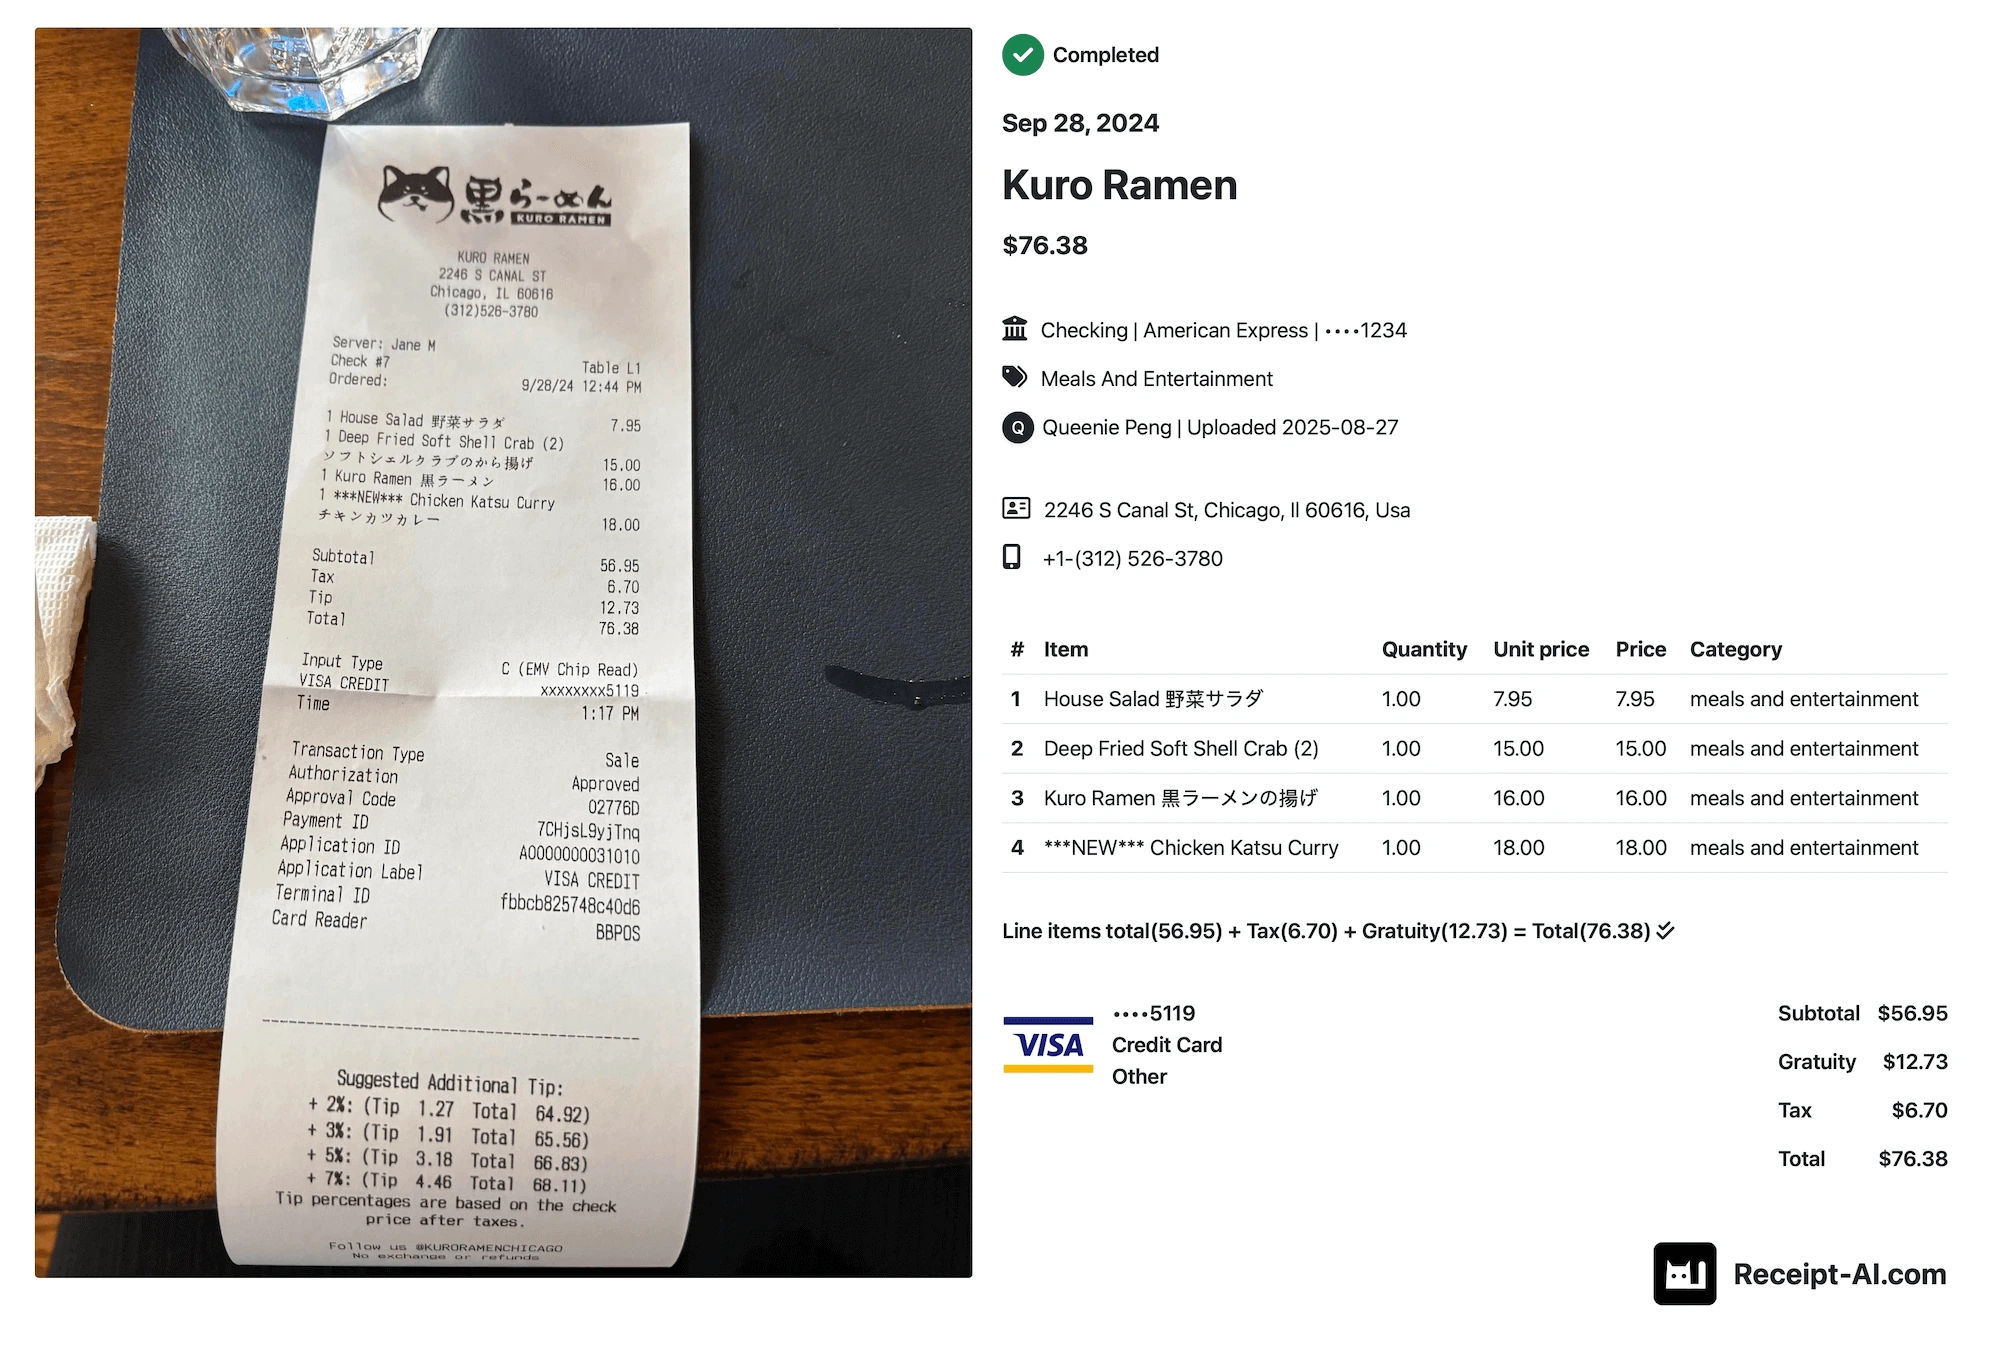
What the receipt looks like in Receipt AI after uploads:

* Made in the USA. Receipt AI works with both Xero and QuickBooks. It offers a secure solution to store and upload receipts to your accounting software using SMS, Email, and Website upload.
2. Email
1. Forward the Email: Forward your email receipt to the designated Receipt AI email for uploads.
- With attachments: The system will prioritize and capture the attachments.
- Without attachments: A screenshot of the entire email will be taken.
Note:
- Up to 3 attachments per email.
- If an attachment is larger than 10MB, send it in a separate email.
Adding a Memo via Email
Use the subject line of the email as the memo when forwarding the receipt.

Pro Tip: You can also take a screenshot of the email and upload it via SMS. All three methods—SMS, Email, and Website upload—are interchangeable for your convenience.
3. Website Upload
1. Click ( Upload):
2. Drag and Drop: Drag and drop your receipt photos into the upload area on the website.
- Up to 10 receipt photos per upload session.
- Refresh the page to upload more receipts.
Adding a Memo via the Website
Use the "Edit Receipt" feature to add a memo. This option is also available if you forgot to include a memo when uploading via SMS or Email.

Receipt AI supports 39 languages.
Supported file formats are JPEG, PNG, PDF, TIFF, WEBP, HEIC, or HEIF.
By following the above steps, you can easily upload and manage your receipts through Receipt AI.
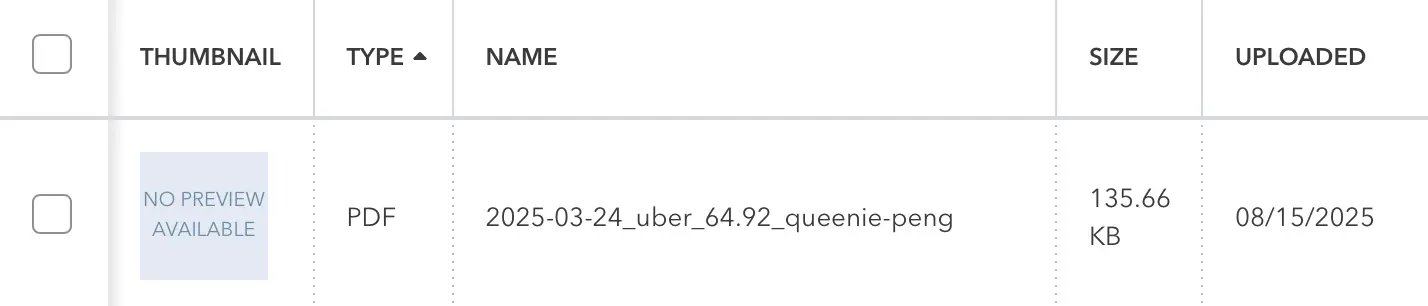
Supported File Formats
JPEG, PNG, PDF, TIFF, WEBP, HEIC, or HEIF.
Note: PDF files can be uploaded via Email and Website upload. Please note that SMS uploads do not support PDF files.
Supports 39 Languages
Visit the article "What Languages does Receipt AI Support for Receipt Extraction?" to learn more about this feature.
Expense Tracking
Upload Receipts
Digital Receipt Management
Receipt Scanning
Receipt AI
Email address for receipt upload
phone number for receipt upload
receipt management
receipt line items
xero and quickbooks sync
Related Articles

Start uploading Receipts using SMS.
Save 97% of your time with efficient receipt processing
Works with Xero and QuickBooks
Perfect for businesses, big and small
No extra app downloads. Works with tools you already have (Email and SMS)