Thursday, January 18, 2024
How to add a team member?
Share this article:
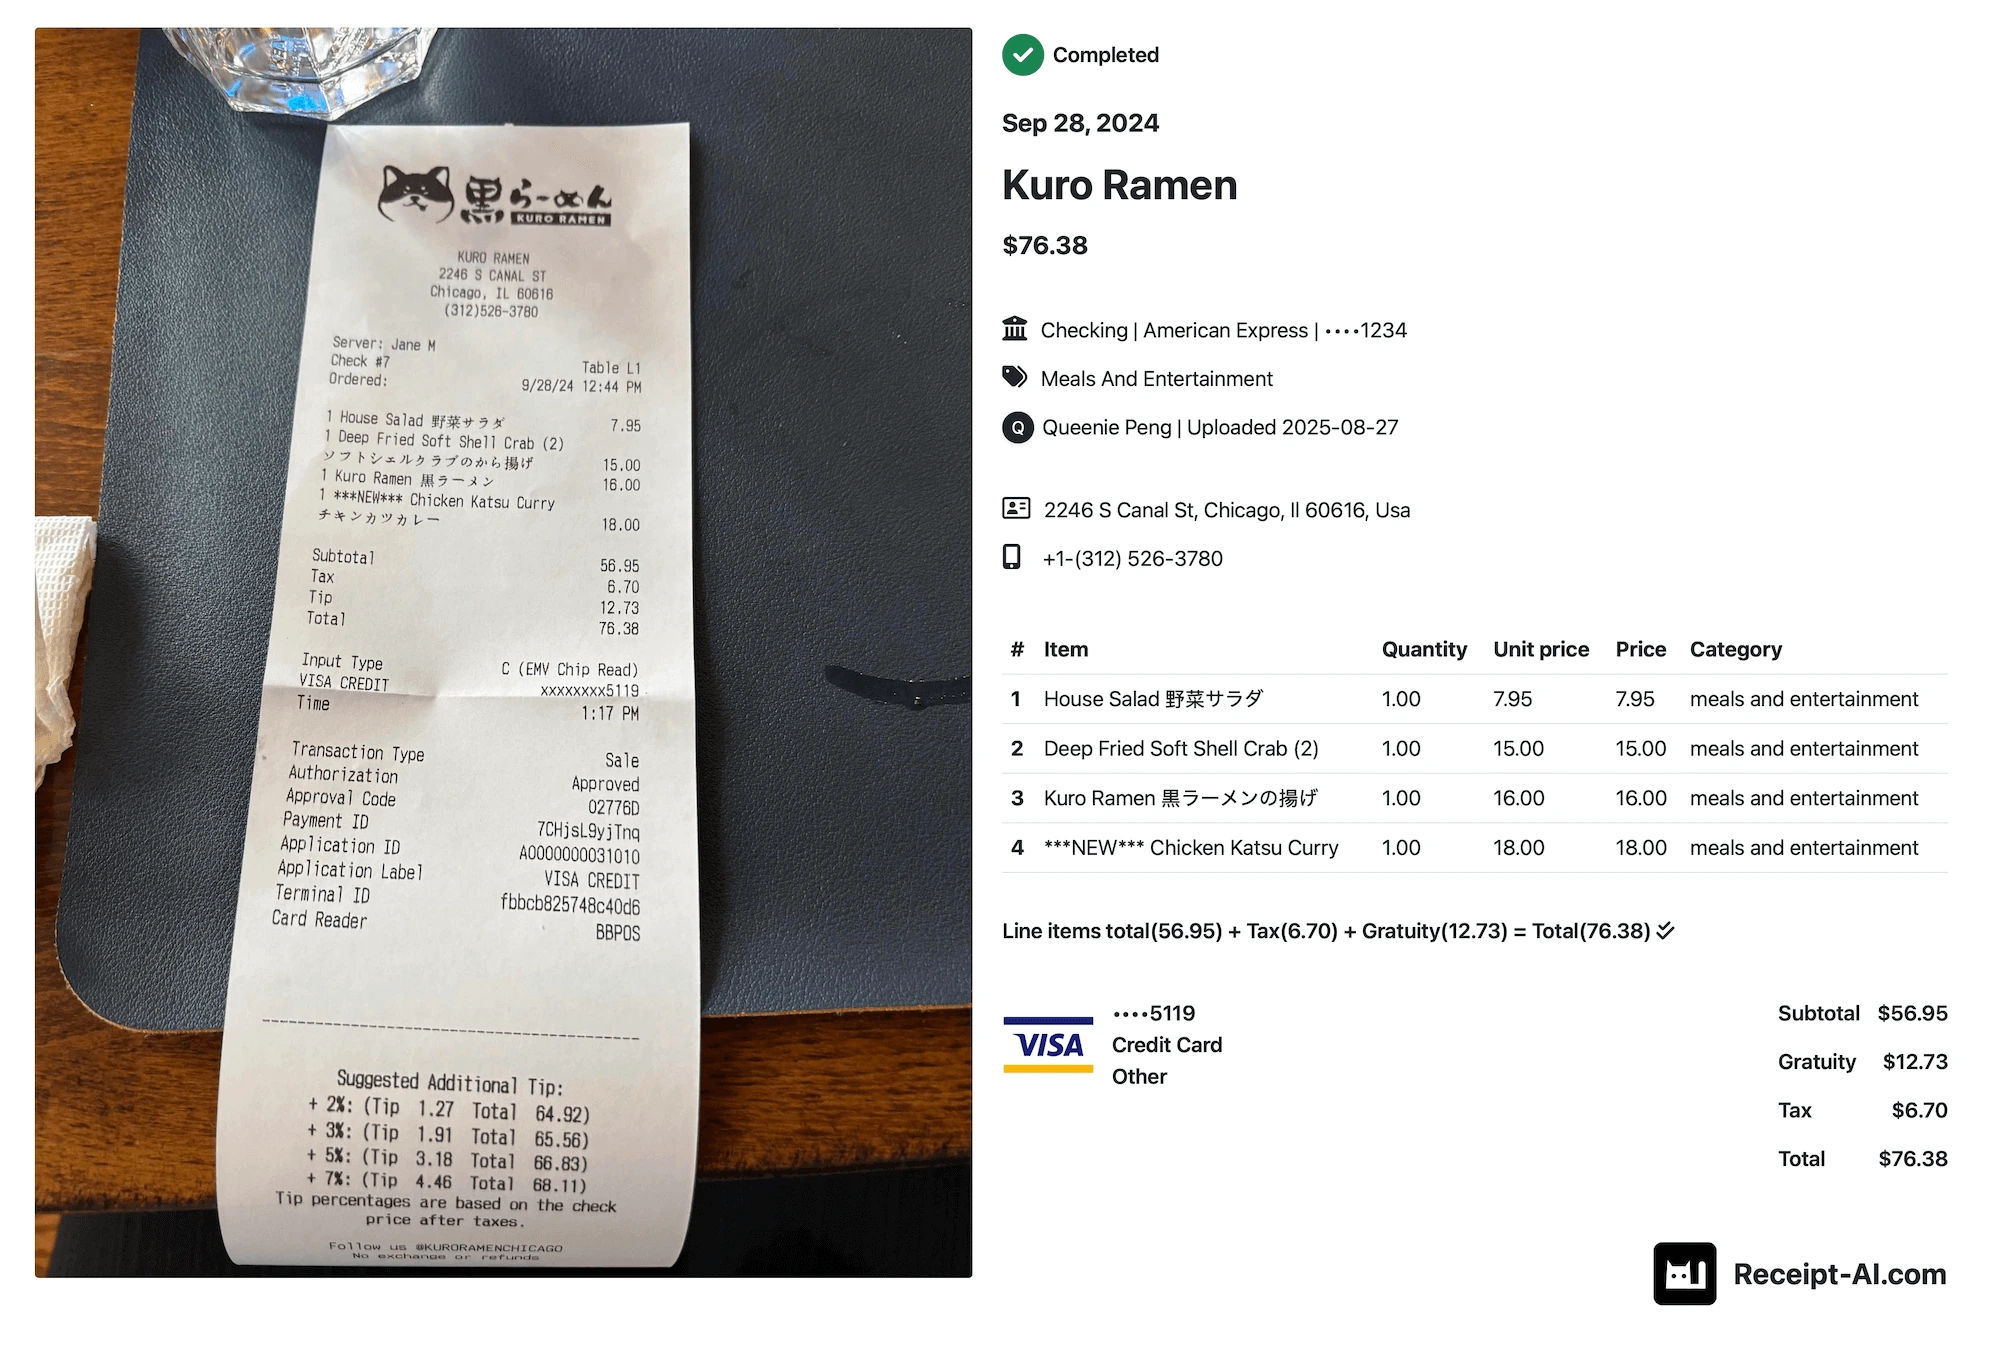
This guide will show you how to quickly onboard your team to upload their receipts. With a one-time setup, you can significantly reduce the need to follow up for receipts.
1: Click “Team”. If you don't see your organization name, type it in and click "Create Organization".

2: Click “Add Team Member”

3: Fill in the form with the team member's first name, last name and email, then click 'Add.

4: You are all set. Your team member will receive an email. Wait for your team member to confirm and create their account.

Notes:
• The account holder has access to all team members' receipts.
• Each team member only has access to their own receipts.
• Any settings configured in your account, including Folder AI, Receipt Line Items, Review Required, One-Click Reconciliation, and more, are automatically applied to all team members.
If you don't see Team option:
Ensure that your account is set to either 'Premium' or 'Business' by clicking your 'Profile name' - 'Edit Subscription'.
If your team member didn’t receive the invitation email:
Click the three dots next to your team member name to resend the invitation.
If you added the team member by mistake:
Click the three dots next to your team member name to remove member.

receipt ai
add team member receipt
best receipt app
receipt scanner
receipt organizer
Related Articles


Start uploading Receipts using SMS.
Save 97% of your time with efficient receipt processing
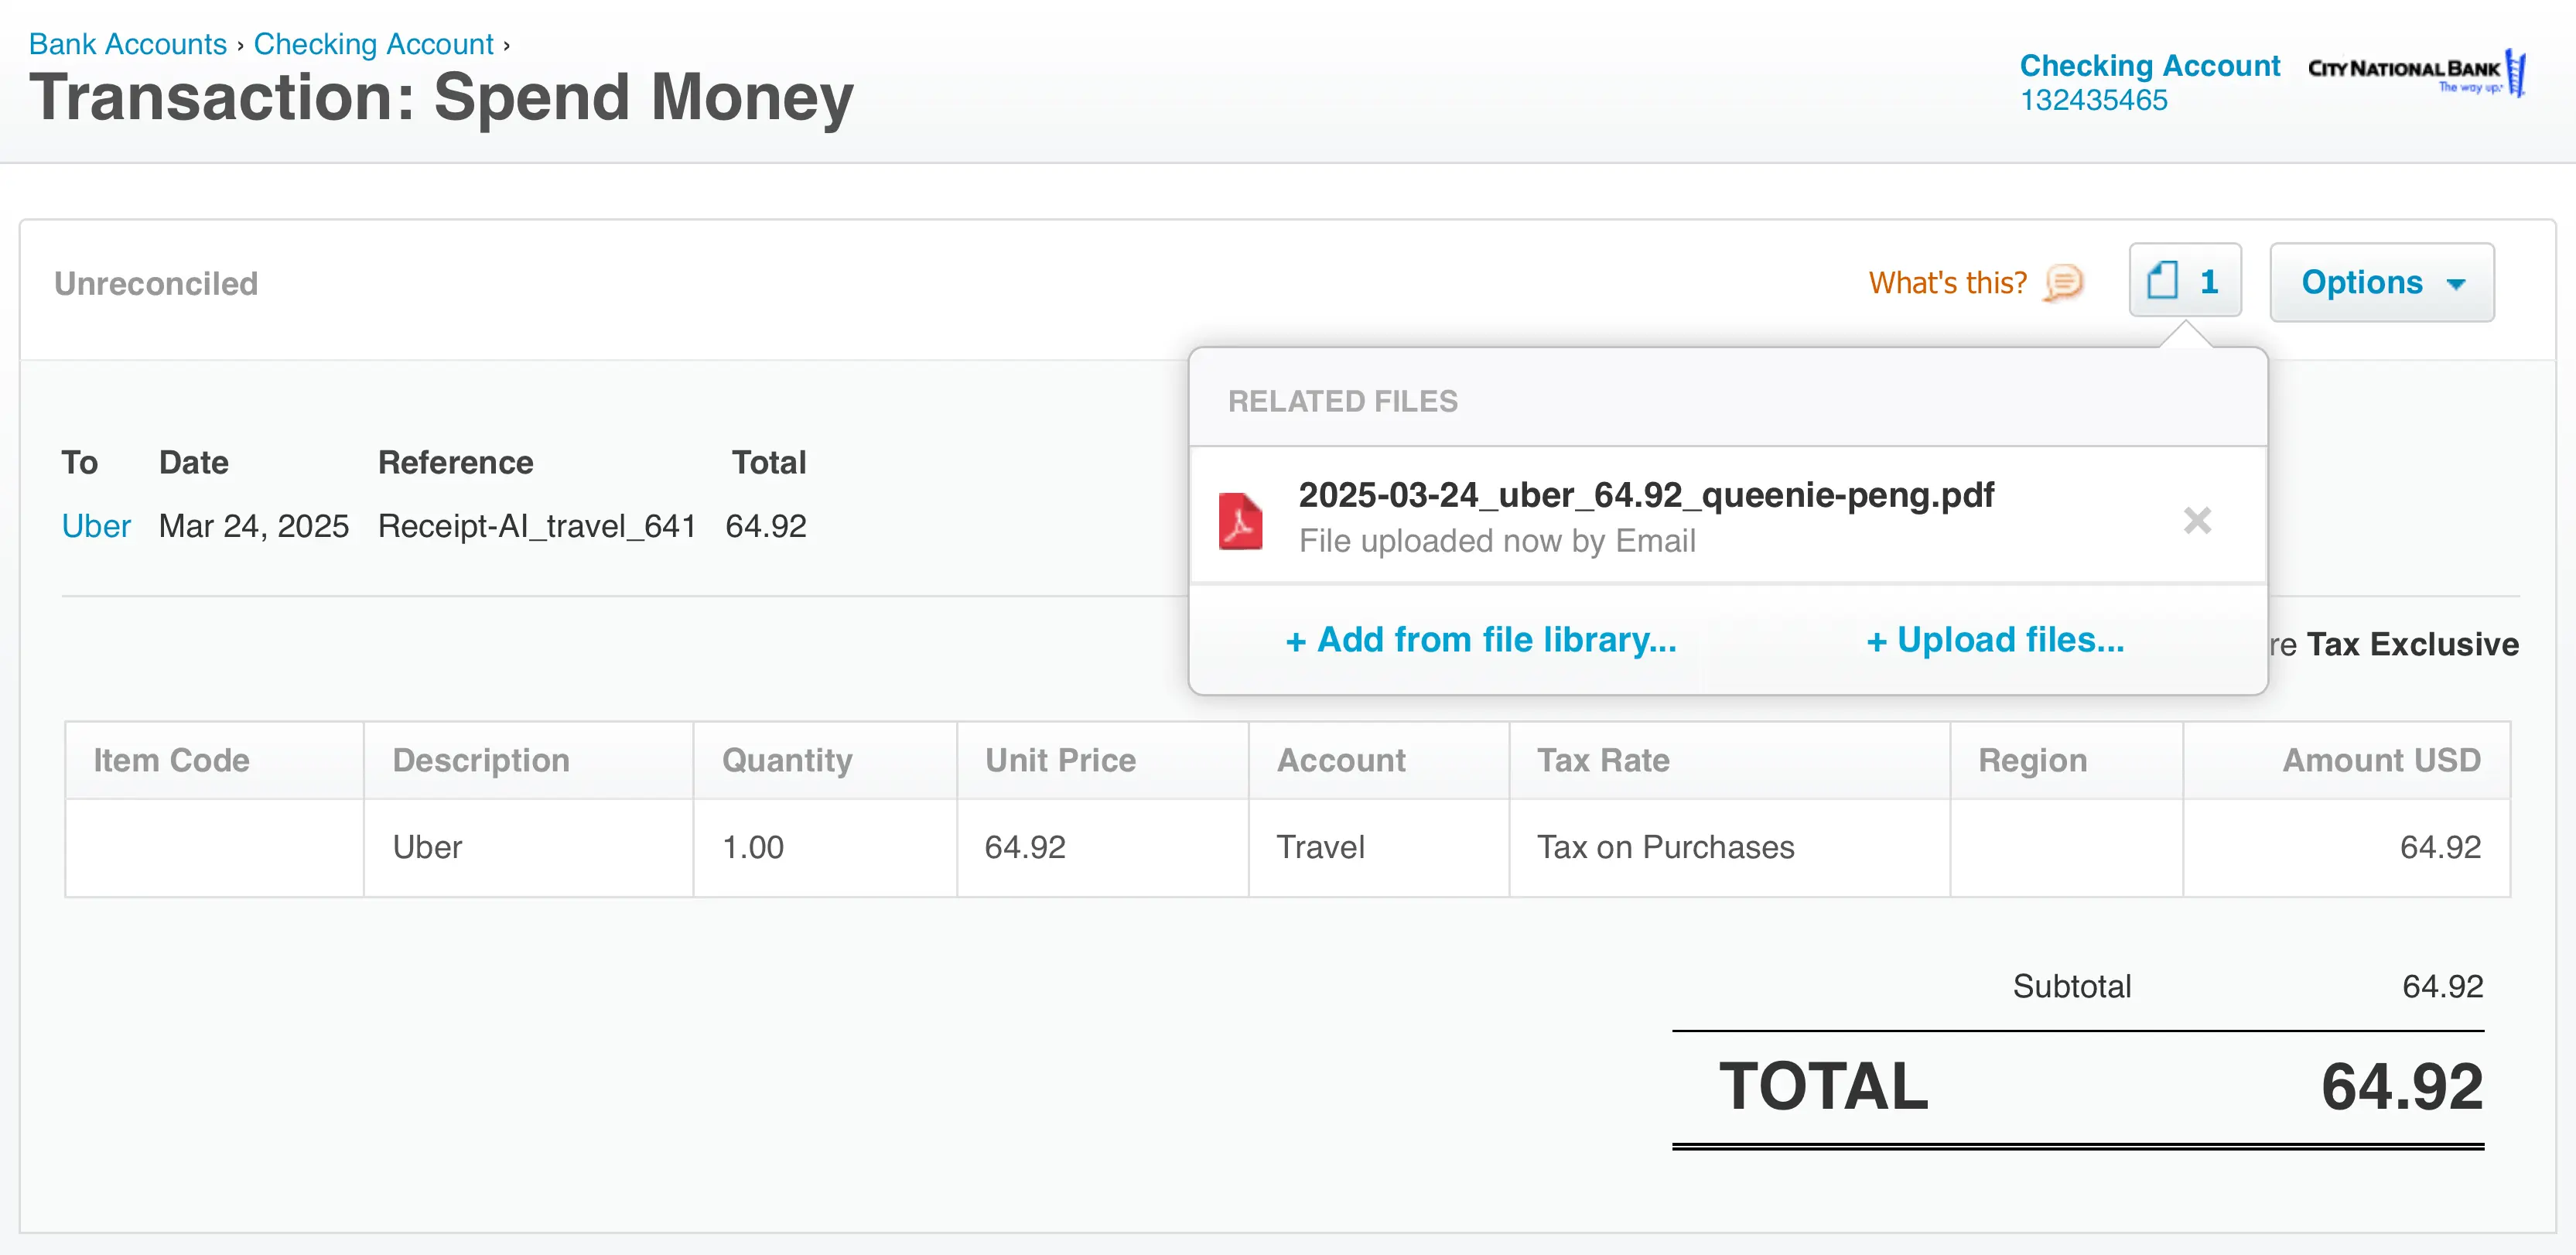
Works with Xero and QuickBooks
Perfect for businesses, big and small
No extra app downloads. Works with tools you already have (Email and SMS)